


Better Sound Staging with Time Alignment & Network Mode

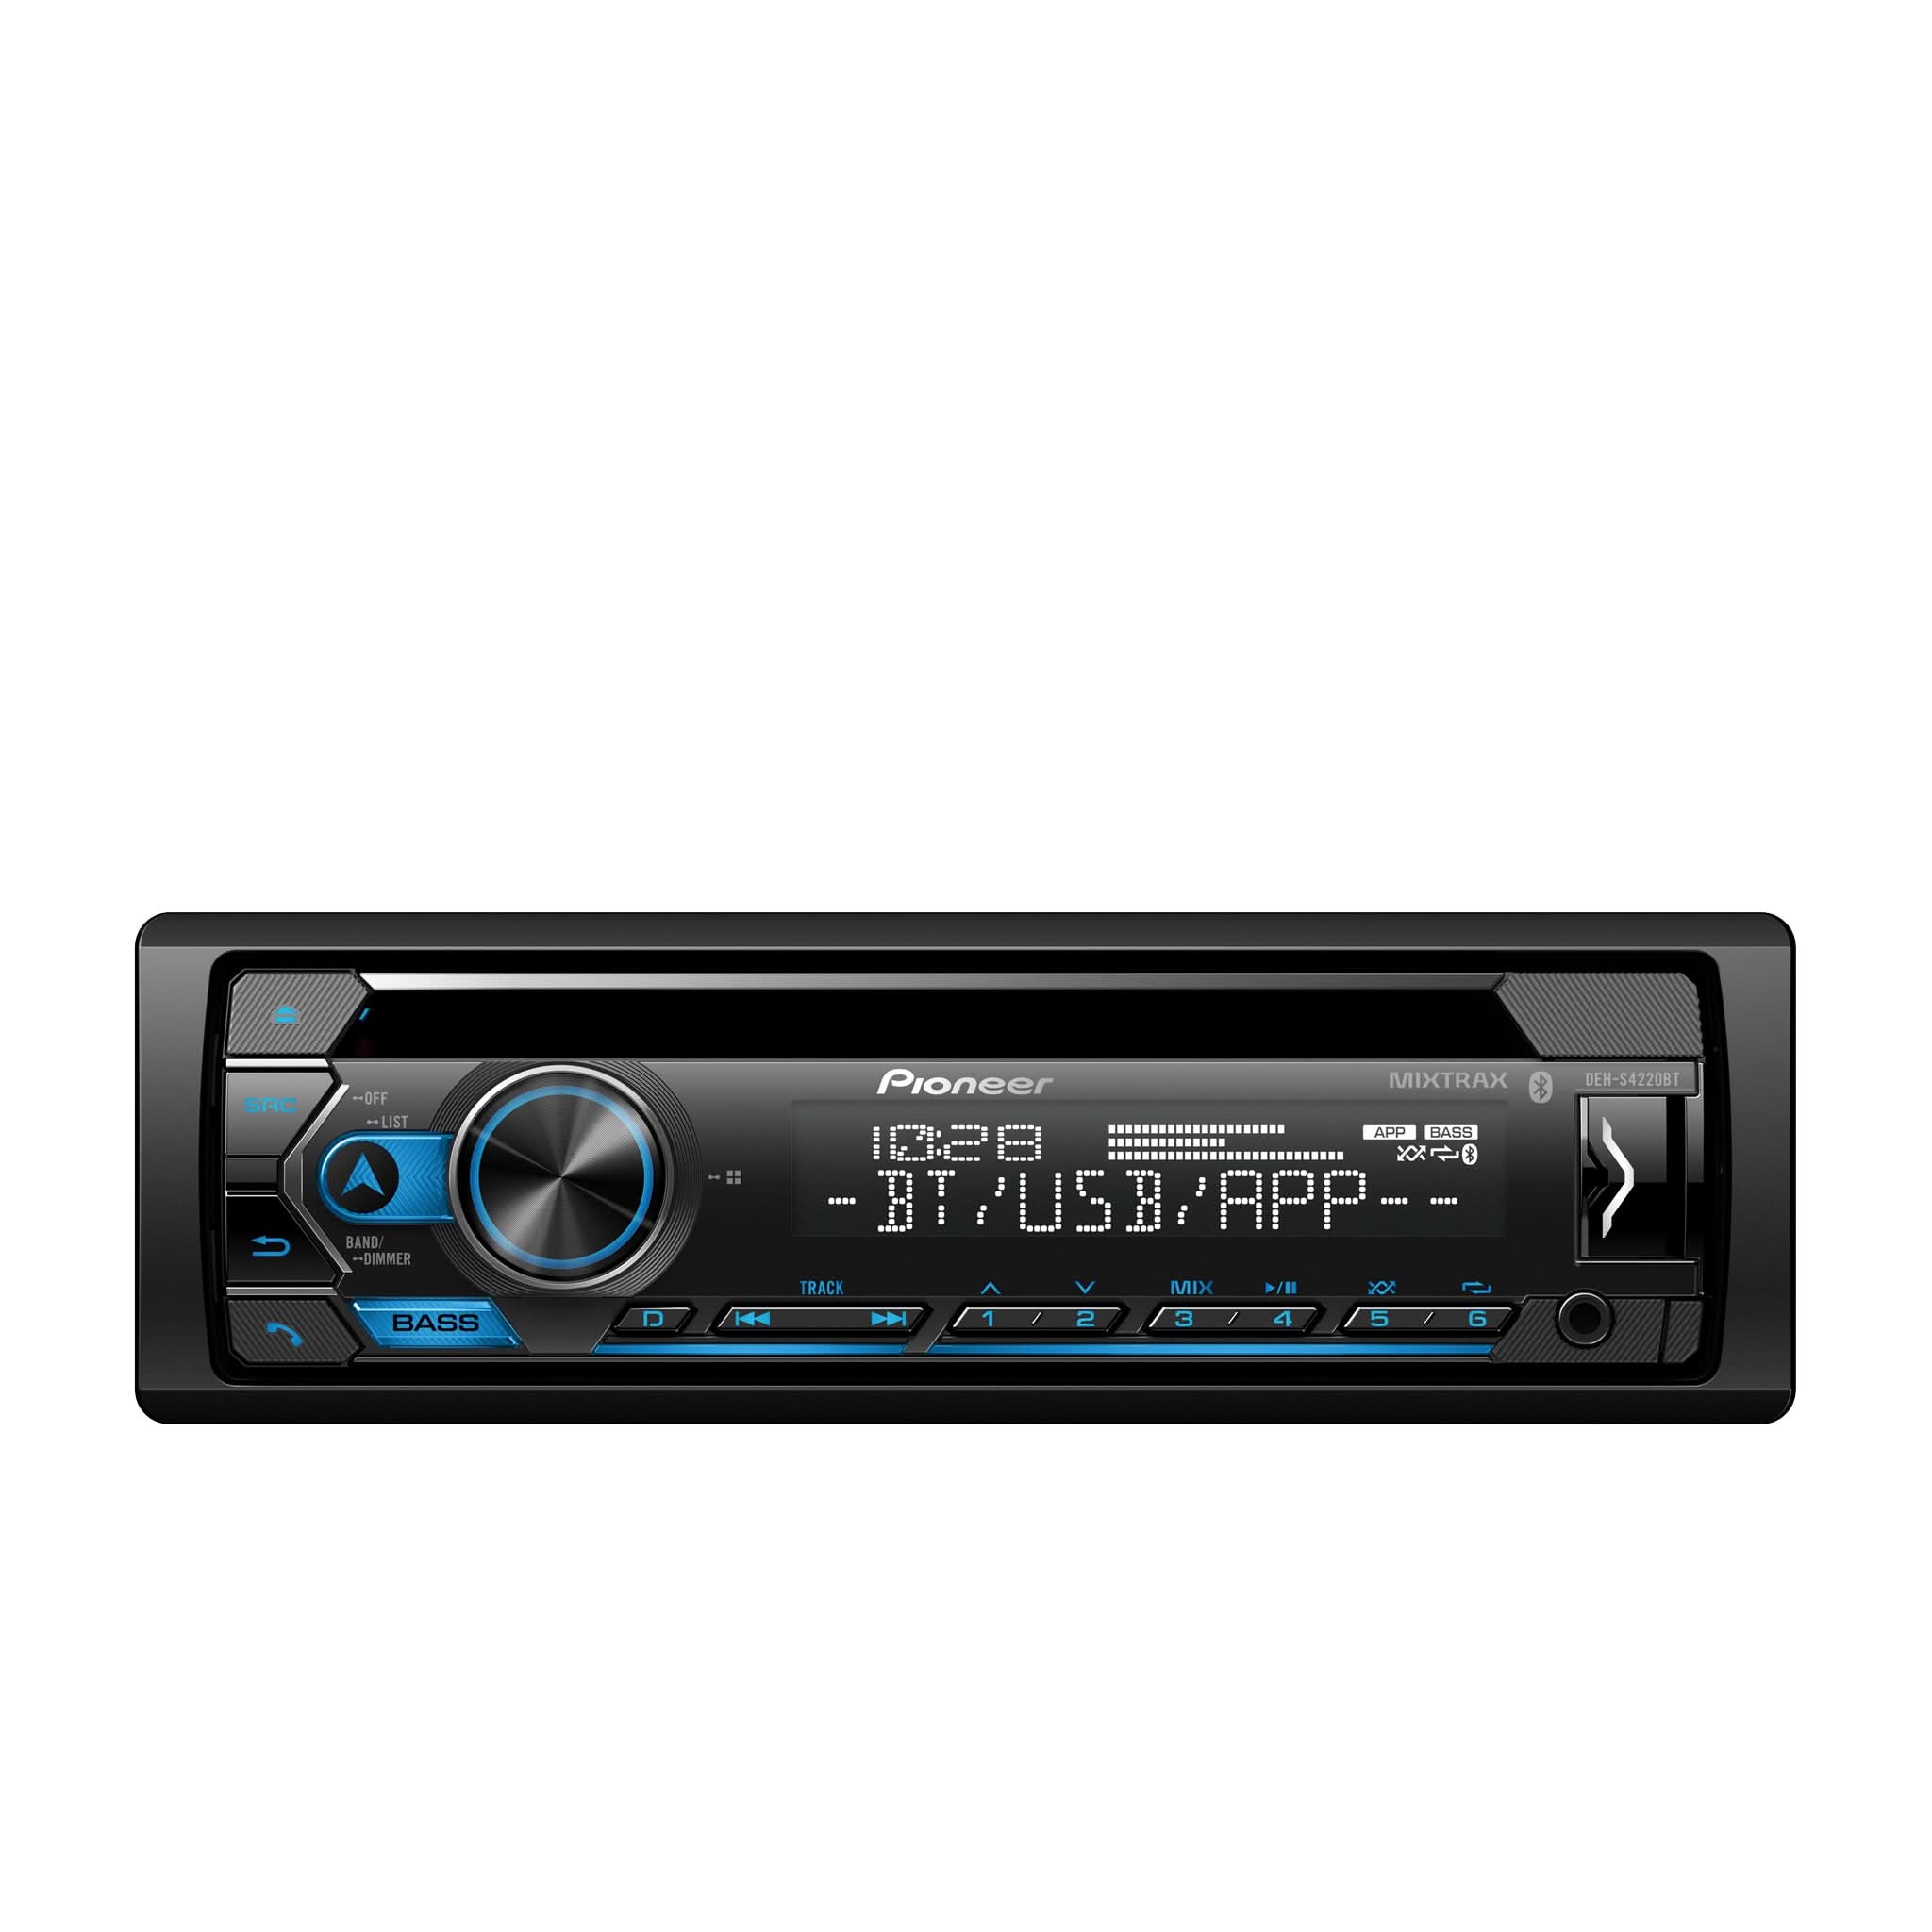
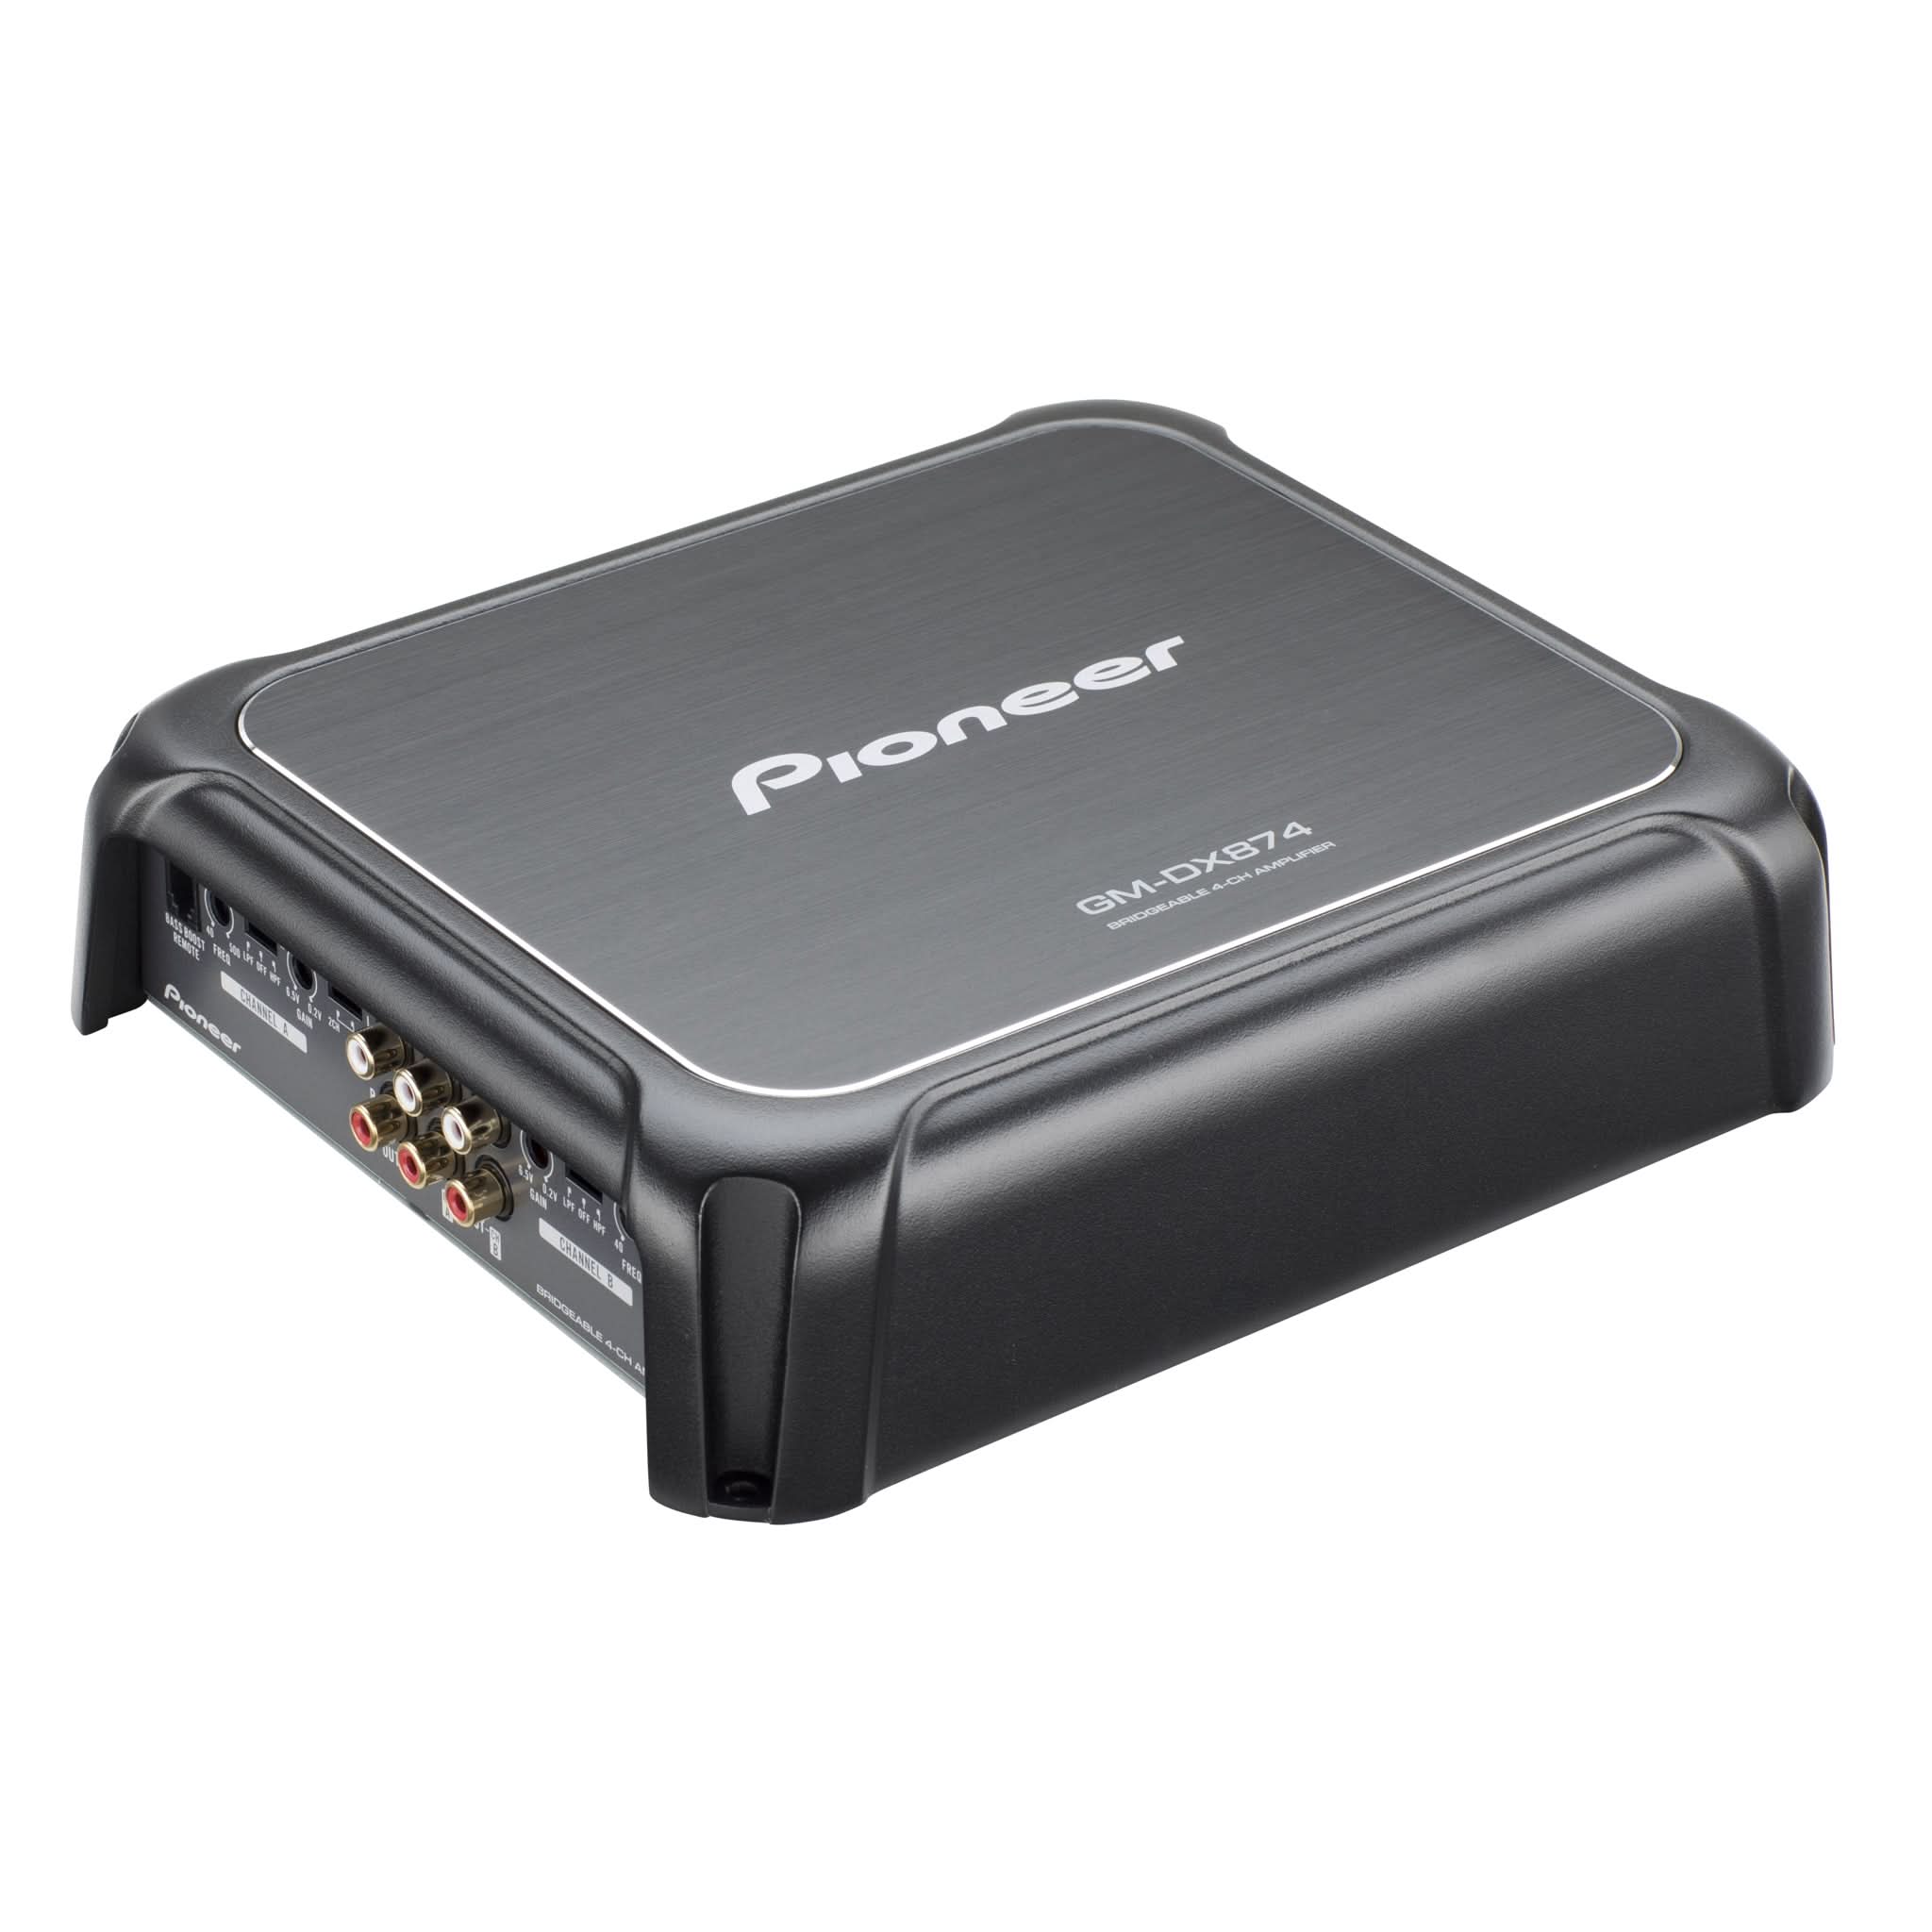
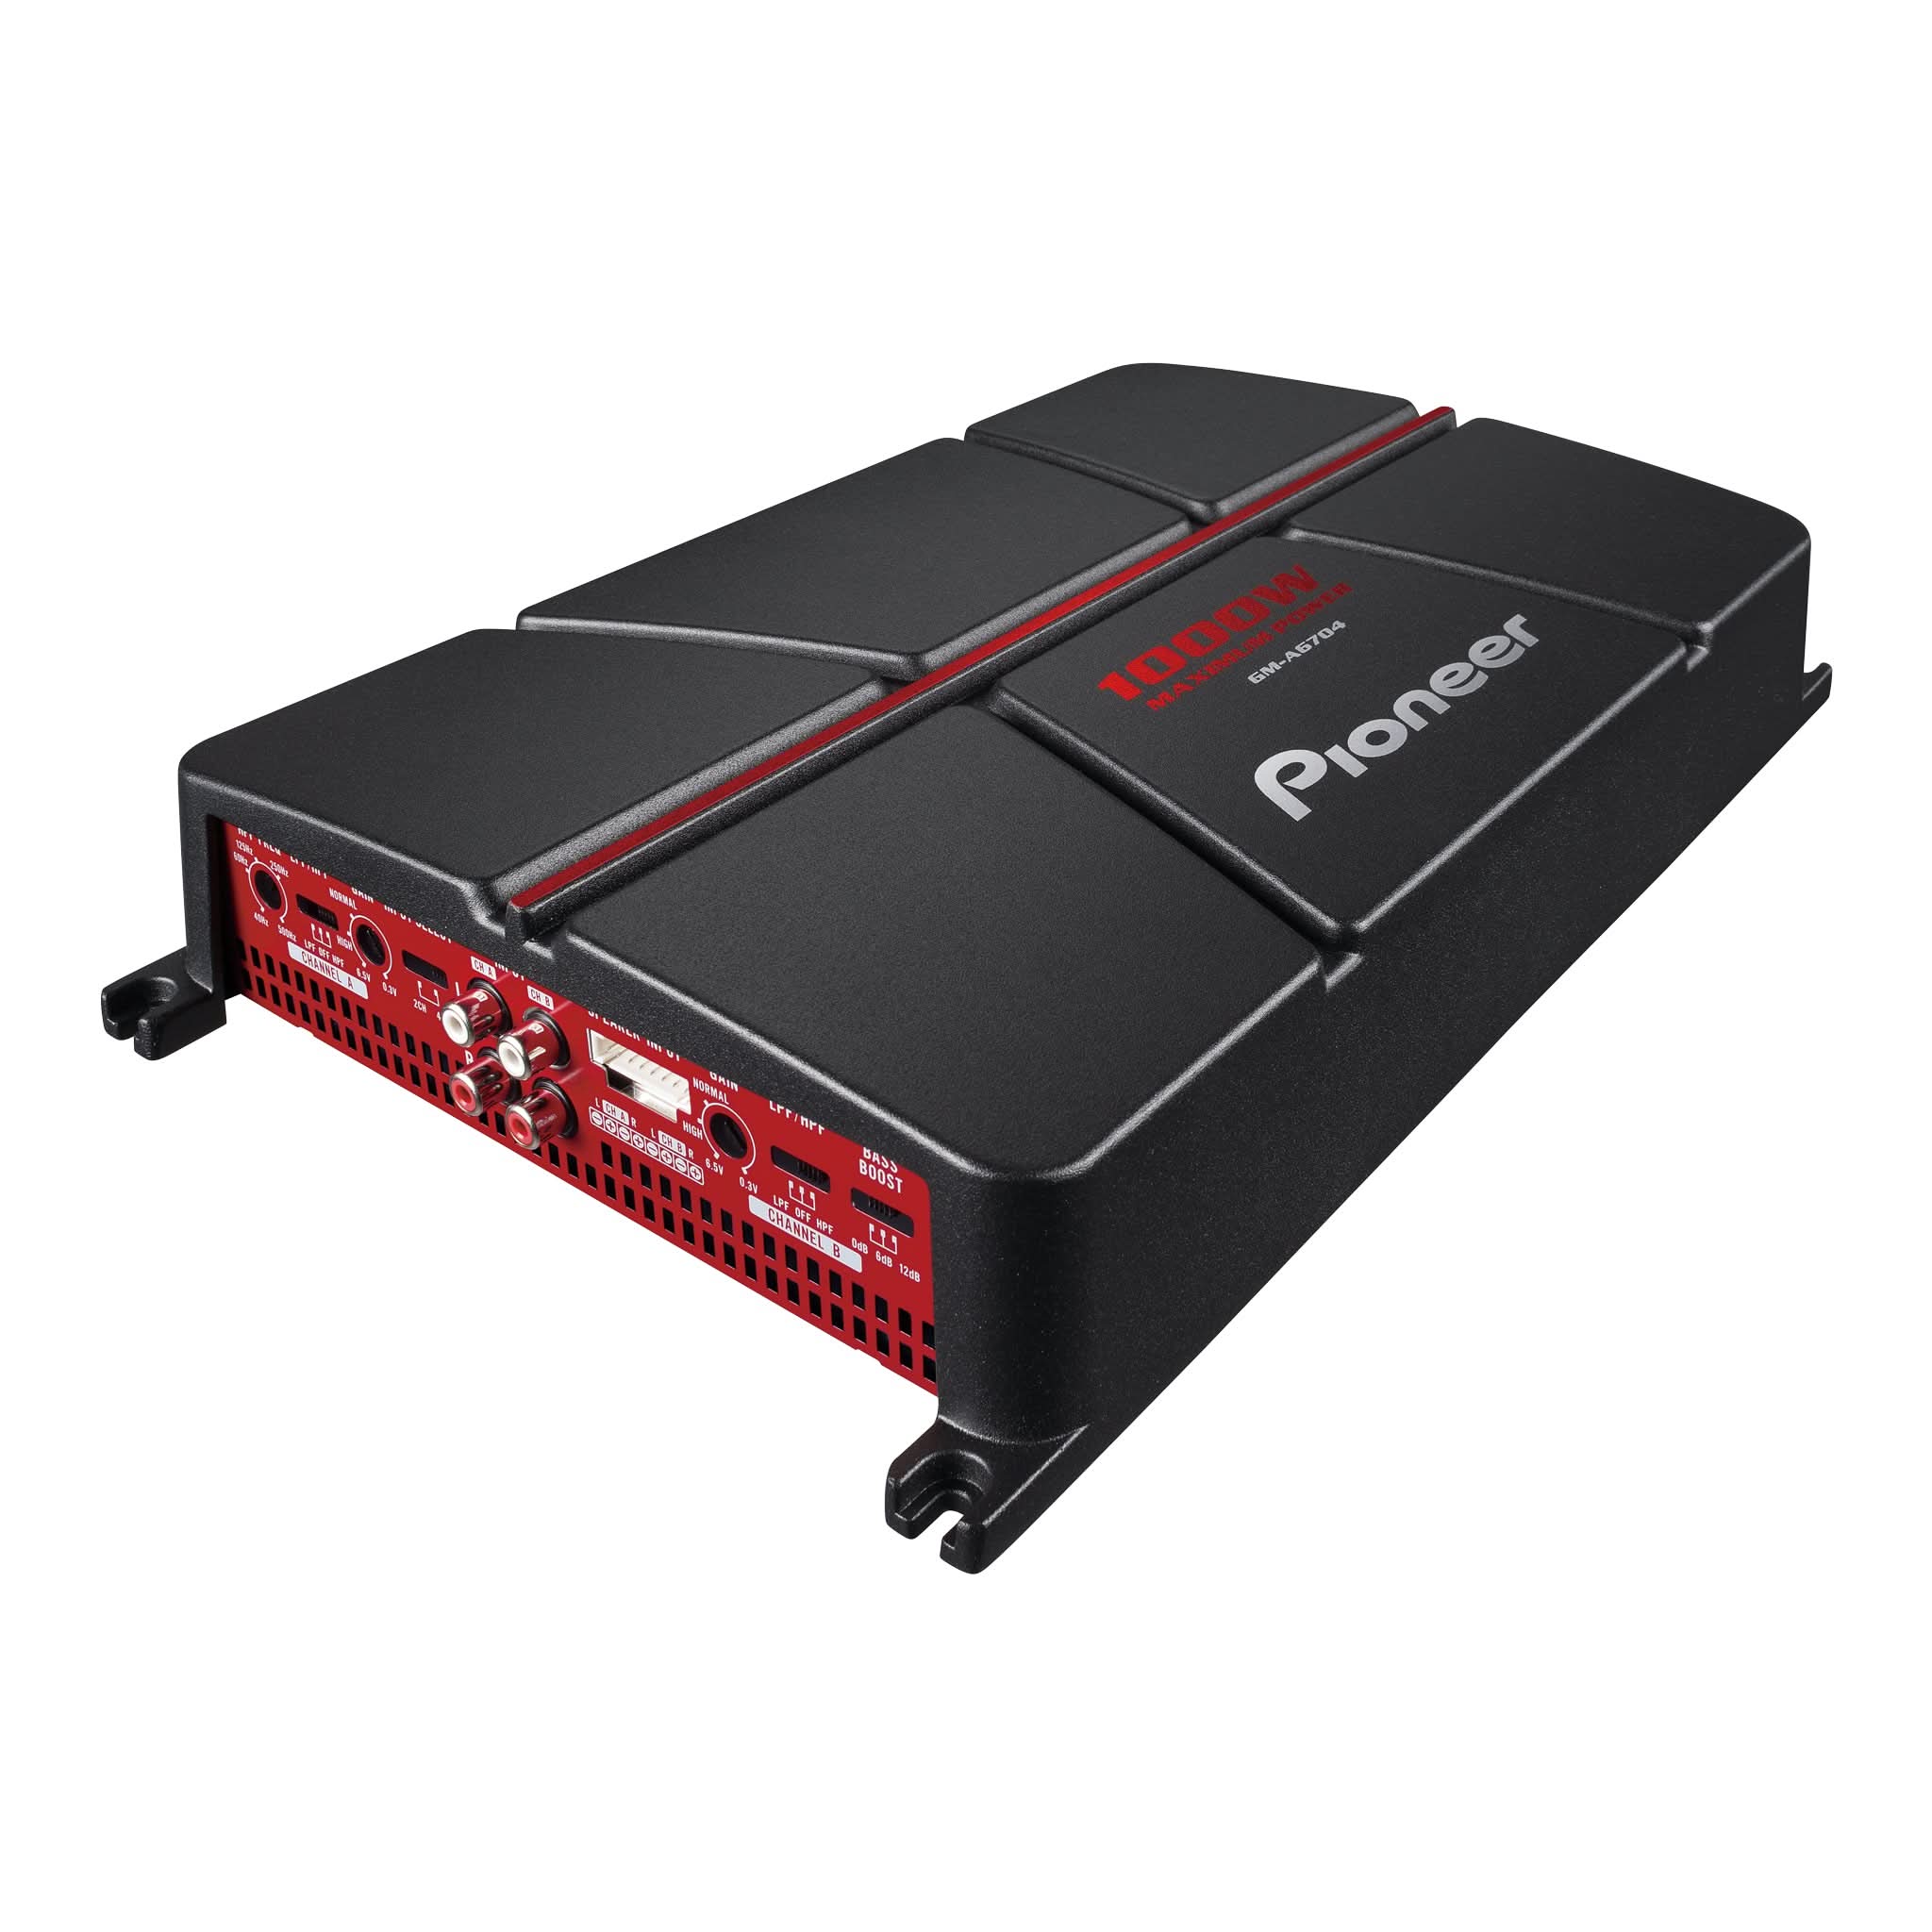
Most Pioneer NEX receivers with 3 pairs of RCA pre-outs include a powerful built-in DSP, giving you access to advanced tuning tools like Time Alignment and Network Mode. These features allow you to dramatically improve clarity, staging, and overall sound quality — but only if you configure them properly after installation.
Entry-level models like the DMH-1800NEX, which only have 2 pairs of RCA pre-outs, do not include these options. To take full advantage of Time Alignment and active crossover tuning, make sure you're working with a model that supports front, rear, and subwoofer outputs.
This article walks you through two of the most underutilized tuning tools in Pioneer’s ecosystem: Time Alignment and Network Mode.
Step 1: Choosing the Right Audio Mode (Standard vs. Network)
During the initial setup of a Pioneer NEX receiver, you'll be prompted to choose between:
- Standard Mode
- Network Mode
Standard Mode is the default and works best for most conventional systems with front/rear speakers and a subwoofer. This setup assumes you're using passive crossovers and are routing signal using typical four-channel wiring.
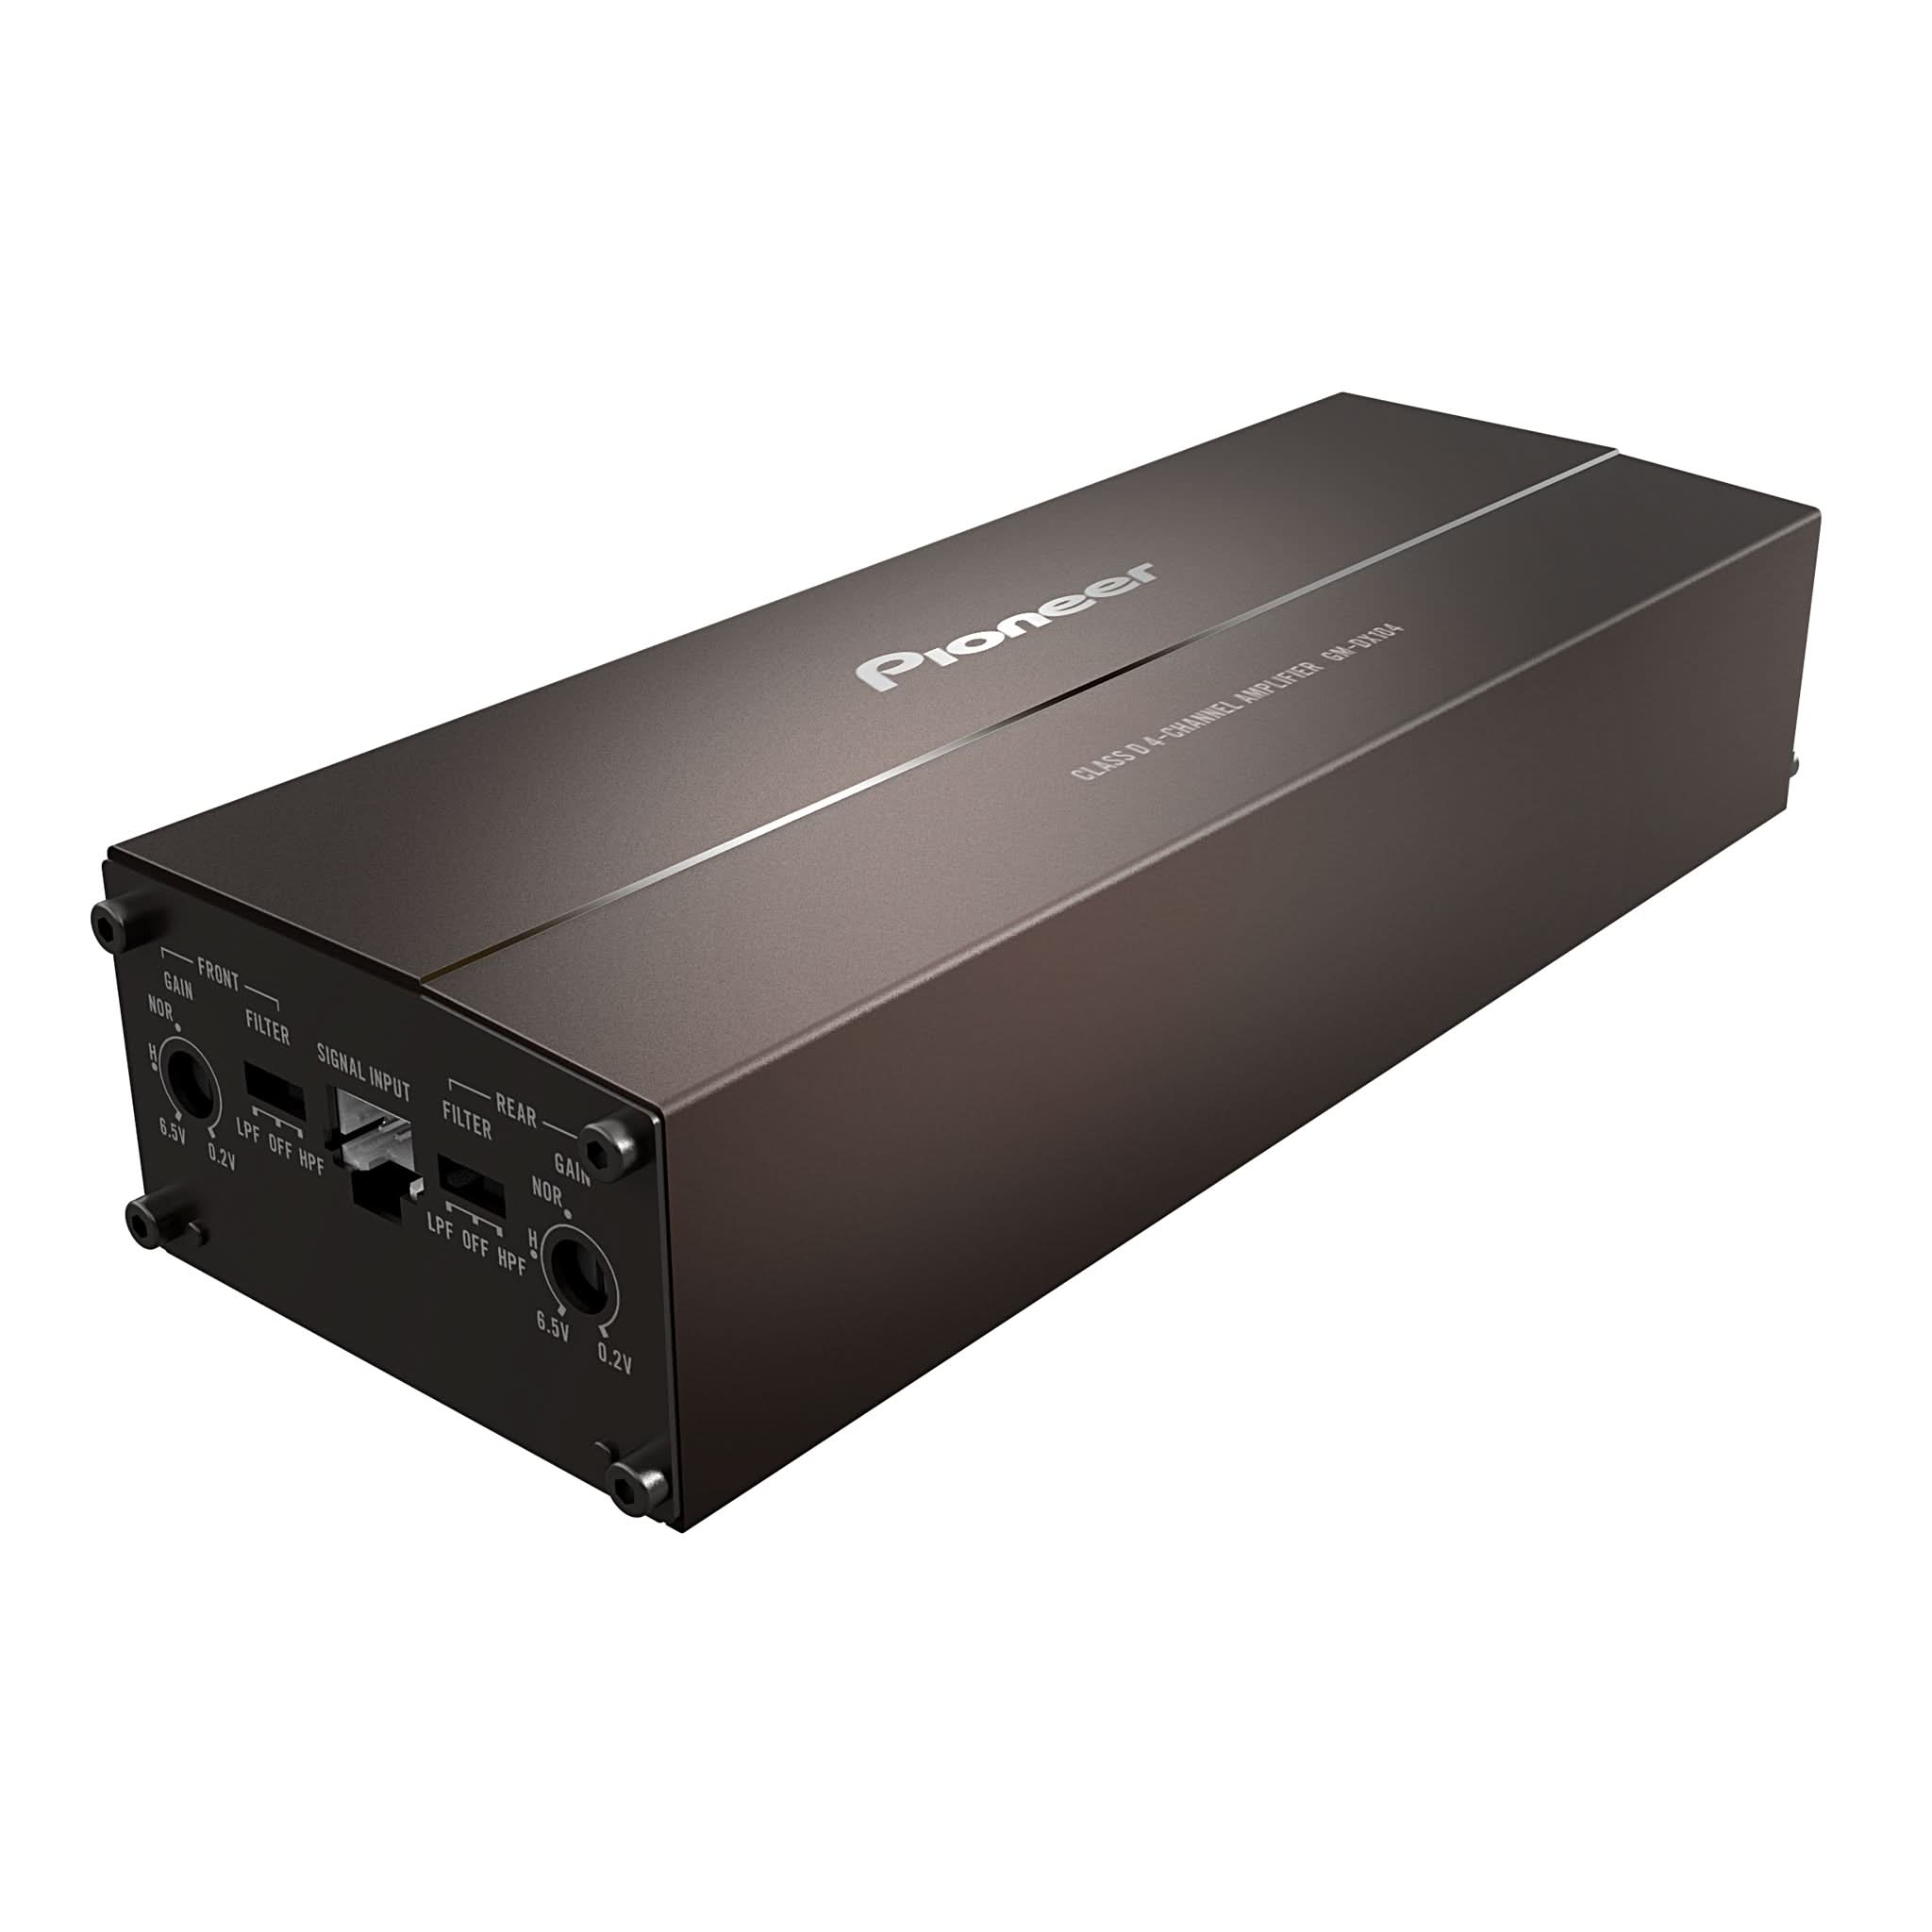
Network Mode, on the other hand, is intended for active systems — builds where tweeters, midrange drivers, and subwoofers are each powered by dedicated amplifier channels. It disables the rear RCA outputs and instead gives you independent control over high-pass, band-pass, and low-pass filters per channel.
Important: Once selected, this mode can only be changed by performing a factory reset.
Step 2: Setting Time Alignment
Time alignment allows you to delay the sound coming from speakers that are physically closer to the listener, so all audio reaches the ears at the same time. This creates better imaging, clarity, and an overall more realistic listening experience.
To configure:
- Go to Settings > Audio > Listening Position > Custom
- Use a tape measure to determine the distance (in inches or cm) from the driver’s seat to:
- Front Left Speaker
- Front Right Speaker
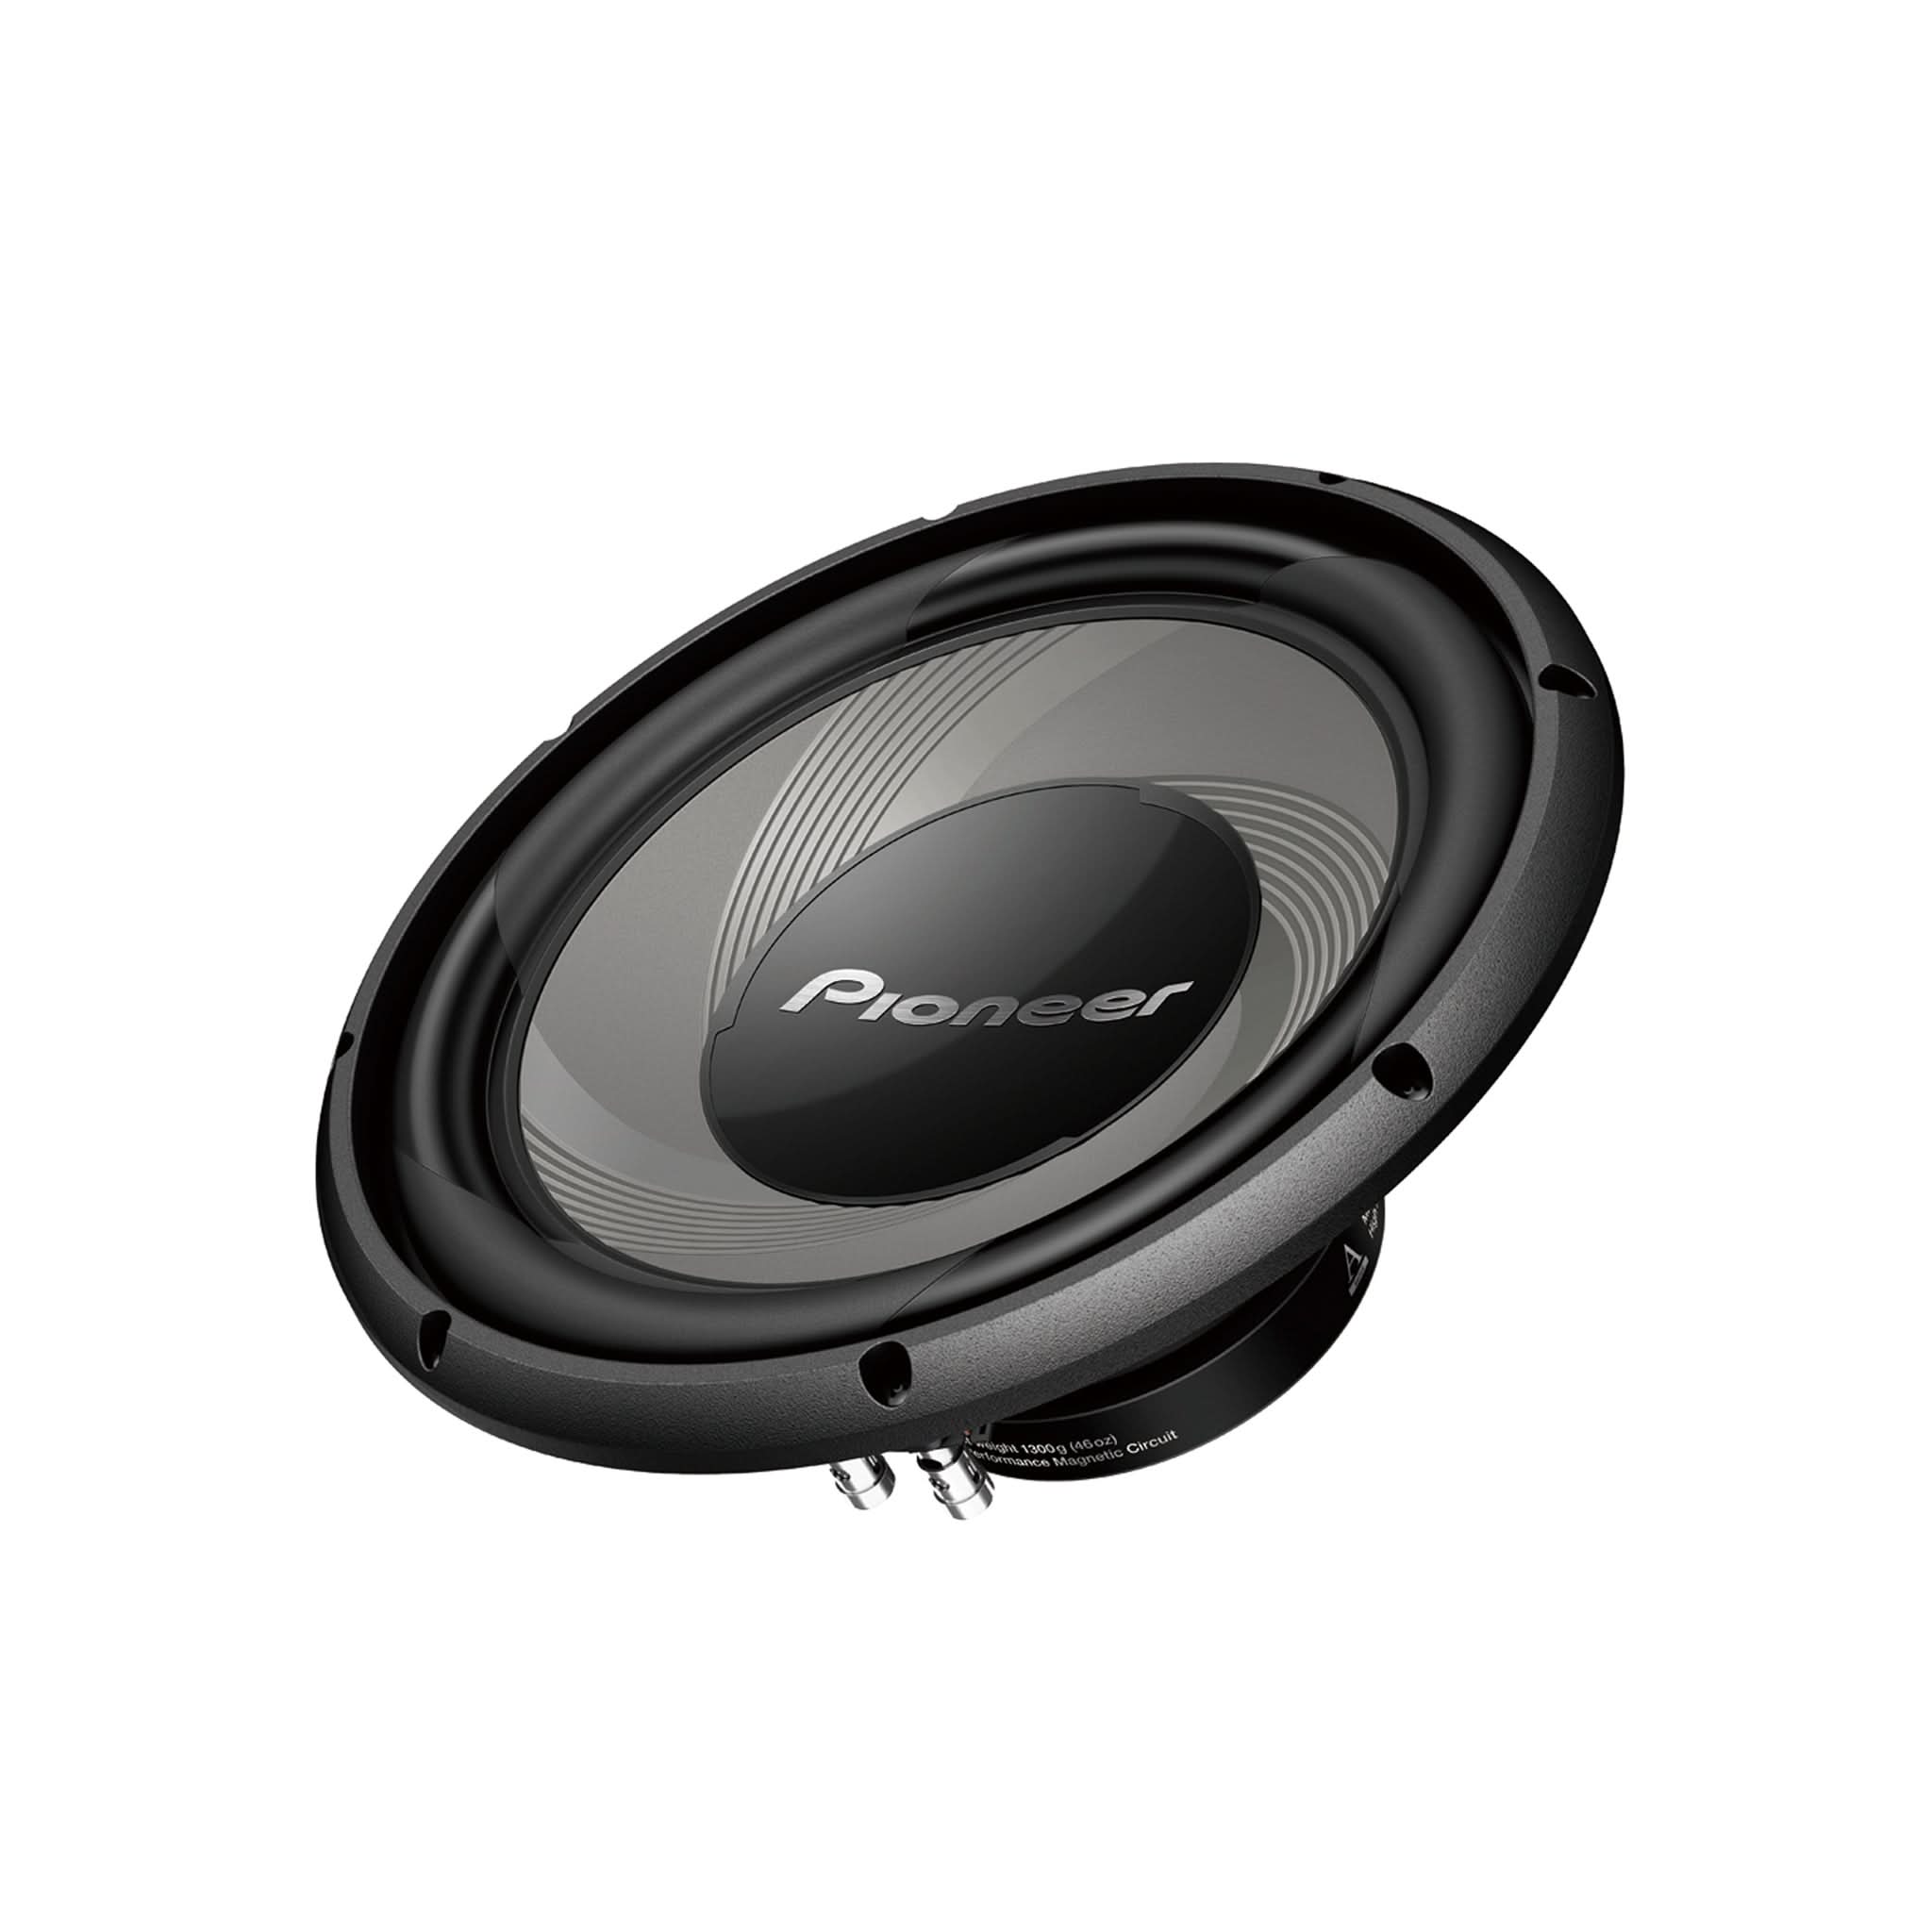
- Subwoofer
- Enter these values for the system to calculate the correct delay per channel
Pioneer also offers preset options like:
- Front Left
- Front Right
- Front All
- Off
While these presets are a quick start, manual distance entry delivers the most accurate staging.

Step 3: Fine-Tuning Your Sound Stage
Once time alignment is configured, you can further refine your sound using the built-in crossover and EQ settings.
For most systems in Standard Mode:
- Set subwoofer crossover between 50–80 Hz depending on speaker capability
- Balance subwoofer level to prevent “boomy” or localized bass
- Adjust treble EQ if tweeters are overly bright or recessed
For Network Mode systems:
- Assign crossover points for:
- Tweeter (e.g., 3,000–4,000 Hz HPF)
- Midrange (e.g., 80–3,000 Hz Band Pass)
- Subwoofer (e.g., 50–80 Hz LPF)
- Independently adjust gain per channel for balance
- Use high-pass filters to protect tweeters from low-frequency damage
| Tip: Listen at moderate volume levels when making adjustments for better accuracy.

Final Thoughts
Pioneer’s built-in DSP is one of the most powerful tools available in head units today — but only if it’s used.
Taking just 5–10 minutes to:
- Select the right audio mode
- Measure and input speaker distances
- Fine-tune crossover and EQ
…can turn even a basic system into something that feels custom-tuned and immersive. Your customers will hear the difference, and your shop will stand out for delivering a premium result.


