


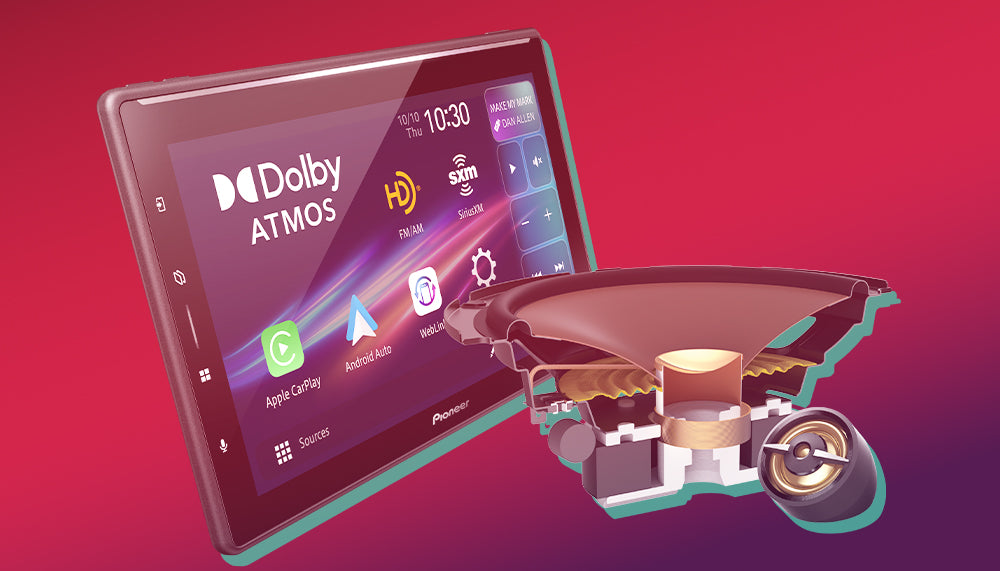
How To Enjoy Better Audio With My Pioneer In-dash AV Receiver


If you're reading this, you're probably the proud owner of Pioneer products, you work in the automotive industry, or you're an enthusiast looking for the best way to optimize your car audio system... Or even better, you tick all of these boxes!
As this article is the fourth in a series, we strongly encourage you to check out our previous articles if you haven't had the chance to read them yet. We cover a variety of topics, including the technologies of certain Pioneer car AV receivers, how to optimize your music from Apple Music on iPhone, and how to optimize your audio settings for compressed audio sources such as Spotify.
As you can see, these previous articles have mainly covered behind-the-scenes technologies, or the optimization of external audio sources connected to our Pioneer in-dash AV receivers via a smartphone and popular apps on the market. As we have taken care to cover these audio sources, it was logical and essential for us to cover the various internal audio processing features that are specific to Pioneer products. After all, sound is part of our DNA and our history!
Before getting to the heart of the matter, it is important to understand the context in which we are in. The cabin of your vehicle is completely different from what we can have at home in our listening room, or even more so, if we compare car audio to listening through your favorite headphones. By their concept, listening to music through headphones is the shortest path and involves very few intermediaries, and just as importantly, is the least impacted by its environment; your speakers (your headphones in this case) do not have to negotiate with your immediate environment, they are directly on your ears and therefore no, or almost no, acoustic alteration is present. For your vehicle, it is a completely different thing! You must negotiate with multiple elements; surrounding noises, rolling noises, but even more so with various speaker positions as well as shapes and textures of materials that will greatly alter the acoustic response of your car audio system. So, just as many people like to adjust the characteristic response of their audio systems, from the smallest headphones to the big home audio system, the automotive world is no exception, and it is ESSENTIAL to have proper acoustic tuning for your vehicle to correct these alterations inherent to the environment if you want to fully enjoy great musical moments in your car!
No matter what the car audio system, you should always keep in mind that performance and musical quality will be only as good as the weakest link in the chain. Therefore, it is essential to ensure a balance in the quality of the components, from the source to your ears. Your audio source (the source of your music), the storage or streaming media, your audio processing and conversion unit (your Pioneer car AV receiver in this case), possible amplifications, and your speakers. Of course, the installation accessories, namely your proper wiring as well as a minimum of acoustic materials, must also be planned and combined with a proper installation, carried out according to the rules of the art. No matter if you select a good product, if it is not properly installed, it will never be able to deliver its best performance.

So, you've done your homework and carefully selected the right components for your car audio system installation. Now that you have these components in hand, and among them, you have, of course, one of our Pioneer car AV devices, it's now the time to properly configure it to get better sound in your car.
For this exercise, you'll need to have your favorite music sources on hand, or even a few more tools if you want to further refine the process, which you'll see later in this article.
Important things to know before you proceed
Before jumping around in your device's menus, it's important to note the following points to better understand how your Pioneer in-dash AV receiver works.
- The vehicle must be stationary, and the parking brake must be engaged to access your device settings menus.
- Your audio adjustment settings section will not be accessible if your AV source is set to "OFF" or if you are using a smartphone source such as Apple CarPlay or Android Audio. Please note, however, that your audio settings will be applied to all your audio sources, including Apple CarPlay and Android Auto.
Since the quality of the audio source is important when making audio adjustments, you need to select it carefully. Here, we emphasize "SELECTING CAREFULLY" and not necessarily choosing the best source quality, but rather an audio source representative of what you will be listening to on a daily basis. So, if you normally listen to music from uncompressed audio sources, you MUST use this same type of source for the acoustic calibration of your vehicle. If you listen to compressed audio sources, for example Spotify Premium, then you must use a 320 kbps audio source to perform your calibration.
What we have found is that people tend to use an uncompressed reference audio source for a customer that mainly listens to compressed audio. Unfortunately, doing this for a vehicle whose owner mainly listens to compressed music will give the customer a very simple result, a big disappointment! Not because the work was not done well, but because the reference for the exercise is not the right one. Since compressed audio has different characteristics for acoustic rendering; pronounced reduction in high frequencies (main notes and harmonics), and different dynamics in low frequencies, if we adjust the frequency response with an audio source that does not have these characteristics, and therefore with a source having more pronounced highs, these frequencies will necessarily be attenuated during calibration too significantly to listen to a compressed audio source. The "lack" resulting from this small mistake will therefore present a musical signature with less detail, less brilliance and less clarity. Your music will be more “muffled” with more withdrawn vocals, and therefore, you will lose all the music’s liveliness.
IMPORTANT
The last important point to consider before starting your adjustments is not to turn up your listening volume before having read this entire article. You will be able to see that we cover all the audio adjustments from our in-dash AV receivers in the order they appear on the screen and not in the order that you should necessarily make your initial adjustments to the unit. Therefore, do not turn up the volume of the unit before having made certain key adjustments, such as the crossovers of the audio system. This could result in damage to your speakers, especially your tweeters if you are in "Network" mode.
SO LETS BEGIN!
Network Mode Vs. Standard Mode
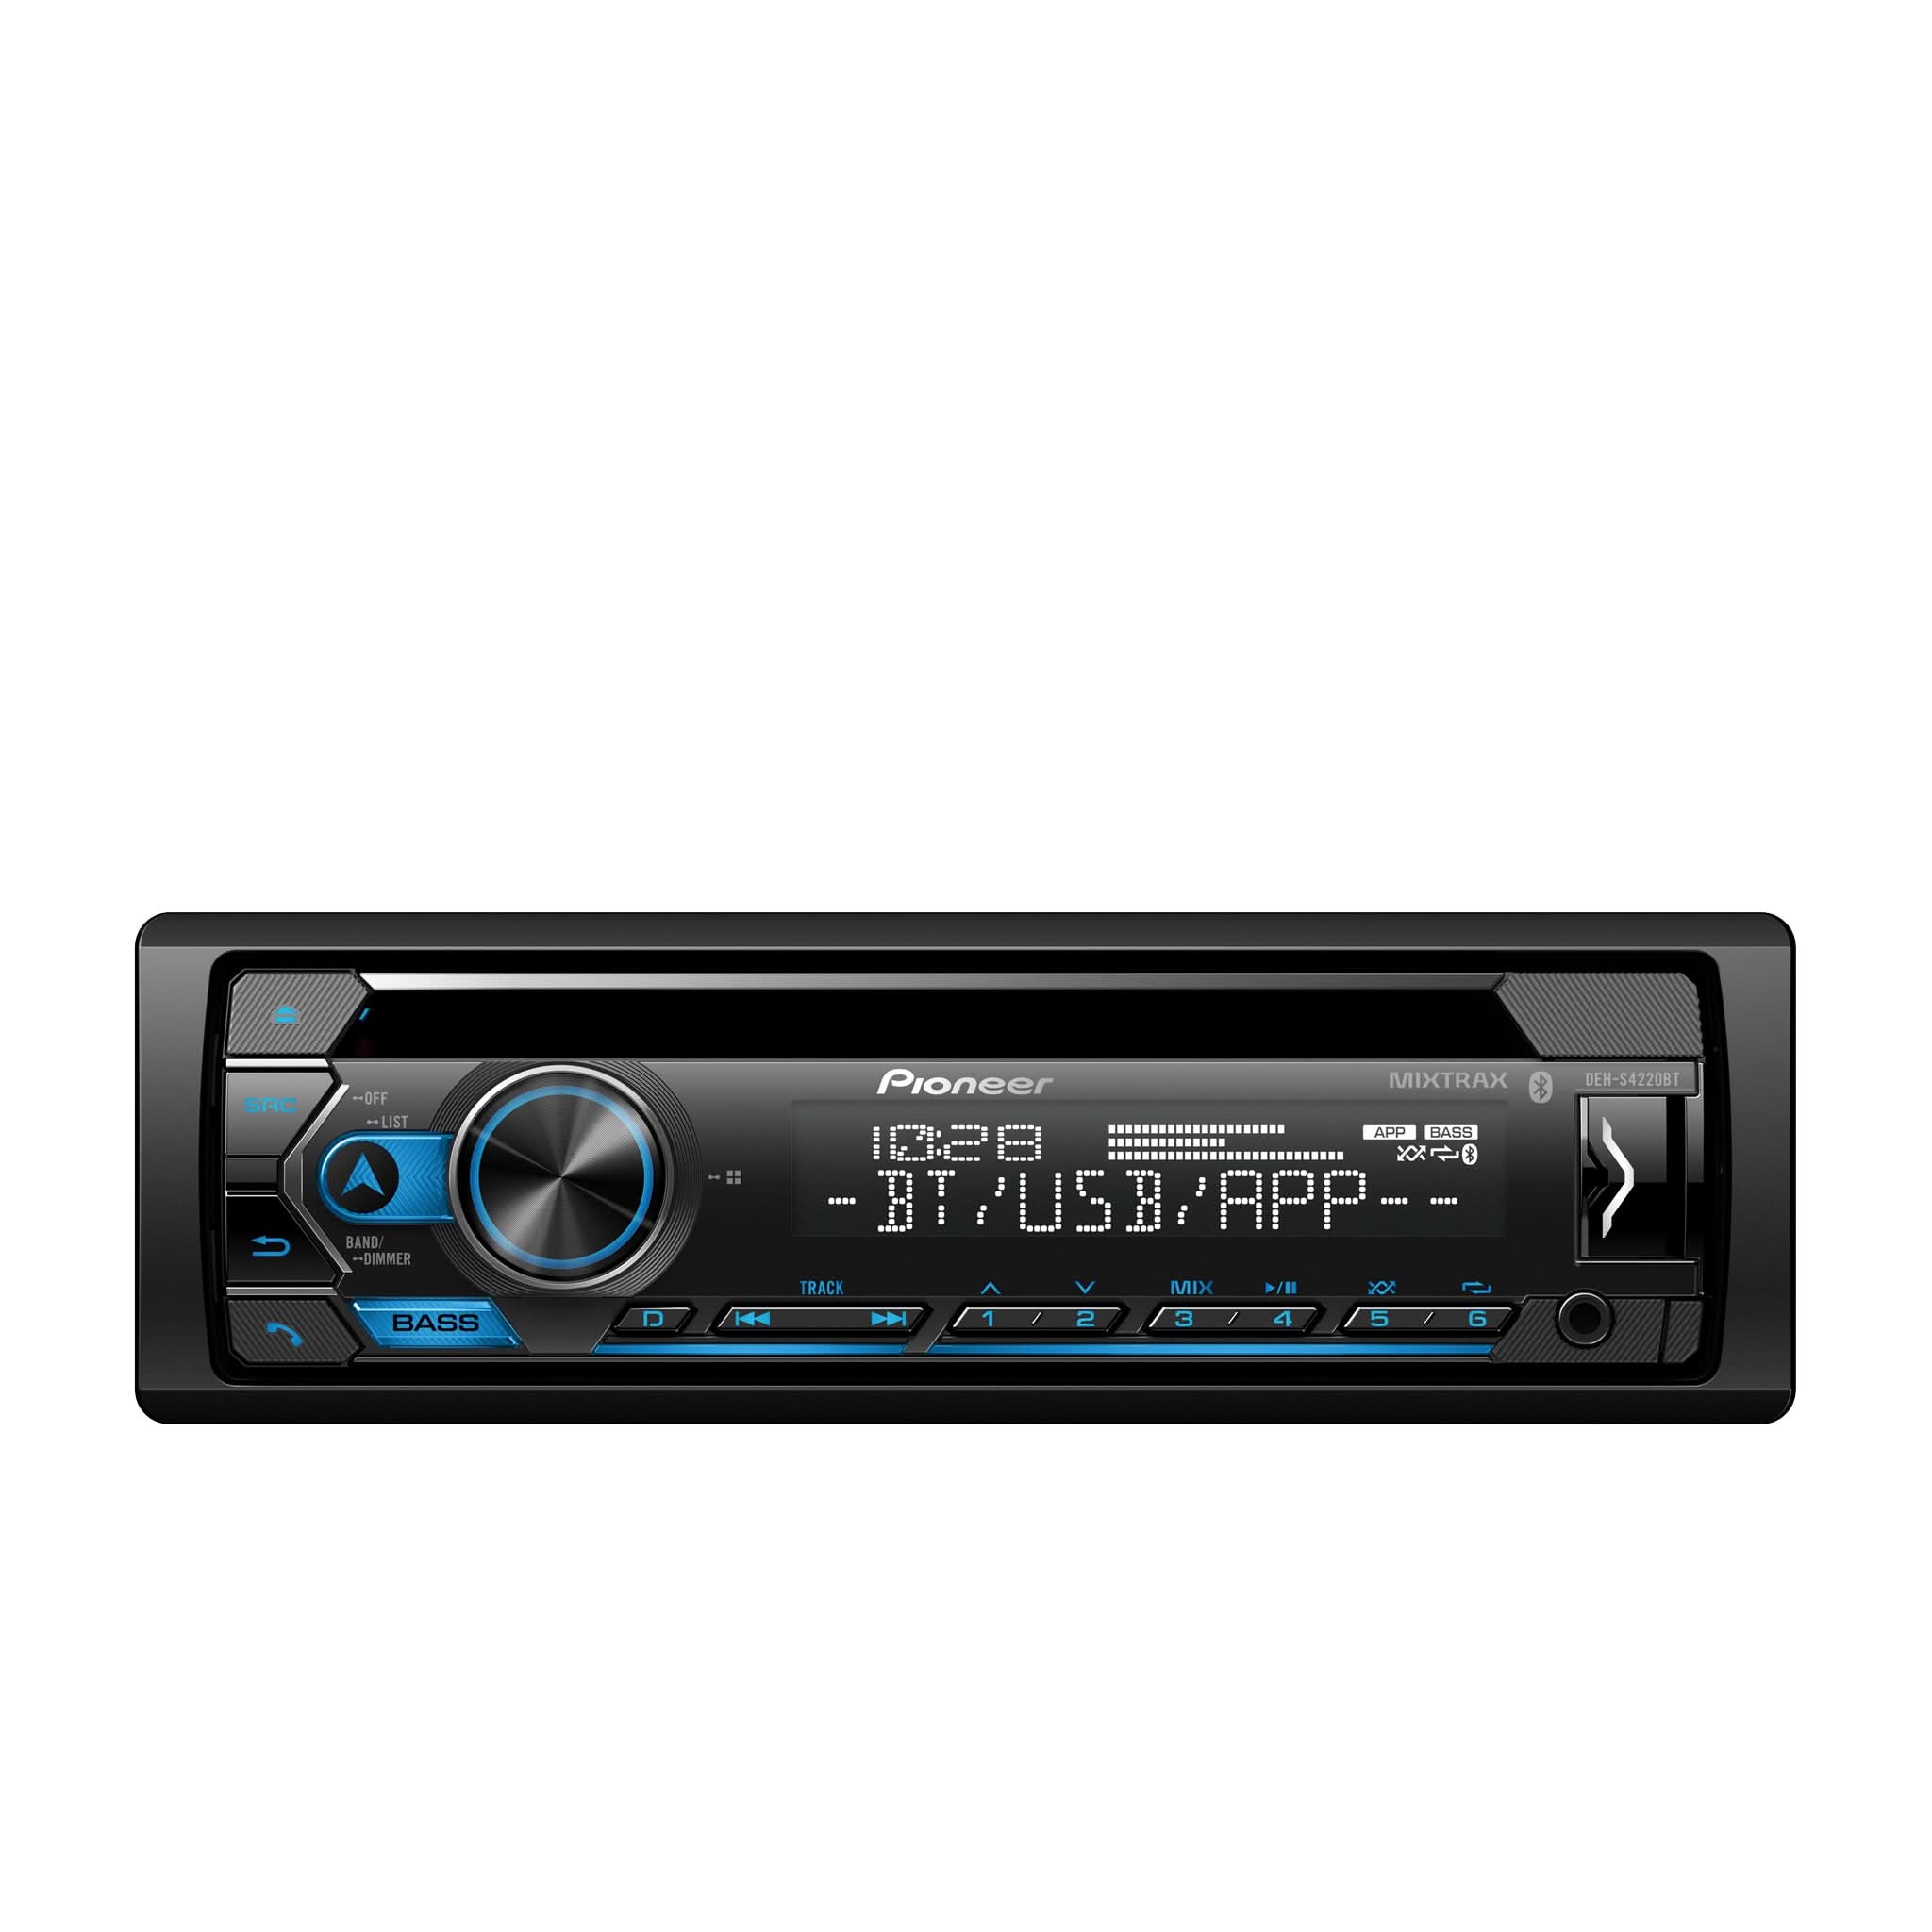
Your very first audio setup for your Pioneer car AV receiver! This setup is available from the very first time you turn on your receiver, or after a factory reset. Please note that this setup is only available for select Pioneer in-dash receivers with three pairs of pre-amplified outputs. It allows you to choose two audio operating modes and determine how your device's audio outputs will be used.
In "STD" (Standard) mode, the device will offer audio outputs with the following assignments;
- Subwoofers (low-pass),
- rears (full range or high-pass),
- fronts (full range or high-pass).
In "NWK" (Network) mode, the unit will offer audio outputs with the following assignments;
- Subwoofers will be assigned to "Low" (low-pass) mode,
- the rear outputs will be switched to "Mid" mode to offer the ability to cut or not cut the high and low frequencies independently of each other,
- and the front outputs will be switched to "High" mode to focus only on your high frequencies.
These two modes offer advantages and disadvantages, but allow you to take two very useful approaches depending on your objectives when designing your audio system. It's up to you to choose the mode that best suits your needs!
Accessing Your Audio Settings
- The vehicle must be stationary and the parking brake must be engaged to access your in-dash AV receiver settings menus.
- Your audio adjustment settings section will not be accessible if;
-
- your AV source is set to "OFF",
- or if you are using a smartphone source such as Apple CarPlay or Android Audio. Please note, however, that your audio settings will be applied to all your audio sources, including Apple CarPlay and Android Auto.
- Press the "Settings" button, identified by the gear icon.
- Once in the Settings menu, select the speaker icon from the buttons on the left of the screen.
- If you have completed these steps in order, you will have access to the various audio settings.
-
- If any menu items are inaccessible (grayed out), it means that you do not have the parking brake applied or the correct source selected.

Basic Sound Tunings (Fader / Balance / Loudness)
Once in the Audio settings menu, select the “Fader / Balance” line.
The "Fader / Balance" setting page allows you to adjust, as its name suggests, the balance between the four main audio outputs from the in-dash receiver. Left vs. Right and Front vs. Rear. Adjustments are made using the touch buttons on either side of the grid or by swiping the cursor on the grid for quick settings.
Please note that the Fader function will not be available if you are in "NWK" (Network) mode.
Once back to the Audio settings menu, select the “Loudness” line. A small pop-up screen will appear, allowing you to choose one of four options based on your needs.
Loudness equalization performs dynamic range compression to adjust the levels between the loudest and quietest parts of your music based on the listening volume. This allows you to better perceive low frequencies when listening at low volumes without having them become too loud when your audio system is at higher volume levels. Depending on your music source, the listening volume, and the audio components in your system, its impact can vary greatly. In some situations, disabling it will be better, while in some others, its use will be appreciated. However, be careful, depending on your sources and other adjustments, like adding loudness to bass boost and/or other additional increases within the bass section of the EQ settings, will have a negative effect and will reduce the musical dynamics and even generate distorted sound. So, be sure to use it with care!

Volume-Level Adjustments (Auto Sound Levelizer / Source Level Adjuster)
Once in the Audio settings menu, select the “Auto Sound Levelizer” line. A small pop-up screen will appear, allowing you to choose one of five options based on your needs.
The Auto Sound Levelizer is a feature available on select Pioneer in-dash AV receivers that allows you to automatically adjust the main volume of the sound system based on the car speed. The higher the speed, the louder the volume will be; when you slow down, the volume of the device will decrease accordingly. This feature can be very useful to overcome ambient and road noise without requiring you to constantly interact with the receiver and keep your attention on the road. Since each vehicle has a different construction and, therefore, different levels of road noise, we have taken care to offer four levels of acoustic compensation.
Once this set, you can now go back to the Audio settings menu and select the “Source Level Adjuster” line.
The Source Level Adjuster allows you to level different audio sources so that they are of a similar intensity when you switch from one audio source to another. Since this adjustment needs a reference, we have selected the FM tuner as the base point. You will therefore be able to understand why this menu is not available if the FM tuner is selected and active. So, if you have one source that is playing quieter or louder than another, this menu will be very useful.

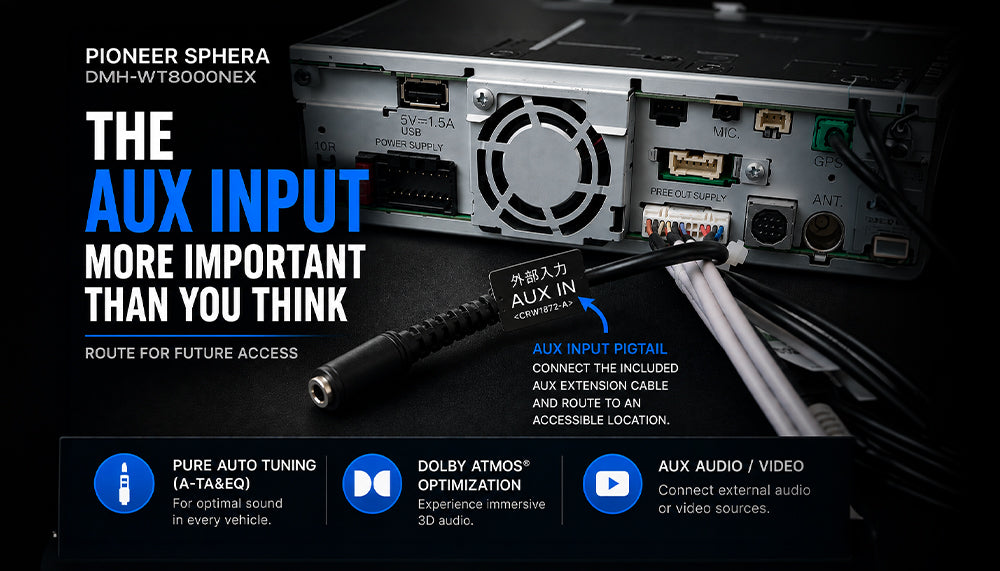
Is there anything missing? (Pioneer Sound Retriever)
Pioneer's Sound Retriever feature is designed to compensate for the lack of dynamics and missing or altered audio information that affects the sound quality of compressed audio files, such as MP3s. This Pioneer-exclusive feature partially restores the detail, liveliness and clarity lost during the data compression process. Pioneer's Sound Retriever enhances the sound quality of compressed audio files, bringing them closer to a typical CD-like musical experience.
How does it work
- Analyzes the compressed audio file and identifies frequencies that are normally squashed or removed during compression.
- Reintroduces the missing frequencies and their amplitude based on the missing audio harmonics using a complex analysis and comparison algorithm.
- The final acoustic result offers a richer, more vibrant sound, particularly noticeable with MP3s and other compressed audio formats, such as streaming.

What are the benefits?
-
Improved Sound Quality
- Greater acoustic vibrancy, more detail, and more dynamics in your listening experience.
-
Enhanced Listening Experience
- By restoring lost frequencies, the Sound Retriever makes music more enjoyable, more natural, and more liveliness to your music.
-
Source Versatility
- Compatible with various audio sources, including CDs, USB drives, Bluetooth audio devices, smartphones, and of course, your favorite streaming source!
How do I use it?
Once in the Audio settings menu, select the “Sound Retriever” line.
Pioneer Sound Retriever offers two levels (Level 1, Level 2, or Off) to allow users to select the best setting to meet their musical preferences and the audio source being used.
You can validate the best option for your listening experience with a simple touch of the screen. Level 1 will normally be used for lower levels of compression, while level 2 is normally used for higher levels of source compression.

Where are you? (Listening Position / Time Alignment)
Once in the Audio settings menu, select the “Listening Position” line.
The Listening Position allows you, once activated and your time alignment calibrated, to obtain a better sound image (audio staging) optimized to your environment and your listening position. Since the cabin of your car presents a certain challenge for the integration of the speakers and your listening position in front of them, it is essential to adjust the sound propagation delays of your speakers so that your ears receive this various information at the same time, even if these speakers are not necessarily at the same distance from the listening position. By having the perfect timing to receive the sounds coming from the various speakers of the car, this will allow you to obtain an optimized synchronization and, therefore, offer a more precise sound image with your instruments and voices where they should be positioned. This will also let you have all the sound reverberation from the recording and not an acoustic biased by those timing issues. Of course, this will also let your audio system generate a bass attack that is harmonious and precise instead of being blurred.
Once the time calibration is completed, it will be easy for you to select the correction you want to apply according to the people in the car by selecting the seat(s) you want;
- driver only,
- front passenger only,
- front seats,
- or all the seats in the vehicle.
Once the driver’s seat is selected as a starting point, you can now go back to the Audio settings menu and select the “Time Alignment” line. You will then be taken to the Time Alignment screen with the Front Left seat highlighted. We've taken care to offer calibration in its simplest form, so you don't need an acoustic degree to complete the task. No complex calculations are required; a simple measuring tape is required.
To perform this exercise, simply measure the distance between the center of the driver's head and the center point of the speaker (ideally the speaker’s dust cap or dome), then enter the measured distance into the Pioneer receiver using the sliders located on either side of the measuring unit. Once you've entered the information for the front speakers, rear speakers, and subwoofer, simply exit the page using the back arrow located in the top left corner of the screen.
If you have more than one speaker powered by the same audio output, for example, a midrange and tweeter component set, we recommend entering the average of the two measured distances into the receiver.

Do you have a sweet curve? (EQ settings)
Let's now tackle a topic that is often a source of disputes and differing opinions: acoustic equalization. In my opinion, the best way to summarize on the subject would be to tell you that acoustic equalization, just like the sound of speakers perceived by our ears once impacted by the coloration of the listening environment, is a bit like ice cream. Yes, you read that right, like ice cream! The important thing is to make sure that the ice cream is ice cream and not something else. As for the flavor, each of us will have our own preference. For the final result in your ears, it's the same thing; some will prefer more bass, others will prefer a more dominant vocal, etc. For this, it is subjective, and it is therefore important to adjust everything to meet the listening preferences OF THE USER and not the one from the installer! However, smoothing the curve is a completely different matter. Because, regardless of whether you like chocolate or vanilla ice cream, your ears and your brain will never enjoy being faced with any acoustic discrepancies like abnormal « peaks » and « valleys ,» or worse, by having the two extremes juxtaposed. It is therefore essential to smooth this curve (see this as the basic composition and texture of your ice cream) to achieve natural acoustics that will be harmonious for your ears.
Without going into a long course for an acoustic degree, but still giving you the basics for adjusting your audio system, you must always keep in mind the following key points:
-
The electrical signal is not equal to your acoustic perception.
- The curve displayed on the screen of your Pioneer in-dash AV receiver is NOT the acoustic curve your ears will receive. Possible "coloration" due to amplification, the design of your speakers, and, of course, various elements of the listening environment, such as the positioning, angles, materials, and curves of the interior trims, off which the sound will bounce, will all impact the final result perceived by your ears.
-
Before rectifying an equalization curve, it is essential to adjust your system's crossovers.
- The filters’ frequencies of your speakers and the slope at which these crossovers are applied will greatly impact the results. (See the "Crossover" section below for details.)
-
Before rectifying an equalization curve, it is essential to adjust your system's time alignment.
- If a frequency common to more than one speaker is transmitted, its acoustic thrust will be greater if it is received at the same time. Therefore, if your time alignment isn't correct based on your listening position or the measurements taken, your equalization correction won't be optimal.
-
To correctly rectify an equalization curve, you must have the same type of musical content that will be used daily thereafter.
- As we mentioned earlier in this article, it is ESSENTIAL to have the same recording quality and file type for your calibration as the content that will be used for daily music listening. As a basic example, if you are performing corrections on an uncompressed source, and the user is primarily listening to compressed music, a significant lack of high frequencies will be perceived.
-
Ultimately, you will also need some acoustic measurement tools.
- Ideally, a good, calibrated microphone designed for this purpose, as well as an acoustic calibration device, or a computer/tablet with the appropriate software, are required to perform more accurate measurements and corrections. Sometimes, even a "good ear" can miss important points. As a possible workaround, you can easily find small acoustic measurement apps (RTA – Real-time analyzer), available on the Apple App Store or the Google Play Store, that you can use with a smartphone or tablet to perform the exercise at a lower cost. To use these calibration tools, you will also need to download, in the same file format as the user’s music (MP3, WAV, FLAC, etc.), an audio source called correlated "PINK NOISE," which is a recording of the entire audio bandwidth with a completely uniform (flat) electrical signal, from 20Hz to 20kHz, which is perfectly in timing for both left and right channels.
Once you have the knowledge and tools in hand, it's time to review your system's acoustic equalization. For this exercise, if you're performing it by ear, select music you know and like, so you will have a clear reference for adjusting the equalization.
For best calibration results, using measuring equipment and a "PINK NOISE" audio source, position your microphone at the listening position in the car to represent the center of your head. A camera tripod is ideal for positioning and allowing you to have your hands free for better interaction within the process. Play the PINK NOISE file in a loop, then adjust the main source volume to your normal daily listening volume.
The first goal of the exercise is to reduce any acoustic peaks and valleys. Then, generally rectify the equalization curve to achieve an acoustic result that accurately reflects listening expectations. The goal is not to have a measurement with the real-time analyzer being "FLAT" (see the central image below for illustrative purposes), as your appreciation of the music under these conditions will likely be... FLAT! Most people appreciate more bass and a curve that will show lower outputs for the high frequencies. Again, I'm repeating myself, but this is entirely indicative and may vary from person to person. However, as the results proved it, this "Target acoustic curve" (See image below right for illustrative purposes) is an excellent starting point that will please most people.
To adjust the equalization from your Pioneer in-dash AV receiver, you need to go to your Audio Settings menu. Once in the Audio settings menu, select the “EQ” line. You will then be taken to the "EQ" page, which will allow you to select the audio equalization that best meets your objectives. For optimal and personalized adjustments, most of our in-dash AV receivers have two presets: "Custom 1" and "Custom 2," which can be used for different needs, for example, one calibration with the vehicle windows closed and the second with the windows open.
Extra EQ Tips
For every +3dB/-3dB adjustment on a device, you will double or halve the signal amplitude, thus putting double or half the power on your speakers. Therefore, if you adjust an EQ band to +6 (+6dB), this will require four times more work from your speakers for that given frequency. So, be careful with your adjustments; it is always better to slightly negatively correct other frequencies than to overcorrect positively at a single point.

Are you sending the right information to the right place? (Subwoofer and crossover settings)
The active filters (Crossover settings) built into your Pioneer in-dash receiver are excellent tools for extracting better sound from your speakers. They also help protect your investment by preventing you from routing an audio source that some speakers may be unable to correctly reproduce. Depending on their various sizes and designs, speakers do not all have the same physical, thermal or acoustic capabilities to handle these frequencies. For example, playing a full-range audio signal through a small 4-inch speaker is not only illogical, it will certainly result in damage to the speaker if you tend to listen to your music at high volume levels... and even more so if you use powerful external amplifiers or some positive corrections in the low frequencies, like using a bass boost!
You can easily select the appropriate crossover settings based on your audio system using a simple reference: the frequency response of your speakers. Since the critical aspect of a speaker is its ability to correctly reproduce low frequencies more than high frequencies, we recommend focusing your primary adjustments on this aspect.
Setting your crossover;
-
Select the crossover frequency between your subwoofers and your front/rear speakers, or the "Mid" if you are in "Network" mode.
- When you are in a setup that integrates subwoofers and external amplifiers, the basic rule for determining this frequency is to take the lowest displayed frequency in the speaker's bandwidth and multiply it by two. Once this value is confirmed, simply adjust your high-pass filter for your front/rear speakers (or "Mid" if you are in Network mode) with the closest available frequency from the crossover options.
-
-
- With a Pioneer 6.5-inch TS-A1681F, as an example, a speaker with a frequency response from 35Hz to 29kHz, you should adjust the high-pass filter to 70Hz. Why select this frequency, which is twice the lowest frequency mentioned in the specifications? Simply because this frequency isn't the speaker's natural roll-off point, but is an octave lower, hence the requirement to multiple this information by two. Therefore, by making this adjustment, you're matching the audio source's crossover point with the speaker's natural roll-off point. (You are not asking for more, but you are not losing anything.)
-
-
- When you are in a setup without subwoofers, using only "full-range" speakers, and these speakers use the internal power of your in-dash receiver, you can adjust the crossover to a lower frequency or even disable the crossover to compensate for the missing subwoofer. However, it's important to understand that this additional "stress" on the speaker will affect its performance and greatly reduce its power handling. Therefore, if you experience lower sound quality or poor vocals, it may be because you're asking too much for those speakers, and it would be wise to add a subwoofer that is specifically designed for this purpose.
- If you are in "Network" mode, perform the same exercise you did for the high-pass filter on your “Mid” and apply the required high-pass filter for your tweeters. If this is the case for you, NEVER, NEVER turn on the volume of your audio system before having those crossover settings properly adjusted. Failing to do this will basically result in destroying your tweeter units.
-
Once you have removed the unwanted bass for the targeted speakers, you can focus on the low-pass filters, which will normally mirror the filters you just applied for the low frequencies. Therefore, activate a low-pass filter for your “Mid” if you're in "Network" mode, as well as the low-pass filter for your subwoofers.
-
- Taking back our previous example, if you have a high-pass filter for your TS-A1681F at 70Hz, then it will make sense to have a low-pass filter at 70Hz for your subwoofers.
-
-
Last but not least, you need to adjust the slope of your respective filters to cut these unwanted frequencies more or less quickly. A good starting point is to apply -12dB/Oct. filters to the filters applied to your midrange and high-frequency speakers and to apply a slope of -18dB/Oct. to the low-pass filter of your subwoofers.
-
Why not apply a steeper slope? There are two main reasons:
- The steeper the slope, the sharper the transition will be. So, if, for example, we have too much of a cutoff between the tweeters and midrange speakers from a component set, this will increase the acoustic demarcation between these two elements.
- The result: you will be able to clearly identify the audio transition between the two speakers instead of having a perception of the whole audio coming from the component set.
- Depending on the slope used, a crossover will also generate an audio signal that is not in-phase with the source. For every -6dB/oct. steps, the audio output of a filter displays a 90-degree phase shift in the signal. So, a -12dB/oct. (180-degree) low-pass filter on a midrange driver, juxtaposed with a -12dB/oct. (180-degree) high-pass filter on a tweeter will allow these two units to be perfectly in phase with each other.
-
Then why -18dB/oct. on the subwoofers as a starting point?
- To cut the high frequencies more quickly, thus preserving the full bandwidth for the subwoofers without pushing too high into the mid-bass and midrange of the audio spectrum. Trust me here, you really don’t want to hear vocals in a subwoofer.
- Because we need to bring the low frequencies of the subwoofers back into phase with the signals coming from the other speakers. Depending on the car acoustic, the design of your subwoofer box, where and how you installed it, it may add some phase shifts to the audio signal that is coming from your subwoofer. How to validate this? Listen to an audio source with good bass and try the different slope settings available for your subwoofers. When this slope & phase is the most appropriate, you will perceive a better impact and cleaner bass due to the better cohesion between the sources (speakers). In addition, in-phase subwoofers will result in better audio staging being higher.
-
Why not apply a steeper slope? There are two main reasons:

Some spices may be good, but too much is always bad! (Bass Boost)
Pioneer in-dash AV receivers offer a "Bass Boost" that increases the low-frequency portion of your audio at different possible levels (five + Off), much like your EQ, but by working across multiple frequency bands simultaneously and progressively toward the master frequency (Low Q). This allows you to quickly compensate for the type of source you're listening to if it lacks bass, while leaving your EQ's acoustic correction intact.
This adjustment can be very useful if you're momentarily listening to a type of music lacking bass and then switch back to another source. However, and just as we mentioned about the "Loudness" adjustment, we encourage you to use it with caution, especially since it provides a constant correction regardless of your listening volume, while the "loudness" decreases at higher volumes.

EXTRA TIPS TO SAVE YOU SOME POSSIBLE HEADACHE (Save your settings)
After all this work, it would be a shame to accidentally lose it all! We have therefore taken care to add non-volatile memory to our devices to allow you to save your audio adjustments. This will be very useful if you disconnect the battery from your vehicle, or if you perform a firmware update on the device.

Stay tuned for our next article, where we'll cover a very interesting aspect of an audio system; the amplification. As we all know, an audio amplifier allows you to listen to more powerful sound. But did you know that the main purpose of an amplifier isn't necessarily to make your music louder, but to add more dynamism, get more details to your experience and bring liveliness to your music?

