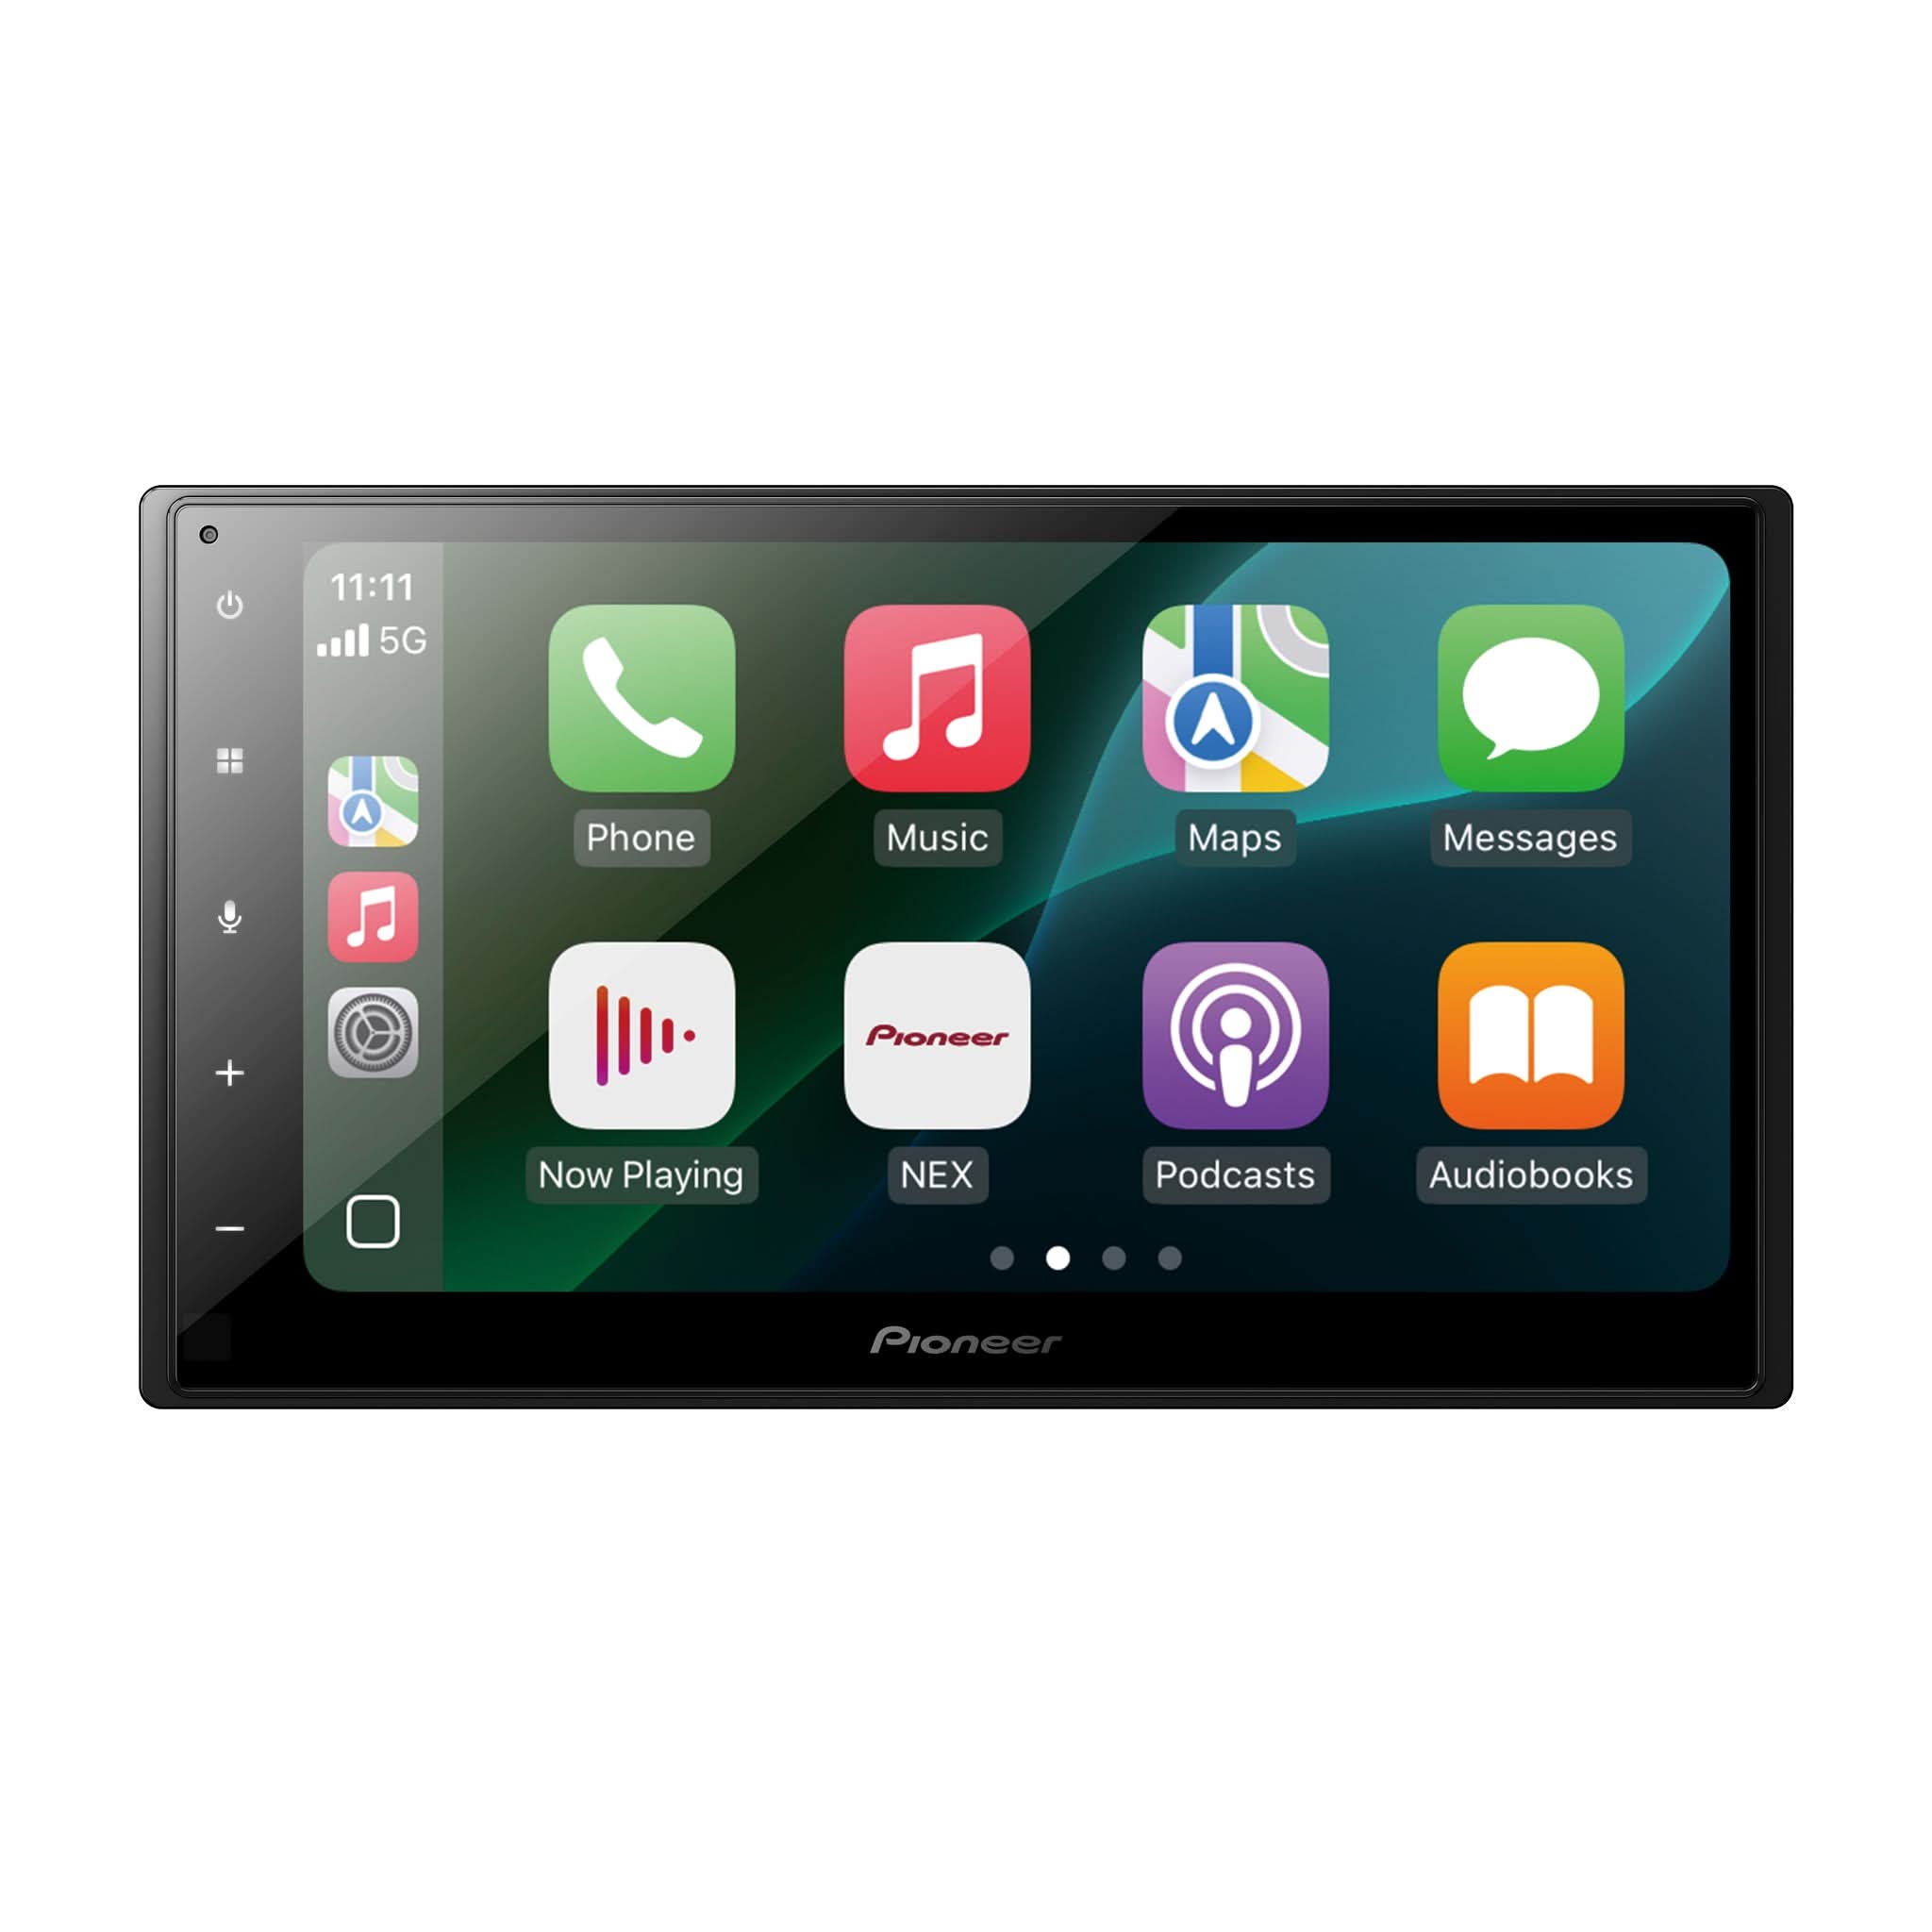


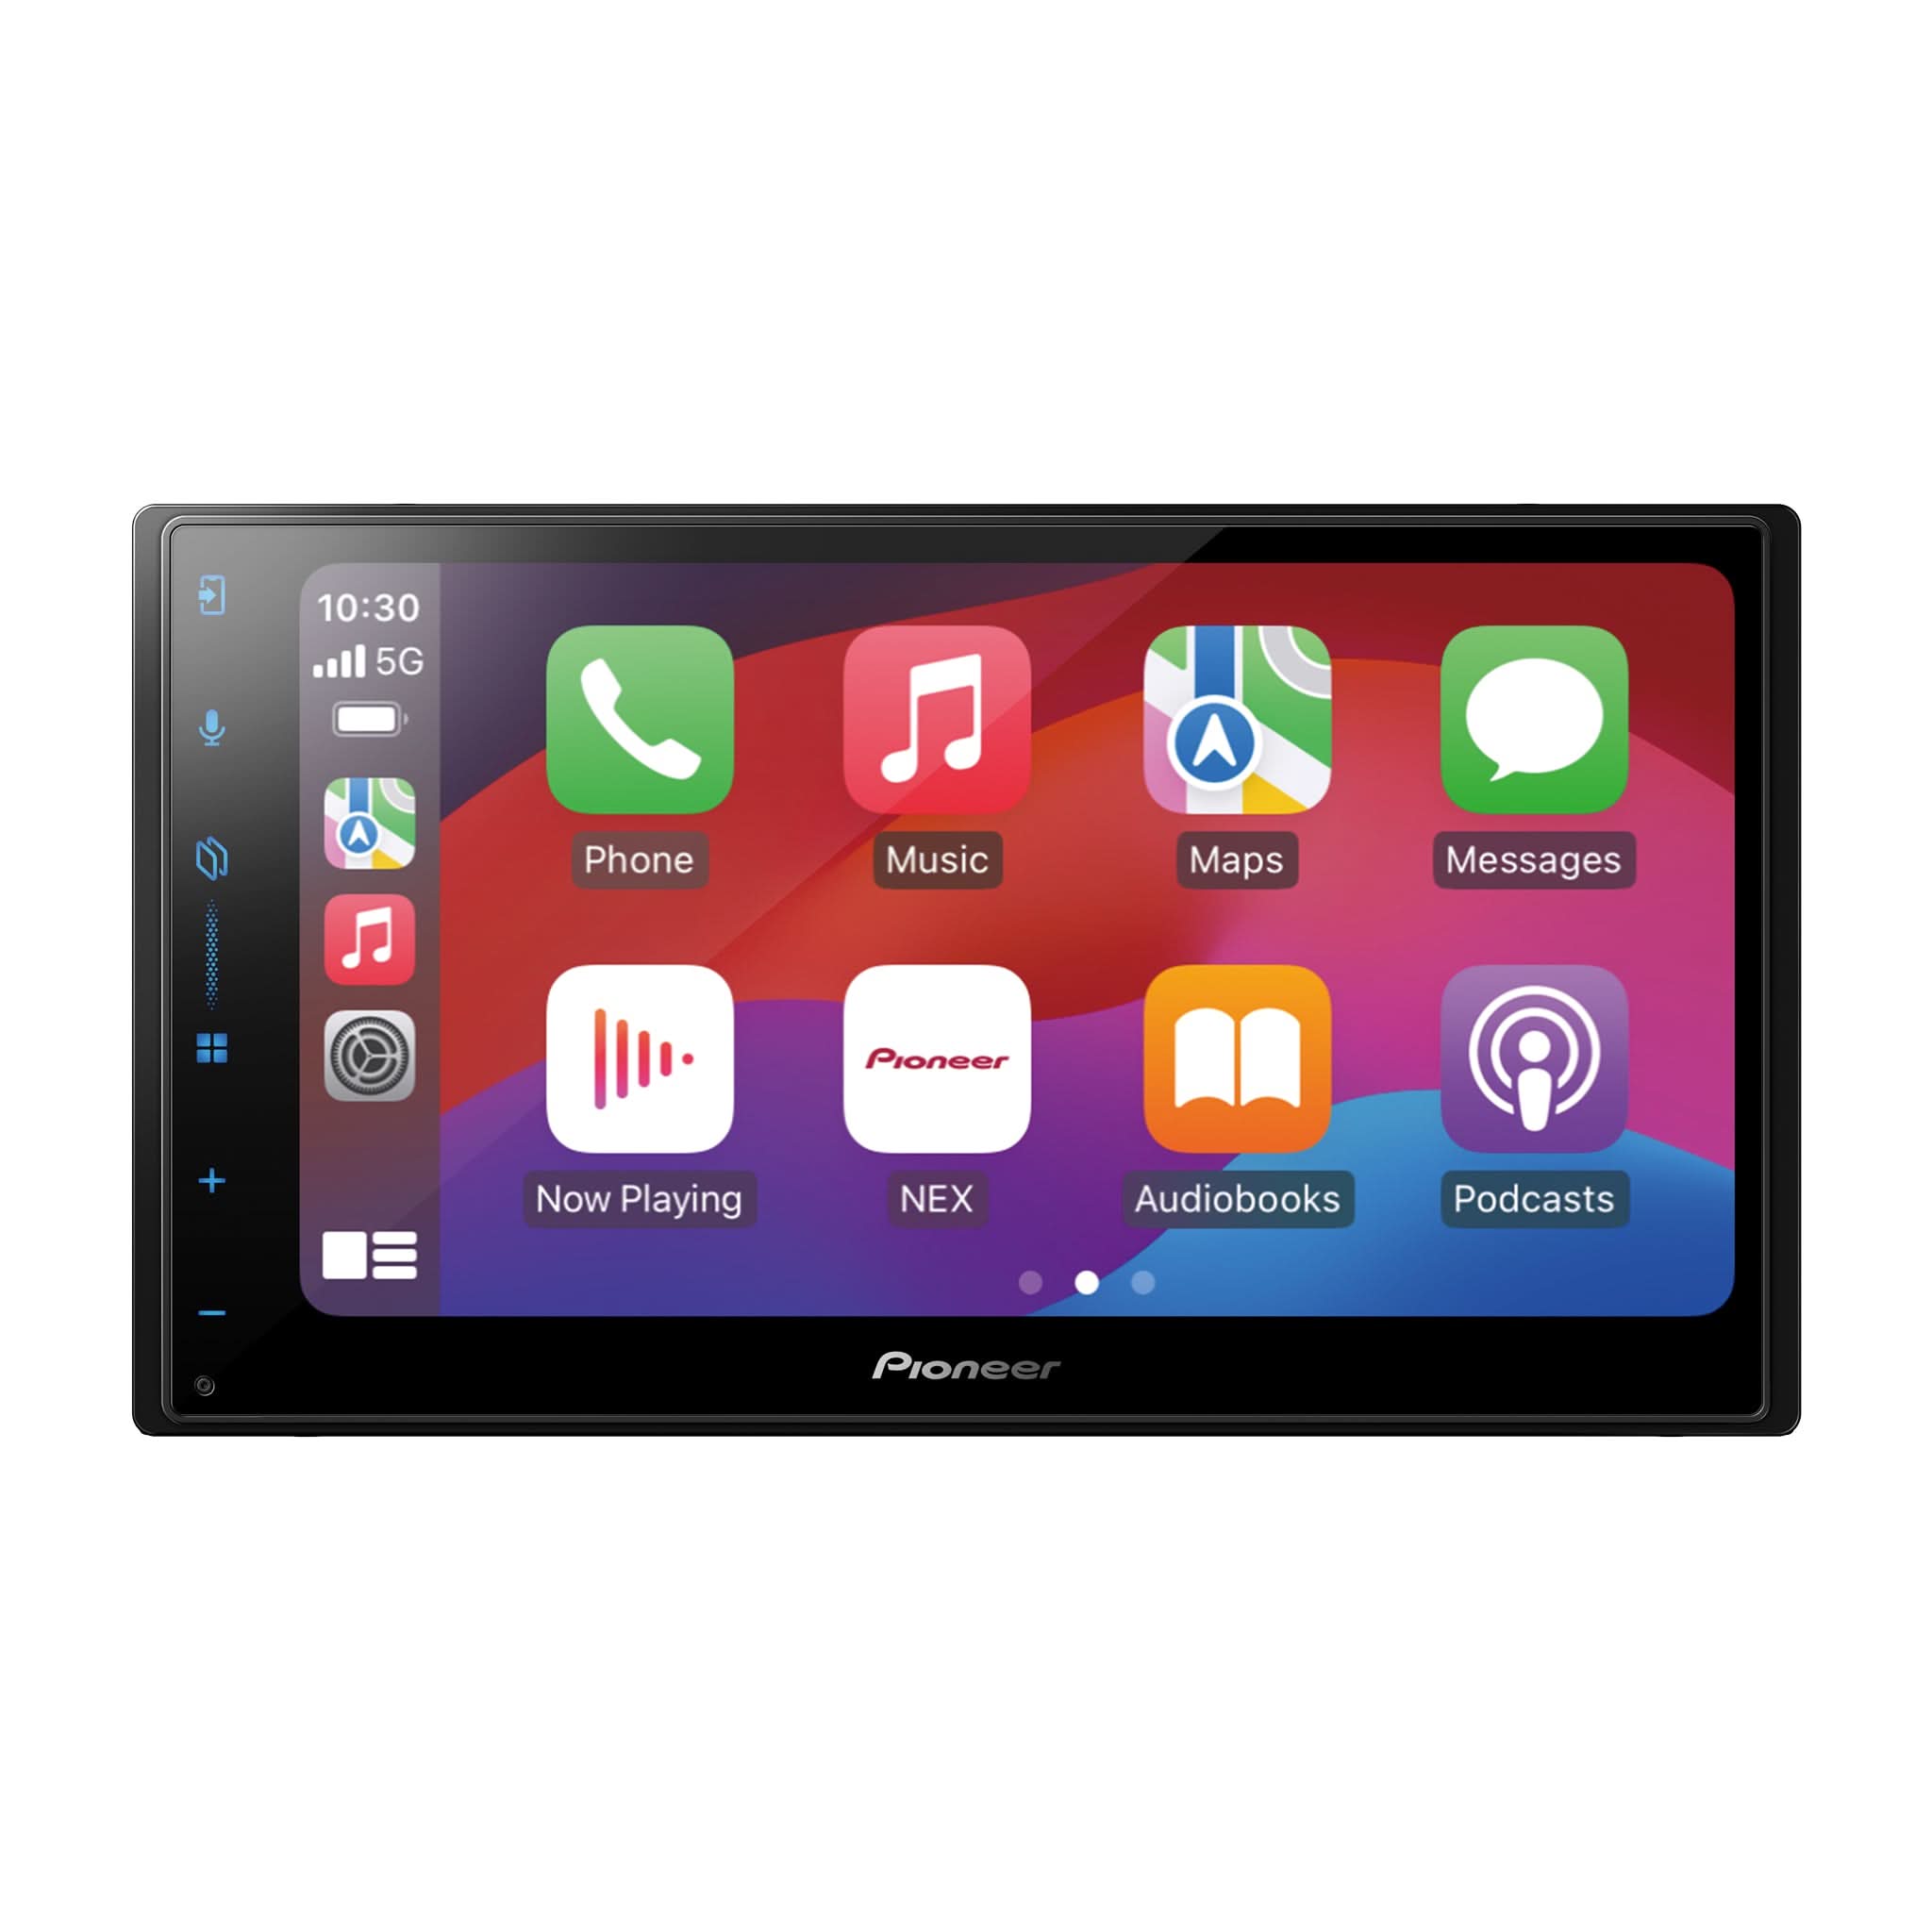
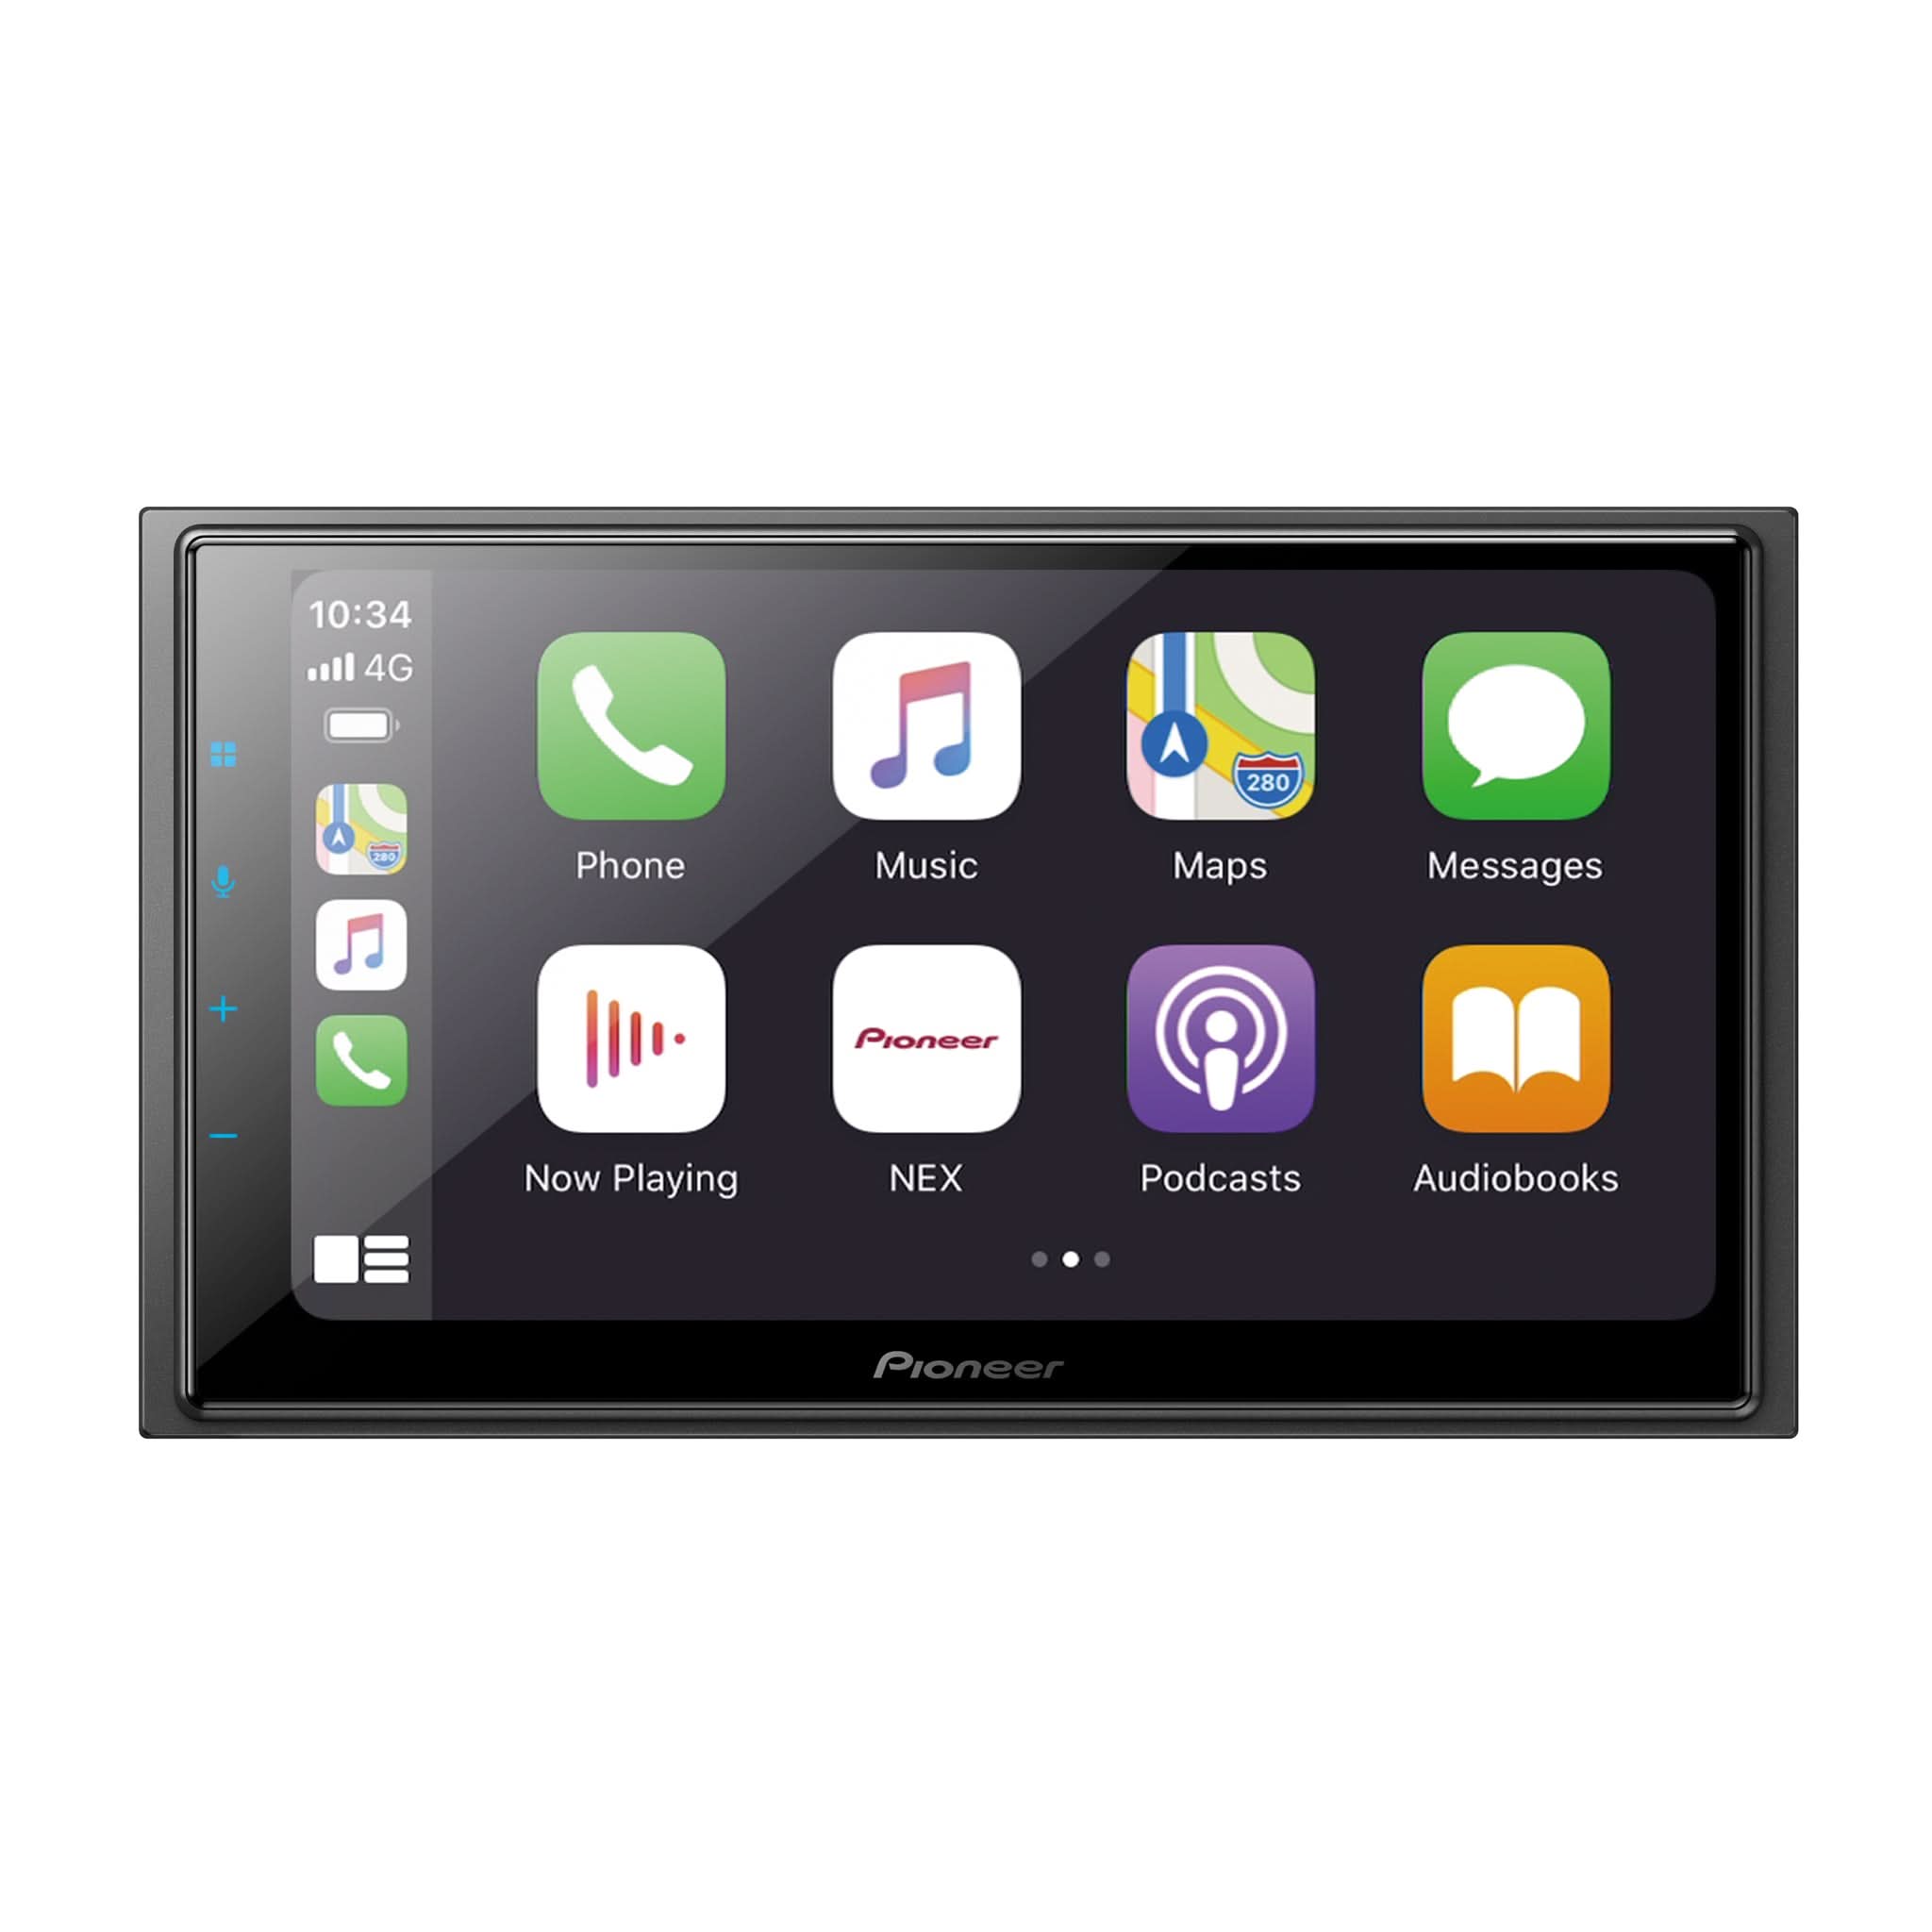
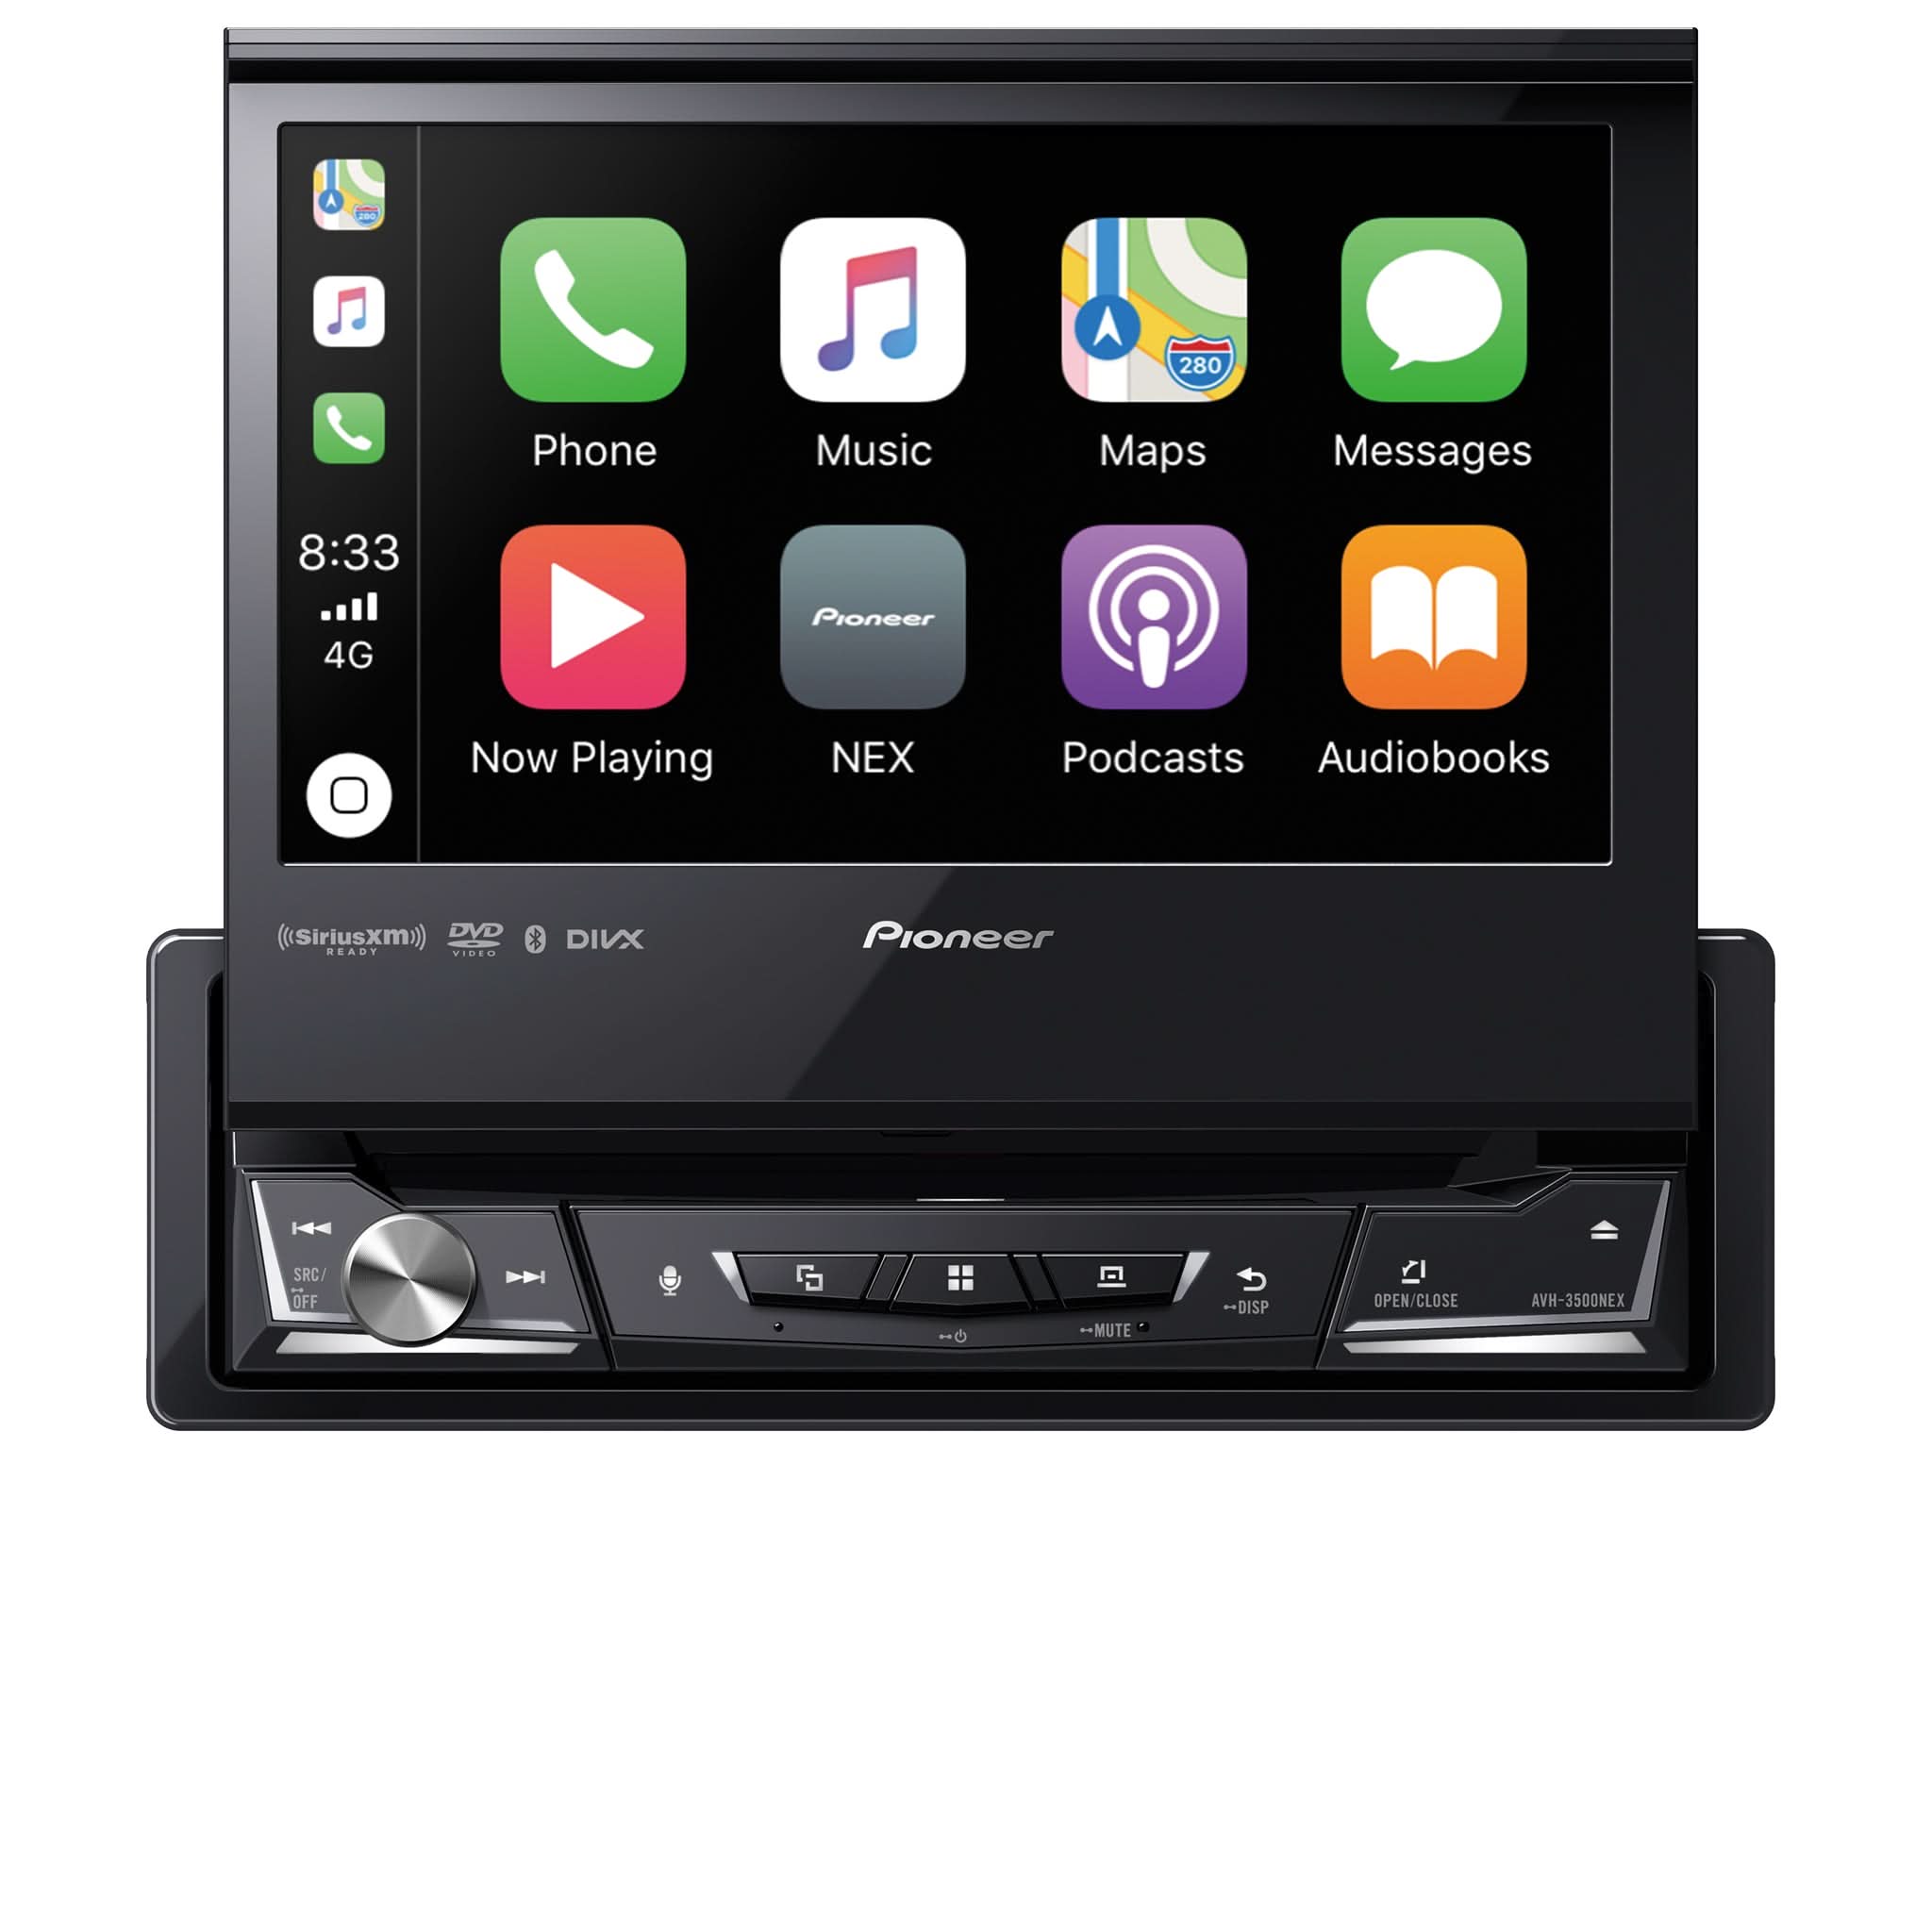

Configuring Maestro in Your Pioneer NEX Receiver


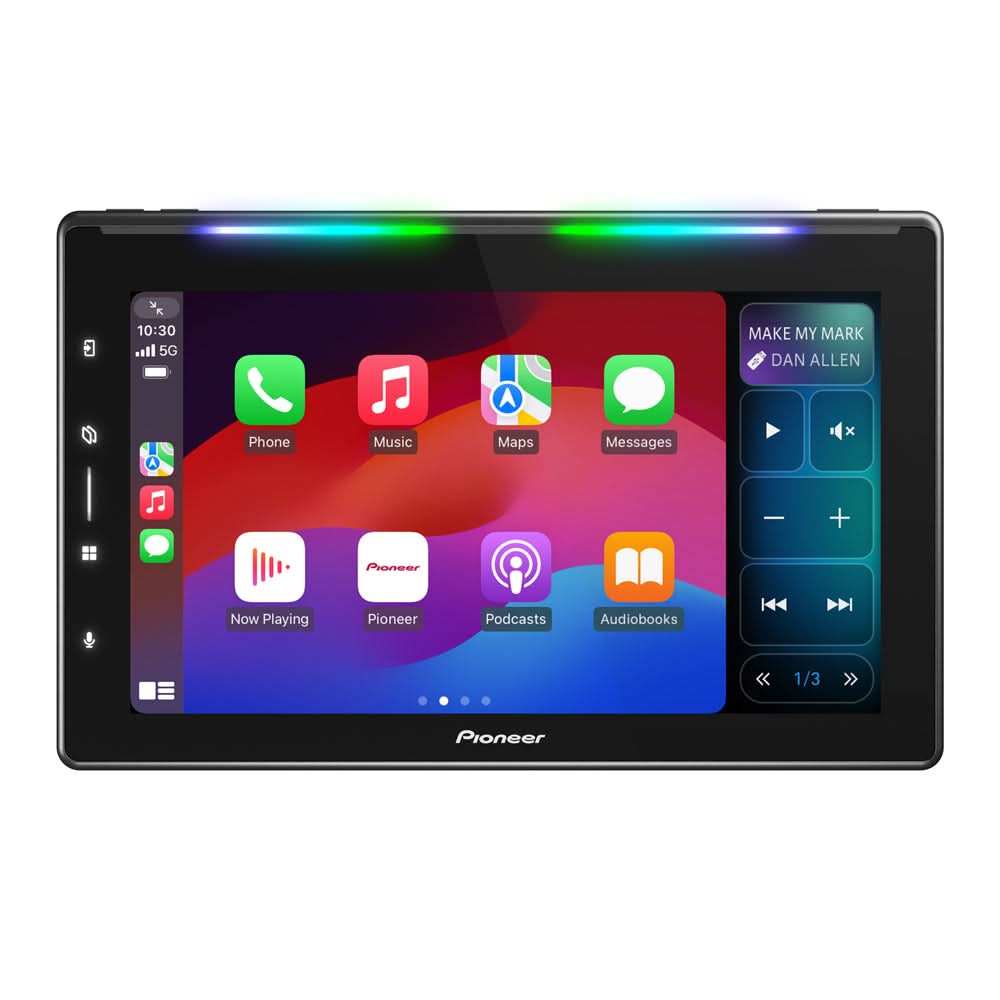
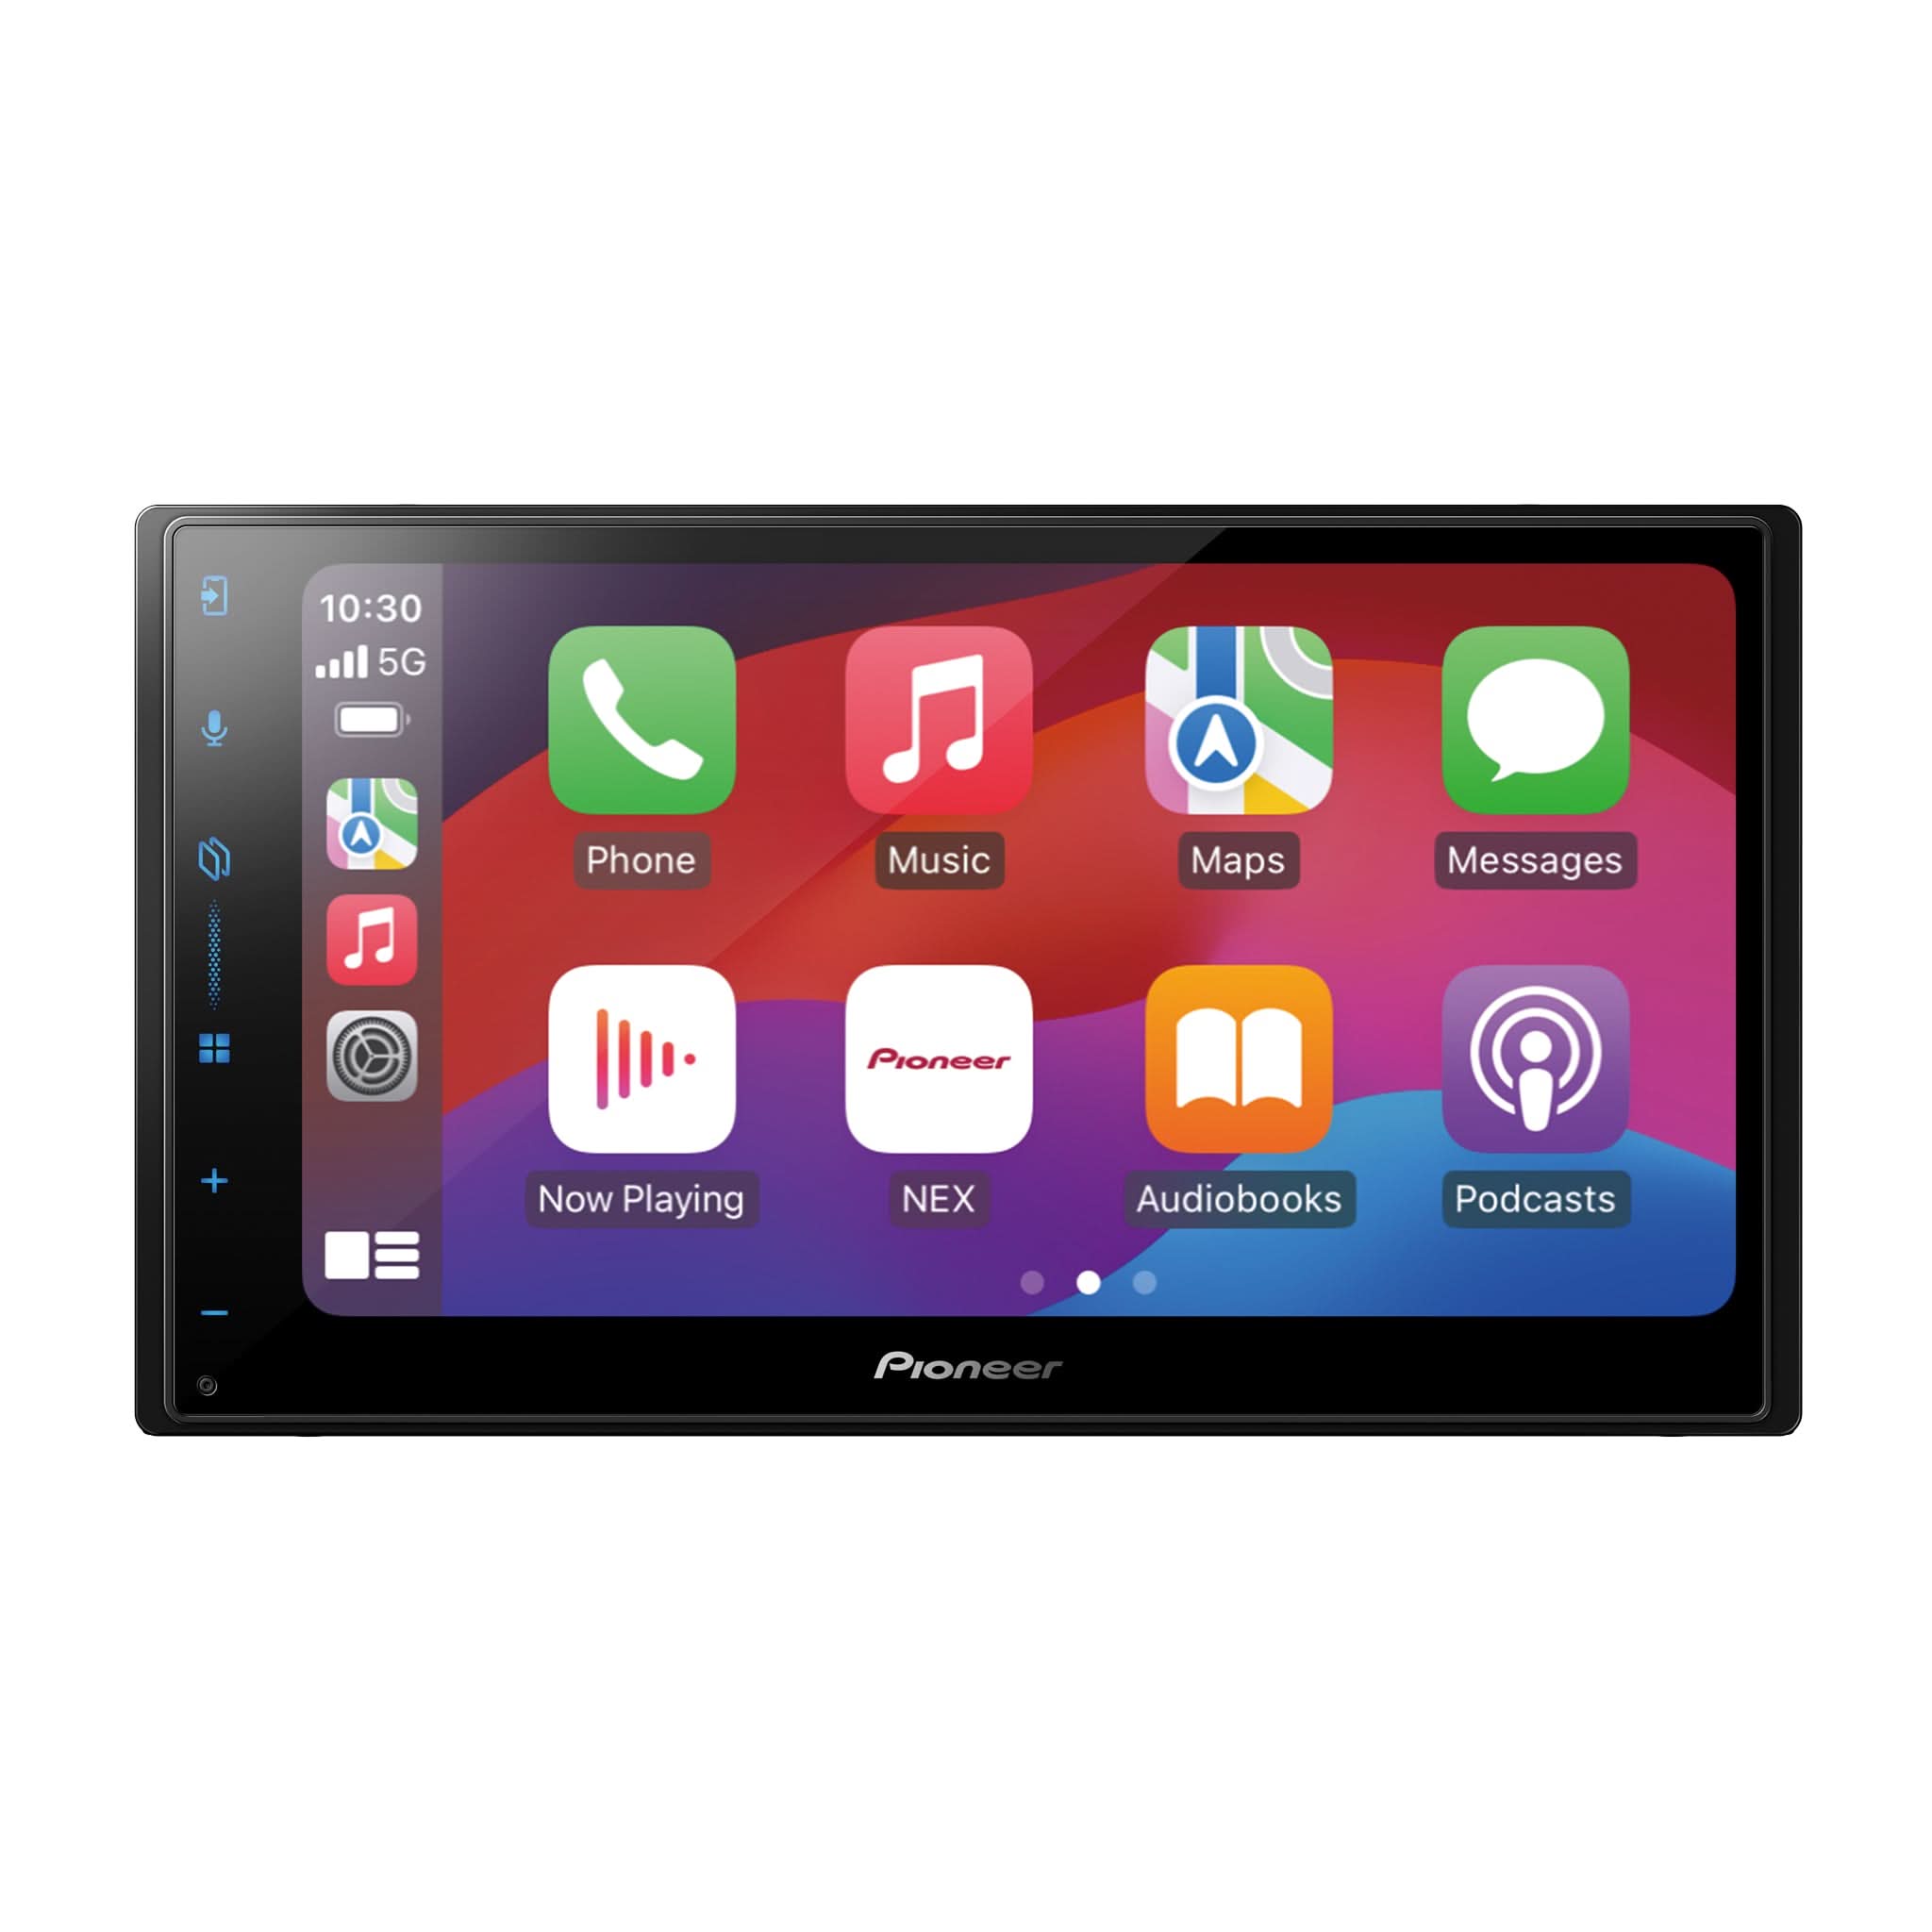
If you’ve just installed a Maestro interface with a Pioneer NEX head unit, don’t stop at wiring. Taking a few minutes to walk through the on-screen setup ensures your customer gets full functionality, including vehicle gauges, climate control, and steering wheel button customization.
Here’s a quick post-install checklist to make sure Maestro is properly configured within the Pioneer UI:
1. Go to OEM Settings
Tap the gear icon on the home screen
Navigate to: Settings > OEM Features > iDatalink Setup
This menu only appears if Maestro is properly connected and flashed
2. Enable Gauges and Vehicle Info
Navigate to Vehicle Information under OEM Features > Enable OBDII communication
Toggle on supported data points like:
RPM
Voltage
Tire pressure
Door status
Available data will vary depending on the vehicle
3. Activate Climate Display (if supported)
Go to: Settings > OEM Features > Climate Settings
Toggle Climate Display to “On” to enable automatic overlays when climate functions are used
Choose display style (icon vs full screen) and set overlay duration
If your vehicle has heated seats or a heated steering wheel, these controls may not appear by default. To enable them:
Go to: Settings > OEM Features > Vehicle Settings
Look for Heated Seat Controls or Steering Wheel Heat and turn them “On”
The buttons will now appear in the on-screen climate overlay
4. Test All Features Before Completing the Install
Confirm the following are working as expected:
All steering wheel buttons
Gauges populate in real time
Climate overlay triggers properly
Heated seat and steering wheel controls appear (if applicable)
Camera and sensor integrations display as expected
Pro Tip: If Maestro configuration was skipped at first boot, you can return to OEM Settings anytime to access or adjust these features.
Spending just a few minutes inside the OEM Features menu helps ensure a smooth, integrated user experience that feels as close to factory as possible.