


Car Audio Amplifiers - How to Bring Life to Your Music


If you're reading this, you're probably looking for a new amplifier for your car audio system, or you would like to learn more about the subject so you can optimize your audio system based on the various Pioneer components you already have or plan to own. And you're at the right place!
With this article, I'll make it my mission to share with you our tips and suggestions for selecting the right audio components to get the most out of your investment, as well as for properly calibrating them so they deliver optimal results and with one main goal; putting a beautiful big smile on your face every time you get behind the wheel for a musical road trip!
Per its title, we will focus our attention today on car audio amplifiers. The speakers’ topic, which is just as important and complementary to the current article, will be covered in our next article. If you are curious to learn more about any previous articles, where we have covered audio processing information and sources providing audio to your system, I invite you to look HERE.
It’s All About Liveliness
As the old adage goes, a chain is only as strong as its weakest link. So, even with the best source and speakers for your car, if you don't have similarly high-quality amplifiers to link those two and power your speakers properly, it won't work, you won't get the most out of it.
You can easily compare this to your car: where your speakers are the chassis of the car, and the amplifiers that power them are the engine. Even if your car has good handling and has been carefully designed to corner well and be stable in a straight line, it will be difficult to achieve good performance and driveability if the acceleration isn't crisp, and the motor reaction is sluggish.
Still in comparison to this engine, a good audio amplifier doesn't just make you go faster (see here: making your audio system louder); Its main purpose is to better support the speakers’ load and provide good acceleration and snappy reactions when needed. An amplifier will also give you better control over speaker movements to achieve more precise, faster reactions, and, of course, a more faithful reproduction of the source material.
A quality amplifier isn't about power, but more about finesse and control. Its speed of reaction to variations in the audio signal, its thrust into the speaker cones, and its ability to control the cone's return to its initial position are essential to achieve great sound reproduction.
An amplifier adds power, dynamics, and refinement to your audio system. It brings music to life!
Dealing With Speakers
As it is with instruments, none of those can perfectly reproduce every single note for all the audio bandwidth. Speakers also have their own limitations. From low to high frequencies, a group of speakers, where each element plays their own dedicated and specific role, will be more efficient than having a single speaker handling everything:
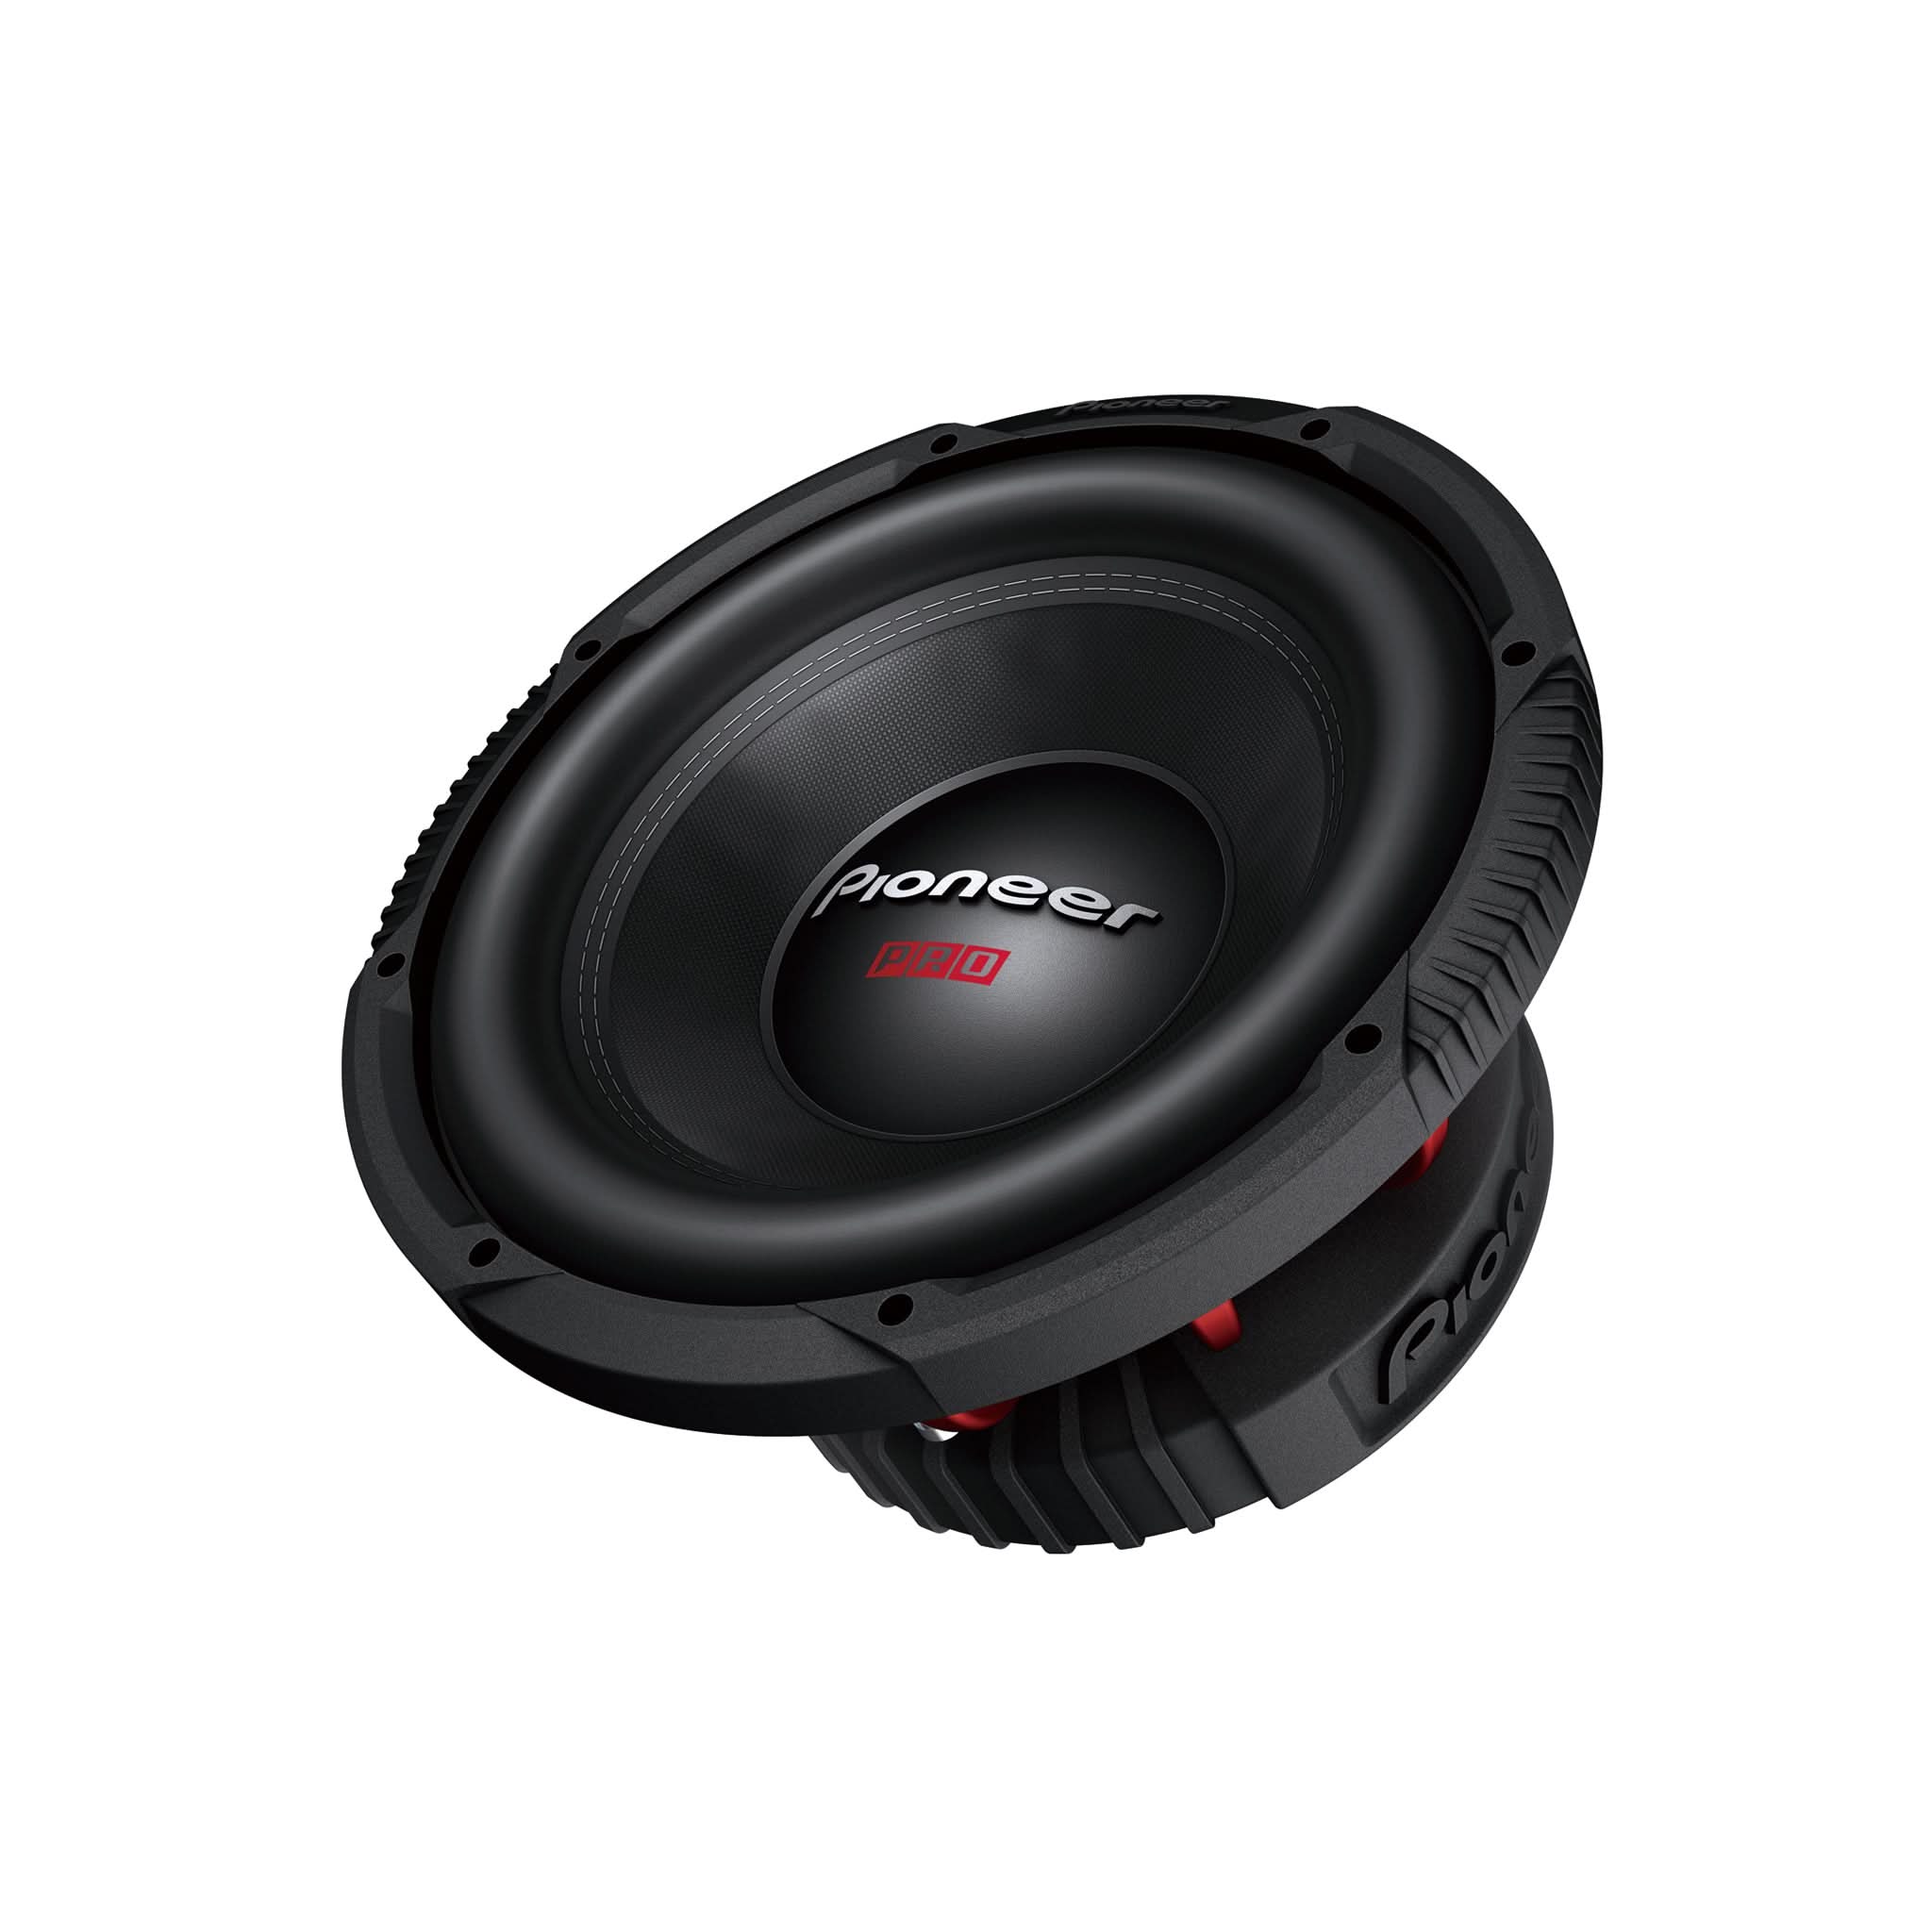
- A good subwoofer is required for low frequencies and the big air displacement generated by its cone.
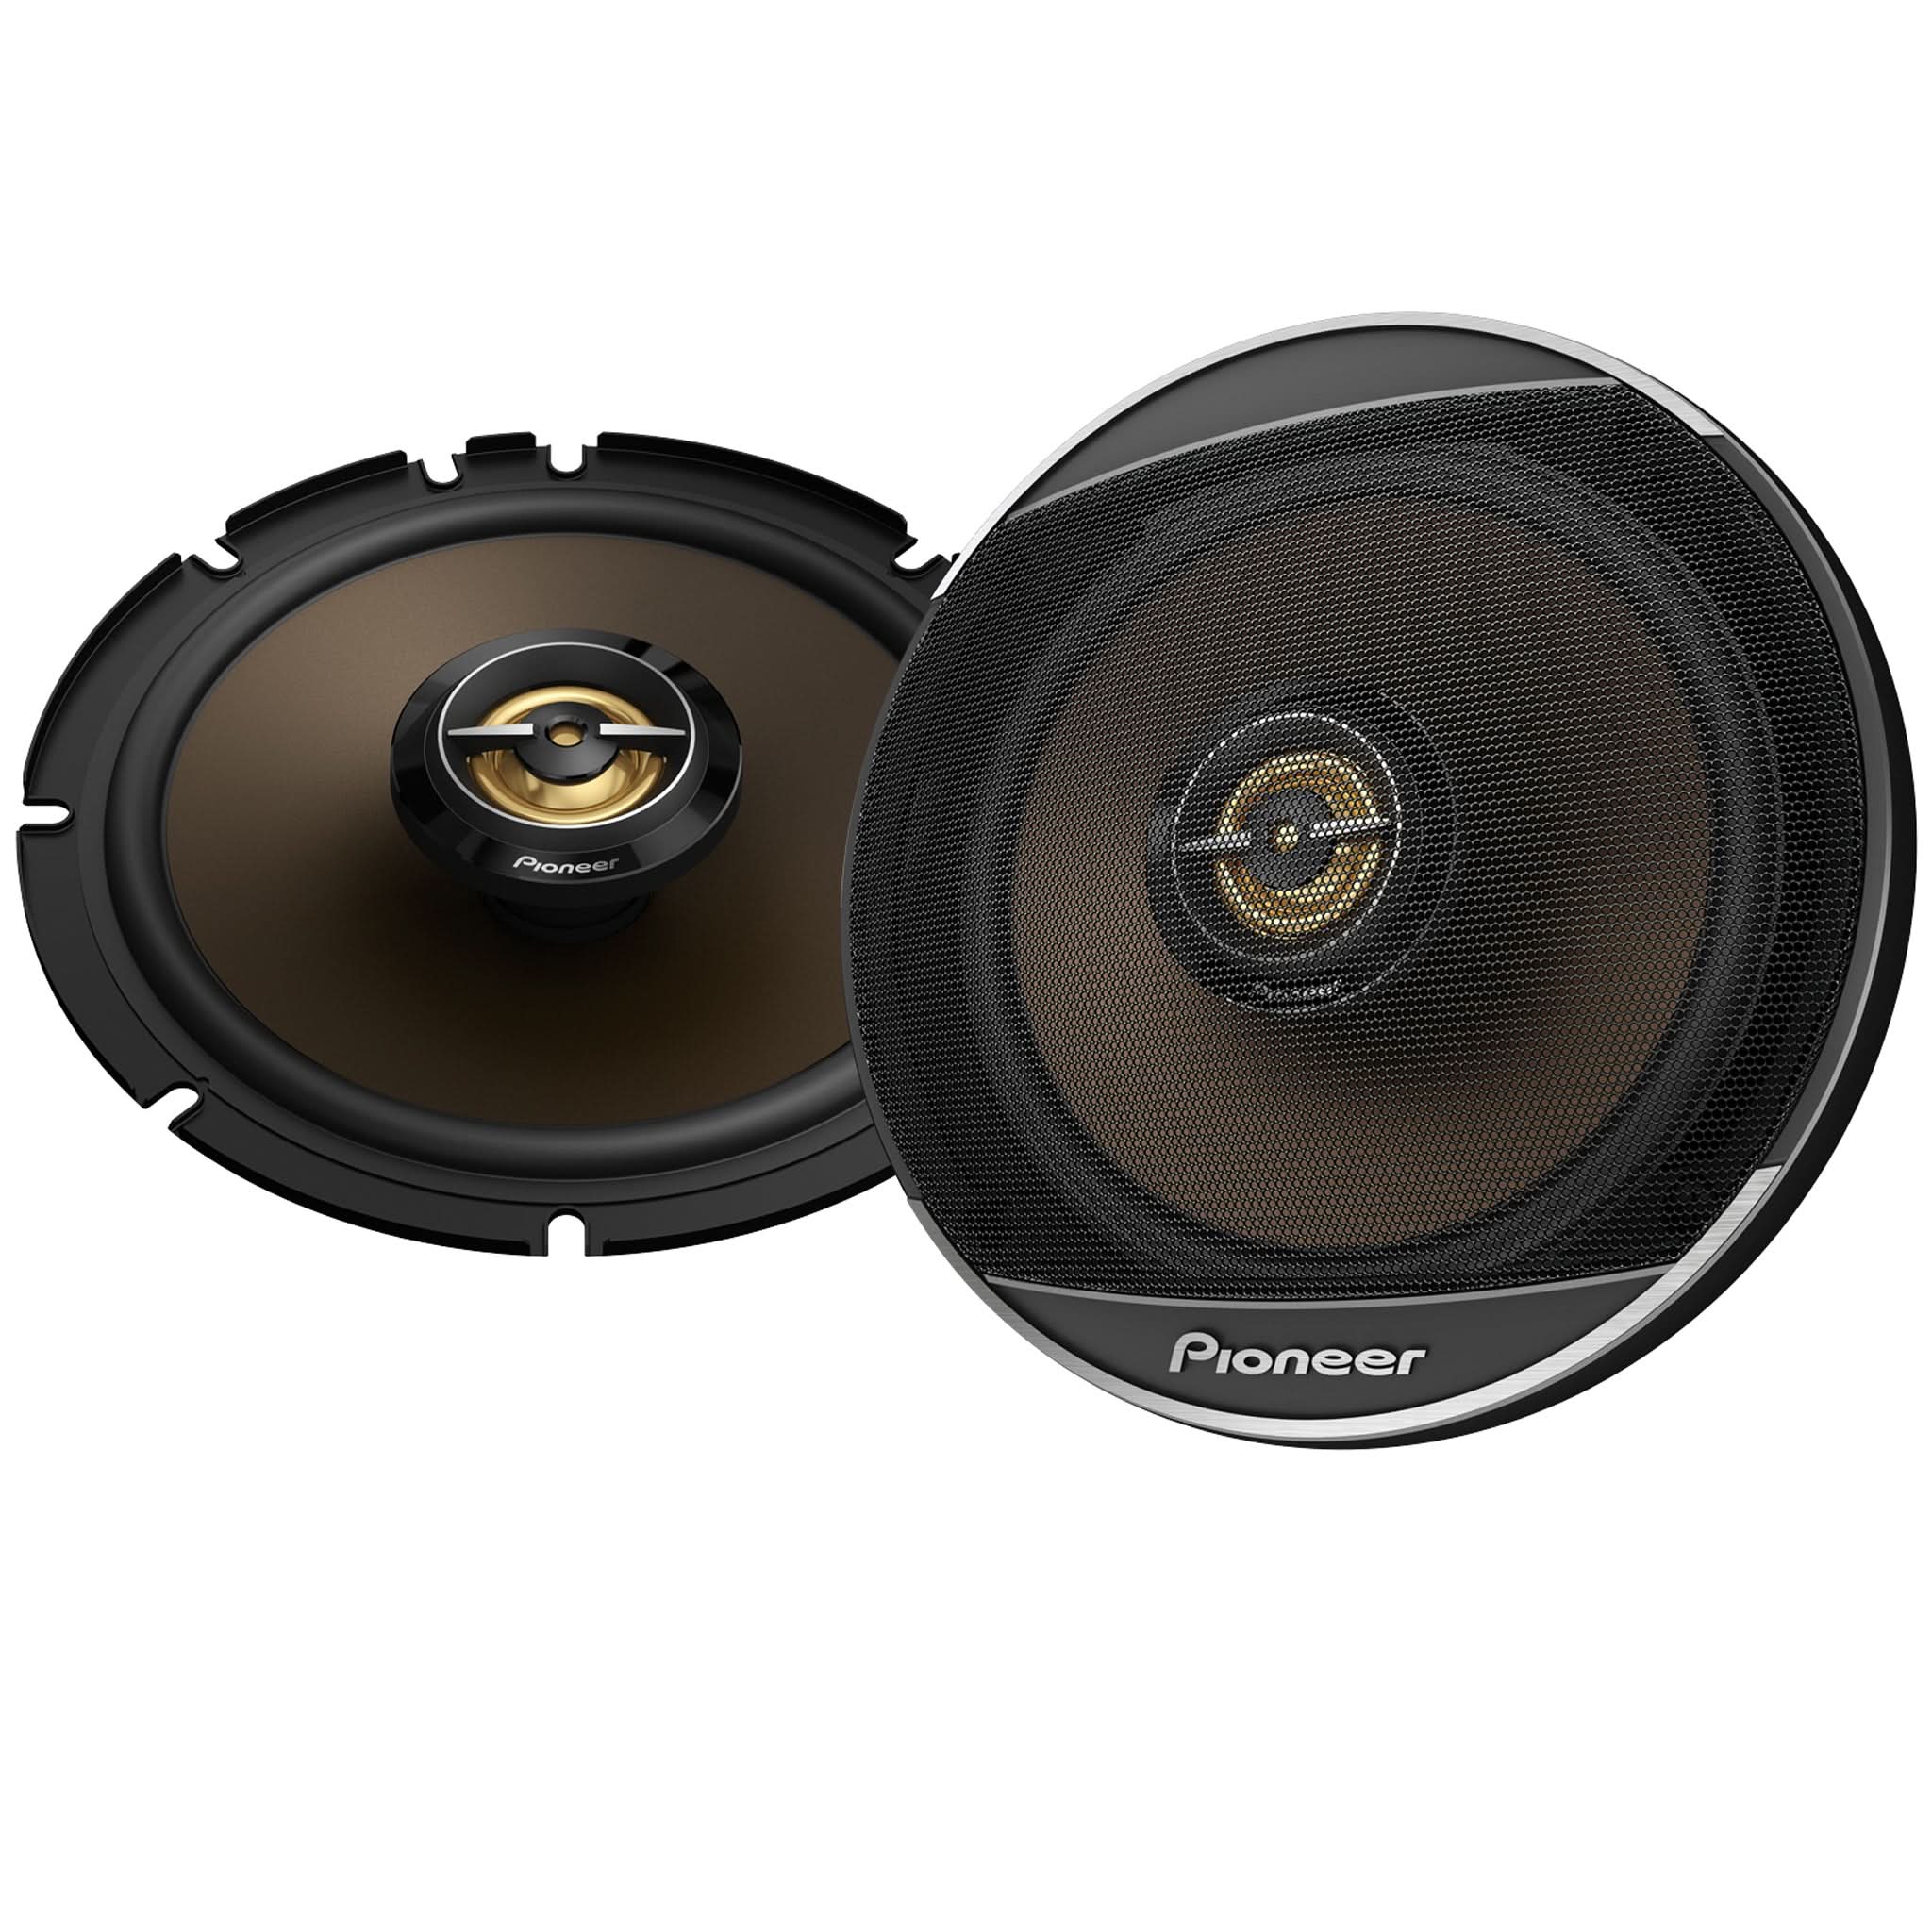
- Good, dedicated, and precise midrange speakers are required to properly handle midrange frequencies and reproduce rich instruments’ notes and vocals.
- Small, lightweight dome tweeters are ideal for the very rapid and precise movements required to dynamically reproduce high frequencies.
Each speaker has its own characteristics; therefore, you'll need to match the quality and power of your amplifier(s) to each speaker to get the most out of them.
As with our car comparison, too much power can be detrimental if mismanaged. On the other side of the spectrum, too little power will be just as detrimental if not more. The rule of thumb here is that a speaker will always deliver its best performance at the recommended power. No more, no less!
A good speaker should not create distortion when generating the air movement required to create your music. To achieve this, the cone must be rigid, so as not to deform under the thrust of the motor unit (speaker coil and magnet), but also light to maintain all its dynamism and limit any possible inertia. The perfect design for a speaker does not exist; This will always be a question of balance/trade off and a choice to improve one characteristic to the detriment of another. You also need to keep in mind that the lower the frequencies are, the more difficult it is to move the air to generate sound. Therefore, bigger speakers are needed to reach the required levels at those frequencies, and therefore, a heavier cone, which requires more power to reach the same output level as a smaller speaker. This is typically why we find subwoofers on the market with power ratings 3 to 5 times higher, if not more, than the typical power rating for a full-range speaker.

Be Patient, We're Getting There!
Now you're going to be thinking... "But why is he only talking about speakers? Didn't he mention that would be the topic of the next article!" Indeed, it is, and we will have a lot to say on the subject! But you need to take this basic information about your speakers into consideration to correctly select and match your amplification to your speakers. So, without going into all the details we will cover next month, here are some key points for your speakers that you absolutely must consider selecting the amplifiers that will meet your needs:
Power ratings
Your speaker's power handling capacity will be one of the main guidelines for selecting your amplification. The basic rule here is to select an amplifier that matches or is very close to your speaker's continuous power handling capacity. For example, a speaker with a continuous power rating of 100 watts will deliver its best performance with a 100-watt RMS amplifier.
If you have a slightly more powerful amplifier, everything will work... as long as you don't abuse the volume knob and audio adjustments. In those situations, if you push it too hard, your speaker will logically tend to generate a greater cone excursion than it was designed for. You will therefore experience distortion, possible breakdown of the diaphragms and suspensions, as well as overheating of the speaker coil due to a power rating higher than its design. Ultimately, this will result in a broken speaker due to your misuse.
If you select an amplifier with a lower output power than your speaker's power handling capacity, you will have two broad impacts to consider:
- Your speaker will not be able to deliver all the musical details from the recording, since your speaker is optimized for given electrical power. A signal with a lower amplitude will not be able to generate the mechanical thrust required to generate the small musical subtleties and maintain the correct proportions with bigger signals, while maintaining all the controls required for those. In short, your musical experience will be less precise, less dynamic, and without any liveliness.
- Chances are, especially with a subwoofer, that you will also tend to “overuse” the volume or audio settings to compensate for the lack of power. This will result in a saturated signal (clipping) that is not faithful to the source, with acoustic renderings between your different speakers distorted by an erroneous ratio, but more importantly, an exposure to your speakers to unnecessary stress resulting in significant overheating of the coil due to lower or no “rest time,” and ultimately which will break your speaker. Moreover, one of the biggest mistakes users make is to think that more power will "burn" a speaker when, in the vast majority, if not all cases, it is the opposite; a deficient amplification is more likely to "burn" your speaker than have a bit more power on it. I am sure that this mention piques your curiosity, so I will keep it for later in the article with all the details you’re probably looking for now!
Speaker Efficiency
Speaker efficiency is an important aspect to consider when replacing or adding speakers to an audio system. This speaker efficiency will not only help you confirm that you'll achieve the targeted sound levels, but will also allow you to better balance your system. When selecting the components required for your car audio system, it's important to use this information to determine your needs;
-
The number and ratio of speakers that will meet your expectations;
- How many subwoofers do you need?
- What is the correct subwoofer to full-range speaker ratio?
-
The type of speakers required?
- Which series/family of speakers should you select?
- What is the best shape/size?
Frequencies / Bandwidth
Bandwidth and frequencies have a significant impact on a speaker's power handling and, of course, its amplification. The lower the frequencies to be reproduced, the more demanding is the task. To achieve the same sound levels, a subwoofer will need to be bigger than a typical 6.5” speaker to reproduce the other, higher frequencies, and this proportion is roughly the same for stepping from a midrange to tweeter high frequencies.
For equivalent quality, in terms of acoustic performances and construction, a subwoofer will necessarily have a bigger and even heavier cone than a full-range speaker. Therefore, this subwoofer will require even more power to achieve bass notes at a level that is proportional to the other instruments and vocals from the higher frequencies.

Makes the right choice!
If you take time to read this article, this means that you are meticulous and want the most out of your investment. You have probably taken care to select your source (audio receiver or car AV receiver) and your speakers to perfectly meet your needs: seamless integration into your vehicle, sizes, positioning, etc. You have also paid particular attention to the selection of your speakers and their installation requirements. AND… You want to make a good move in selecting the best amplifiers to suit your needs.
To select your amplifier(s), we suggest proceeding in the following order:
-
Select your audio system configuration
-
Active (the most flexible, but also the most expensive)
- This system uses an amplification channel for each speaker in the vehicle as well as active filters, electronically controlled on low-power signals (RCA) by your source, its DSP, or the crossover section of the input section of your amplifiers.
-
Passive (rarely used today)
- This system, uncommon today, once had a certain charm. Both simple for using only one amplifier, but way more complex by the requirement of the filters, it uses a single high quality stereo amplifier paired with a set of complex passive filters (a network of coils, capacitors and high-power resistors) installed between the two amplifier outputs and the various speakers from the audio system.
-
Hybrid (the popular one)
- This system is the most common, but also the most effective. It primarily uses active (electronic) crossover to cut frequencies between the subwoofers and the full-range or component speakers, and uses passive crossovers to cut frequencies between the mid-range speakers and the high frequencies (tweeters). It avoids any significant power losses caused by a passive crossover in the low frequency while offering you all the adjustment flexibility of an active crossover at the most critical points, without requiring the more complex and expensive installation of a fully active system.
-
Active (the most flexible, but also the most expensive)
-
Evaluate the number of channels required for amplification (based on your needs).
- Only one for your subwoofers
- For your subwoofers and your front and rear speakers
- For each of your speakers in the case of a fully active system.
-
Confirm the power requirements for each of your speakers
-
Take notes of the continuous power handling of each speaker
- Subwoofers
- Coaxial full-range speakers
- Component full-range speakers
- Tweeters
-
Take notes of the continuous power handling of each speaker
Buy Well – BUY ONCE!
Once you have completed these steps, it will be easier for you to validate your options and choose the amplifier, or amplifiers, that meet YOUR NEEDS. Keep in mind that a good system design for me may not be a good setup for you.
The Bass Addition
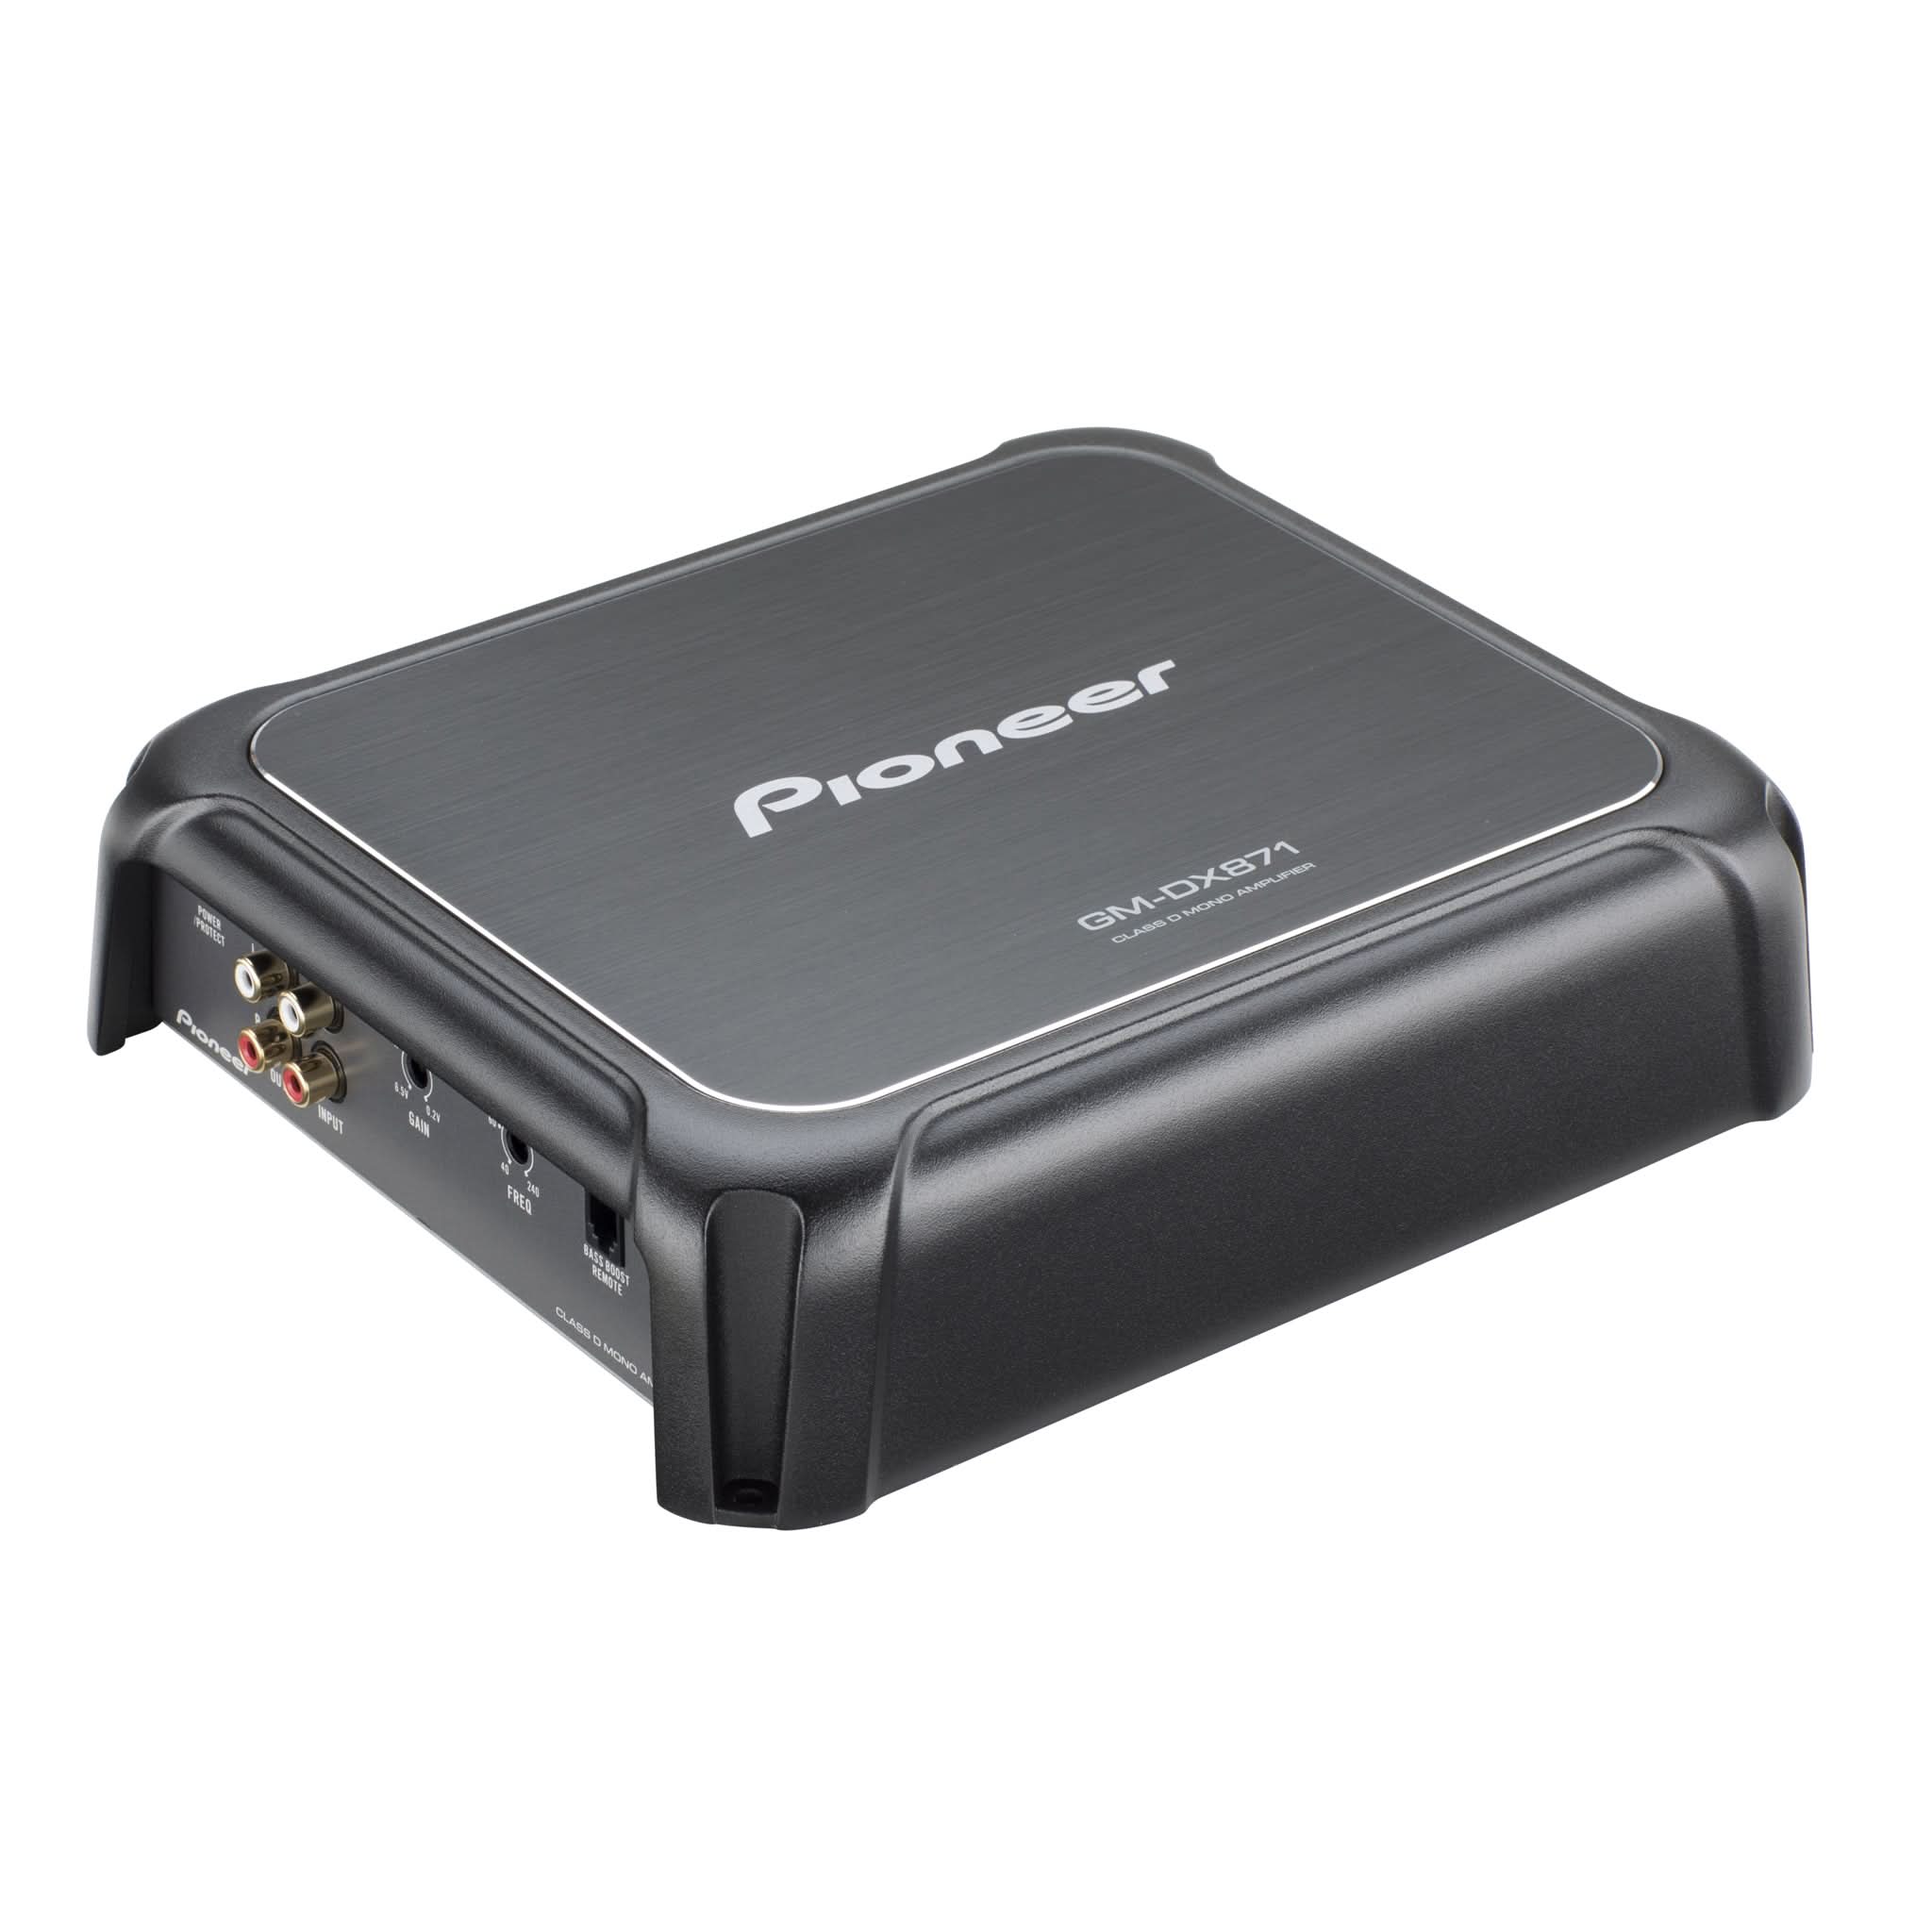
Do you want to keep your full-range speakers powered by the radio's built-in amplifier? If you already have a small amplifier installed for these full-range speakers, and your goal is to add more bass punch to improve the audio quality by reducing the “bass stress” on your door speakers, then our GM-DX871 will likely be a very good choice... If the provided power output matches the continuous power of your subwoofer(s)!
This amplifier is capable of delivering 300 watts of continuous power @ 4 ohms and 500 watts @ 2 ohms. So, for example;
-
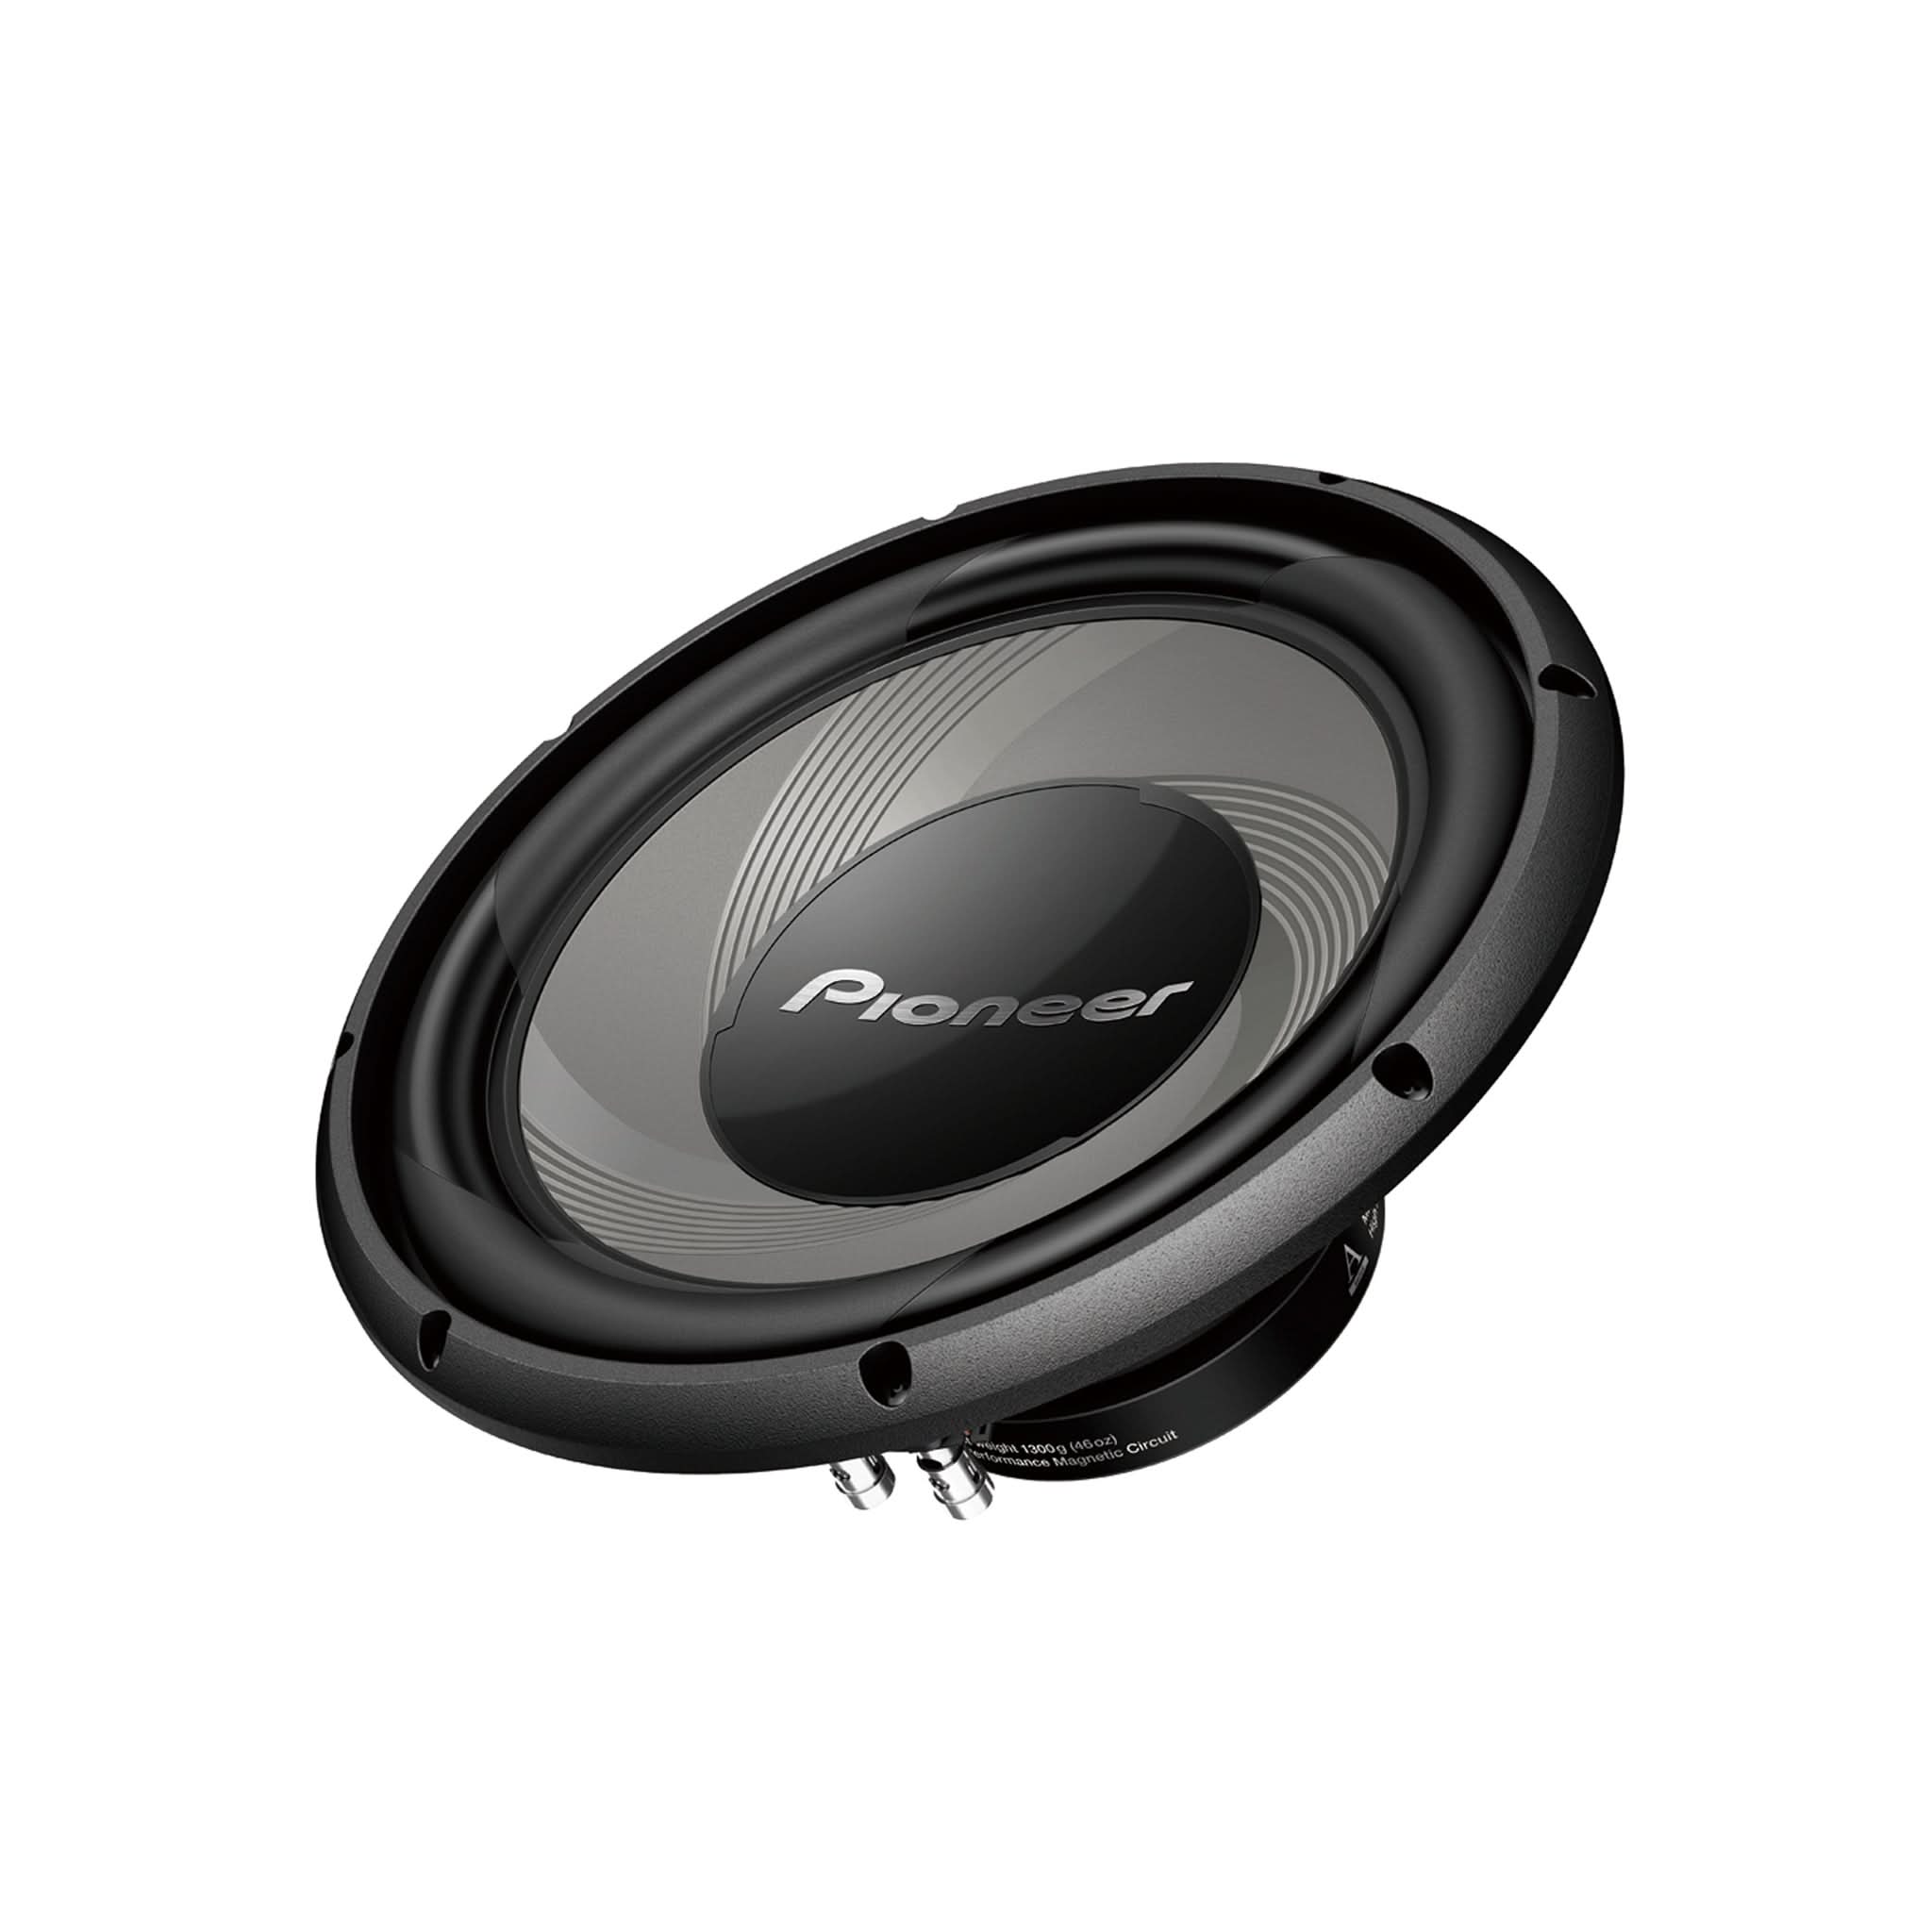
A small SUV owner could have a configuration of 2x TS-A2000LD2s from our A series that would optimize the system and will preserve most of the cargo space.
- For someone wanting deeper and more powerful bass, pairing this amplifier with a 12-inch TS-A301D4 subwoofer from our Champion series would be the perfect match.


The All-in-One
If you only need four channels; two in the front and two in the rear, in addition to dedicated bass amplification, an all-in-one amplifier such as our 5-channel amplifier, the GM-DX975, could be a very interesting choice to simplify the installation and reduce the required space as well as the time to complete the job. This amplifier delivers a continuous power of 4x75 watts @ 4 ohms for the full-range outputs and 600 watts @ 2 ohms for the dedicated subwoofers’ output.
Based on these power levels, this amplifier would be a nice combination with our speakers from the A+ series;
- TS-A1601C component speakers in the front of a vehicle,
- TS-A1681F in the rear,
- As well as 2x TS-A2500LS4 10” subwoofers.
This is the perfect example of a really nice audio system in a full-size pick-up truck.

The Big System
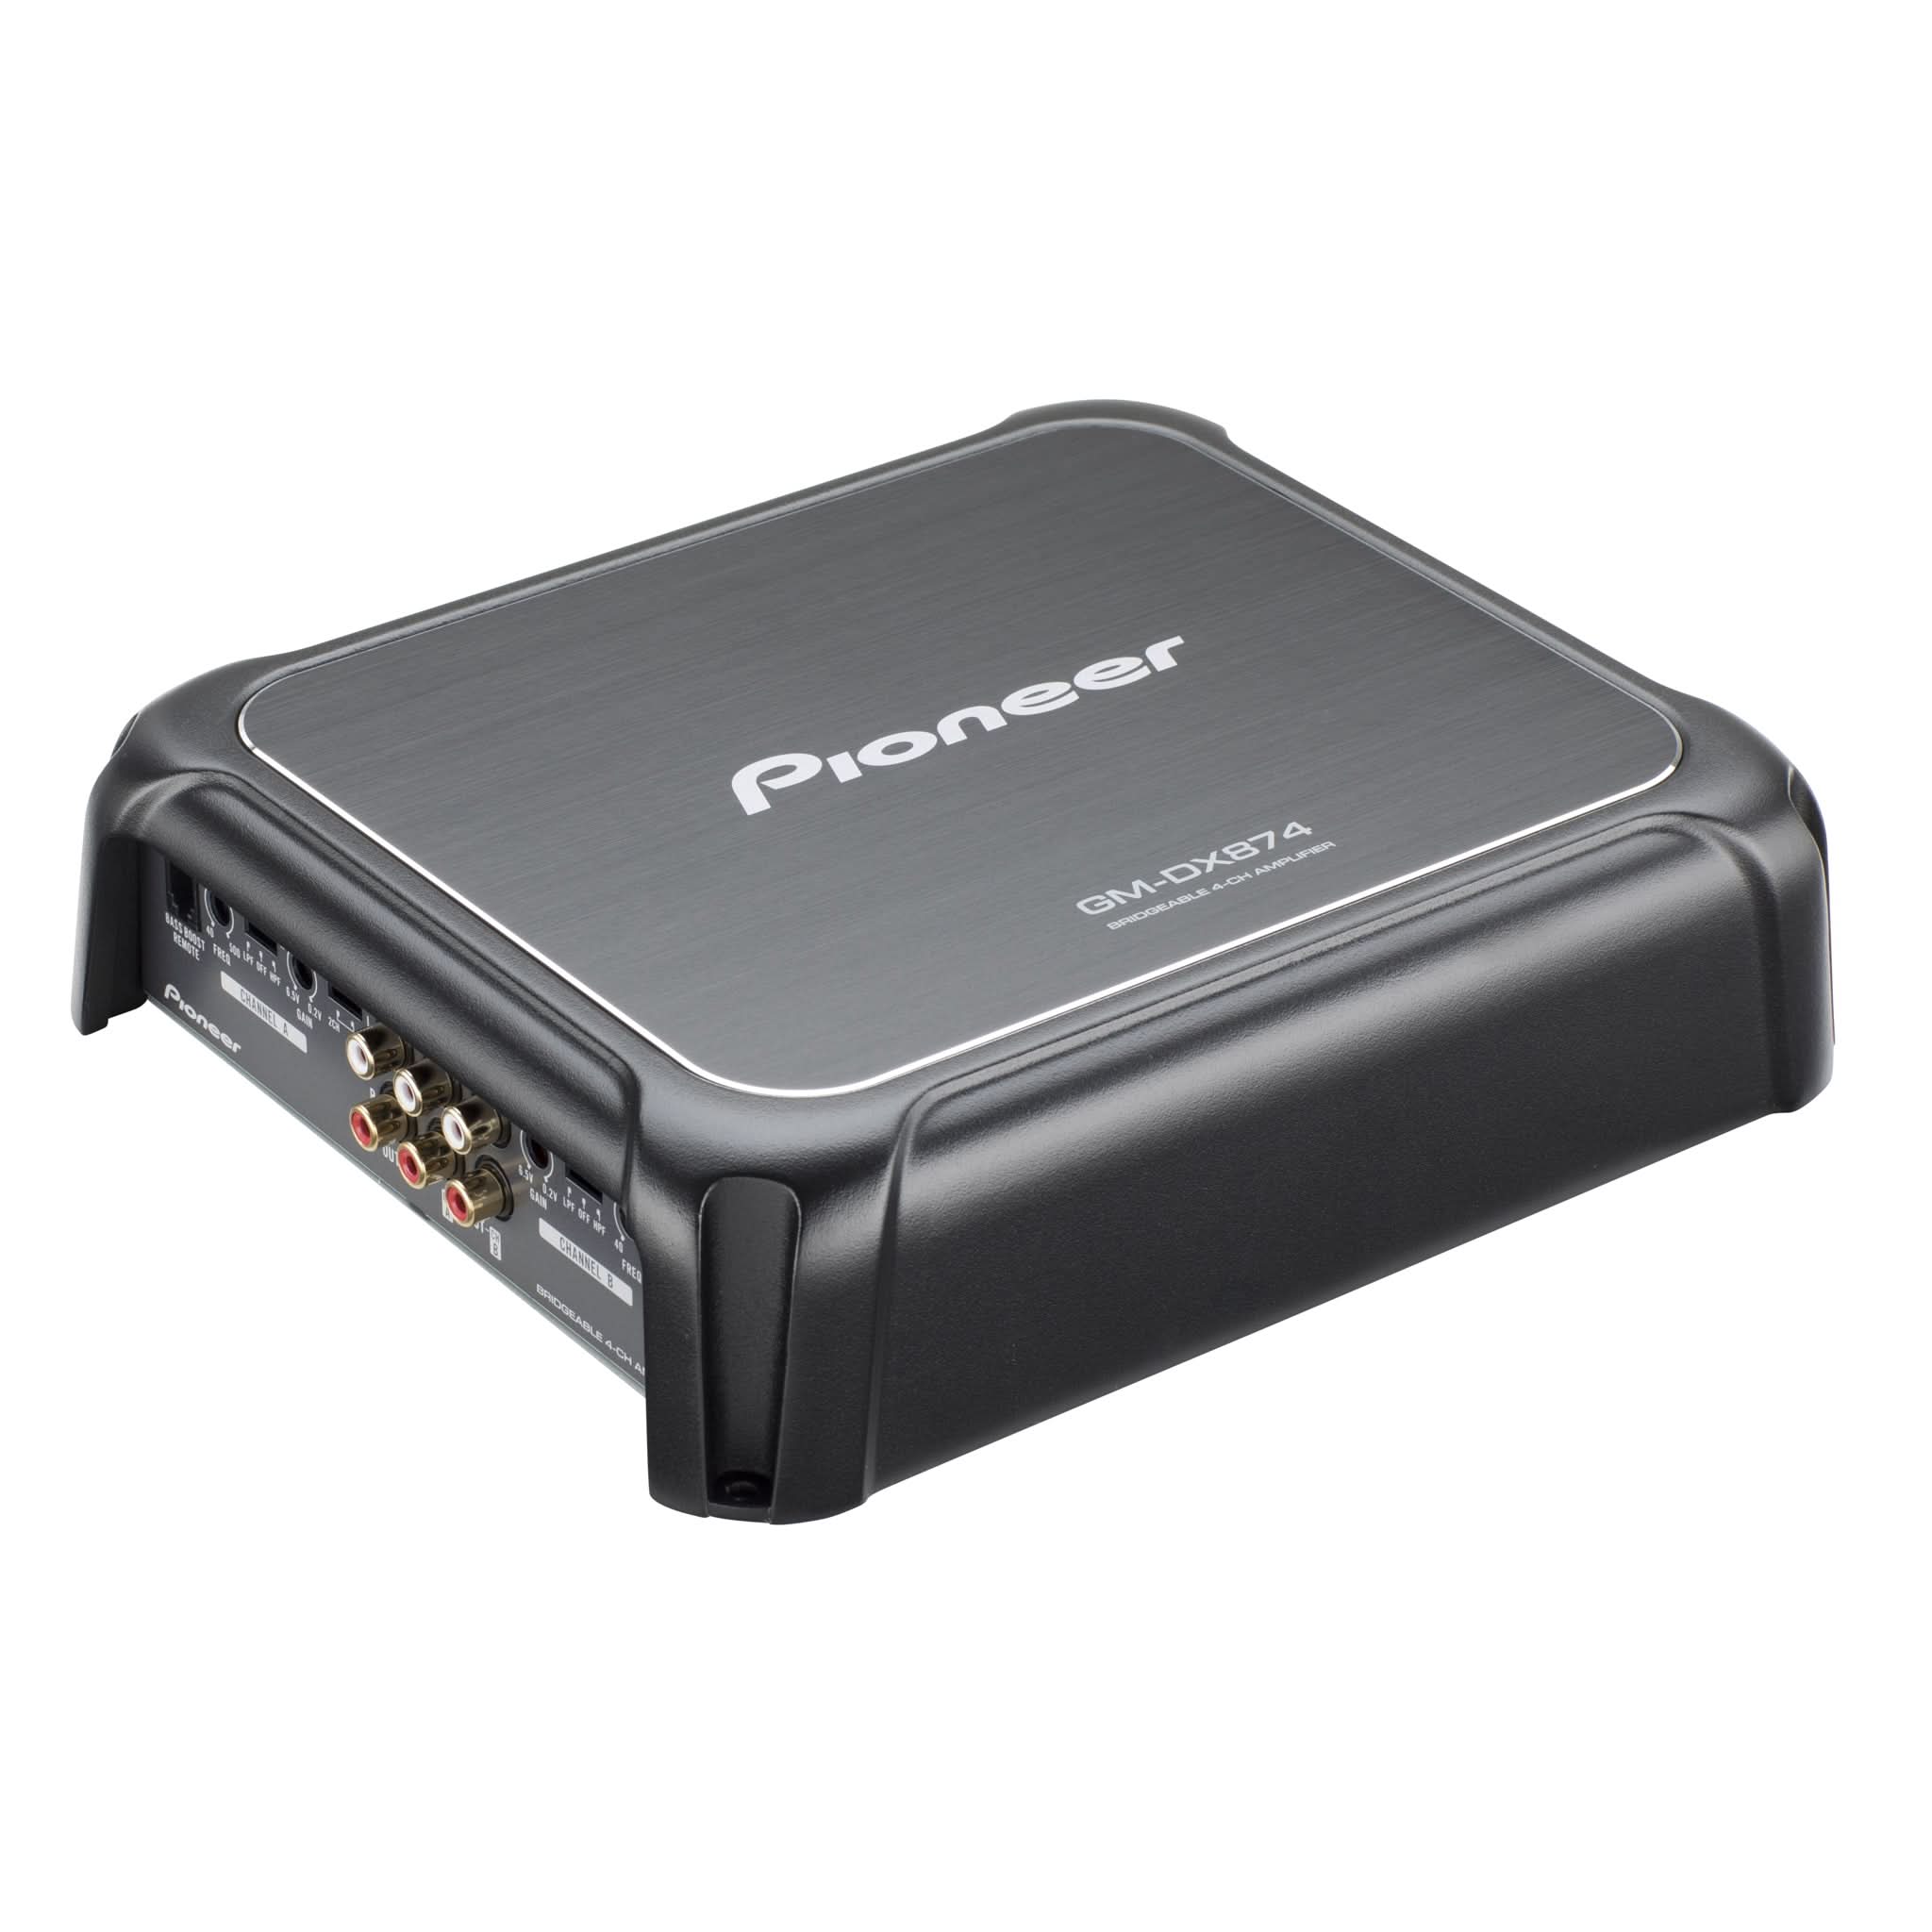
If your expectations and needs require more power, then a system with two amplifiers, or more, will be appropriate, such as a GM-DX874 for your full-range speakers, paired with a GM-DX971 for the bass. Always with the aim of maximizing the performance of your investment, and since the GM-DX874 offers 4 x 100 watts of power @ 4 ohms, you can afford a greater boost in the quality of your speakers’ options. Doubly so if this amplifier combination is made with the GM-DX971, which offers 800 watts of continuous power @ 2 ohms.
Z-Series Solution
For the "best of the best" at Pioneer, a configuration with Pioneer Z series speakers is a no-brainer, or a solution from our D series can be a serious option if you want to save a bit of money.
The physical sizes and shapes (6.5” and 10” slim subwoofers) of the Z series are virtually universal, and offer installation flexibility that makes those compatible with the vast majority of vehicles on the market. But the most important thing here is the acoustic performance of these speakers, which is simply phenomenal!
- TS-Z65CH component speakers in the front,
- TS-Z65F coaxial speakers in the rear,
- And two TS-Z10LS4 subwoofers will satisfy the music lover in you.

Using our previous example with the full-size truck, if you're the proud owner of a Ford F series truck or a Dodge RAM, you also have some great options with our A-MAX series and A+ series of speakers.
A-Max Solution
Here, you can select a 6.5” component set for most front speaker applications and 6.5” two-way coaxial speakers for the rear. You can also move to a bigger speaker option if you have the space for it. This will just give you more output where we like it for a better bass and mid-bass transition. The Ford F series full-size pick-up truck is an excellent example for this and where we can have a direct-fit option for a 6”x9” in the front door and 6.5” in the rear, so our suggestions for this example will be;
- TS-A693CH speaker system, incorporating a 6”x9” woofer paired with a 1” tweeter for the front,
- A pair of TS-A653FH coaxial speakers for the rear,
- And for the subwoofers, the option with two TS-A3000LS4 would be a no-brainer for a full-size pick-up truck.

A+ Solution
Here you can look for a TS-A6901C component set integrating a 6”x9” woofer paired with a 1” tweeter for the front and a pair of coaxial speakers for the rear; 6.5” for a Ford F series or 6”x9” for a Dodge RAM.
In the case of the Dodge RAM, you will also have the possibility of creating a three-way system;
- By pairing the 6”x9” woofers from the TS-A6901C with our TS-A879 (3.5” speakers) as a direct-fit installation in the factory location of the dashboard,
- A pair of TS-A6971F coaxial speakers for the rear,
- And for the subwoofers, a full-size pickup option can also be “jazzed up” with three TS-A2500LS4.

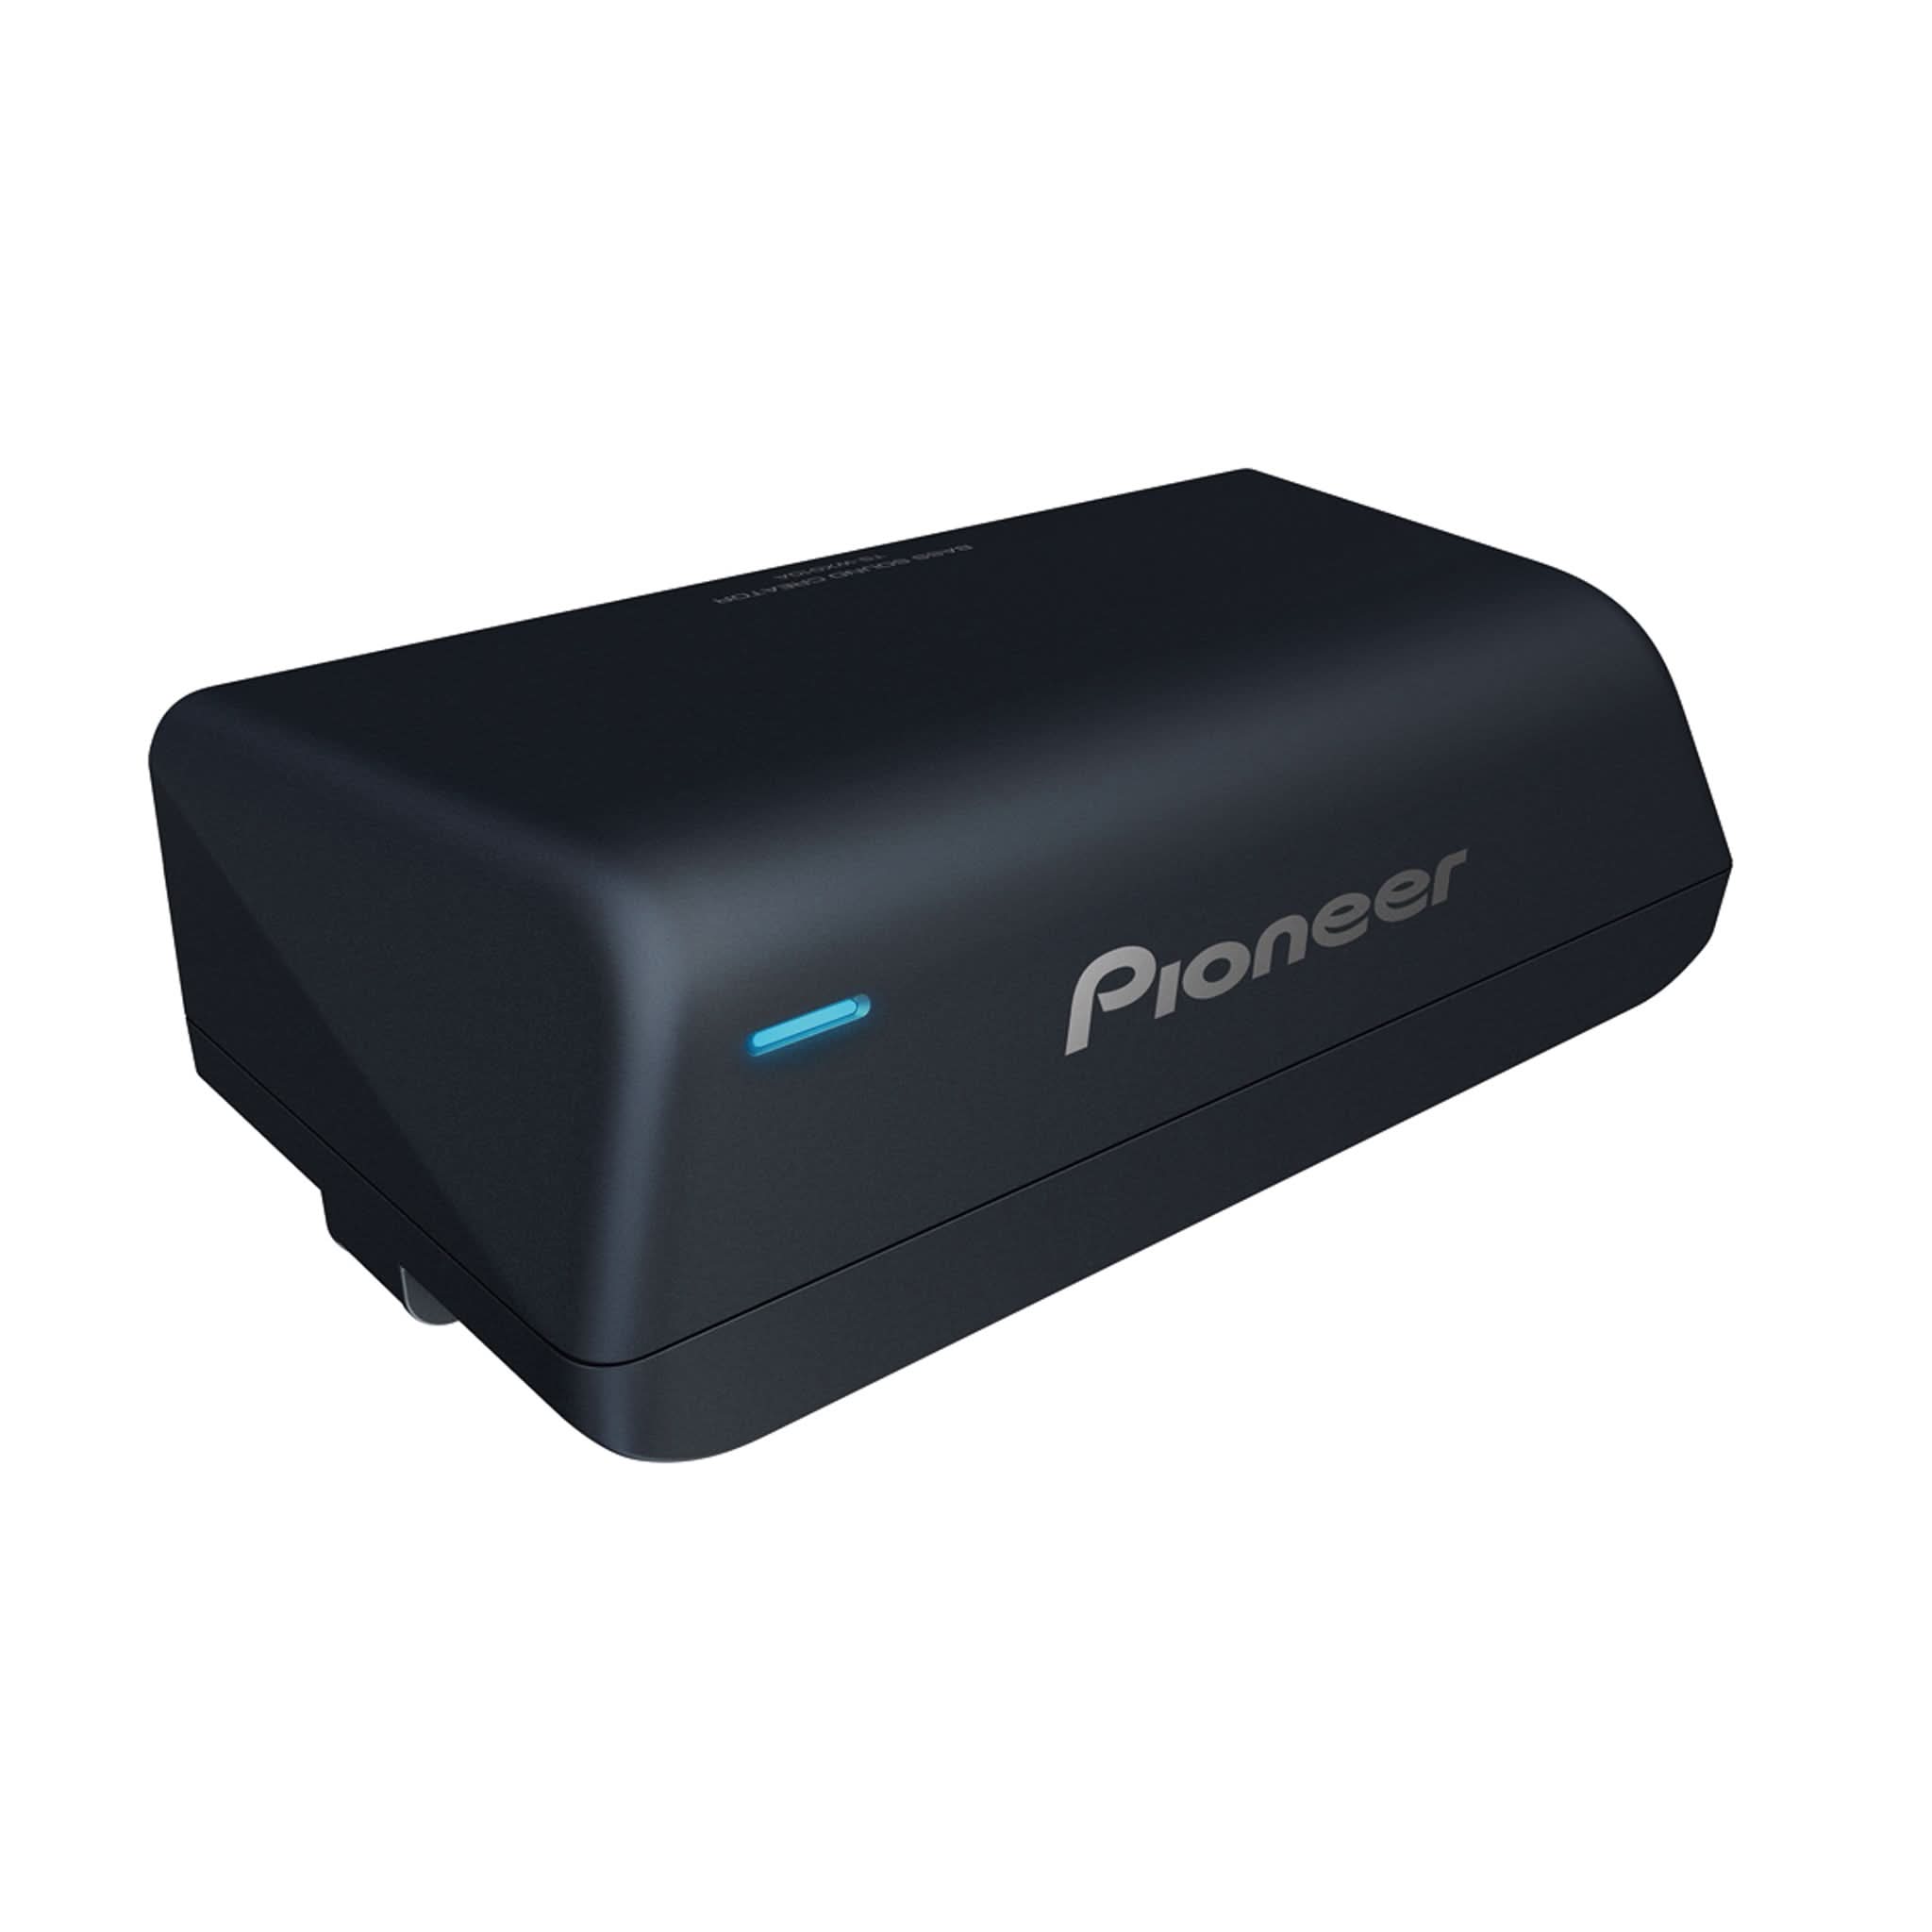
The One You Can’t See
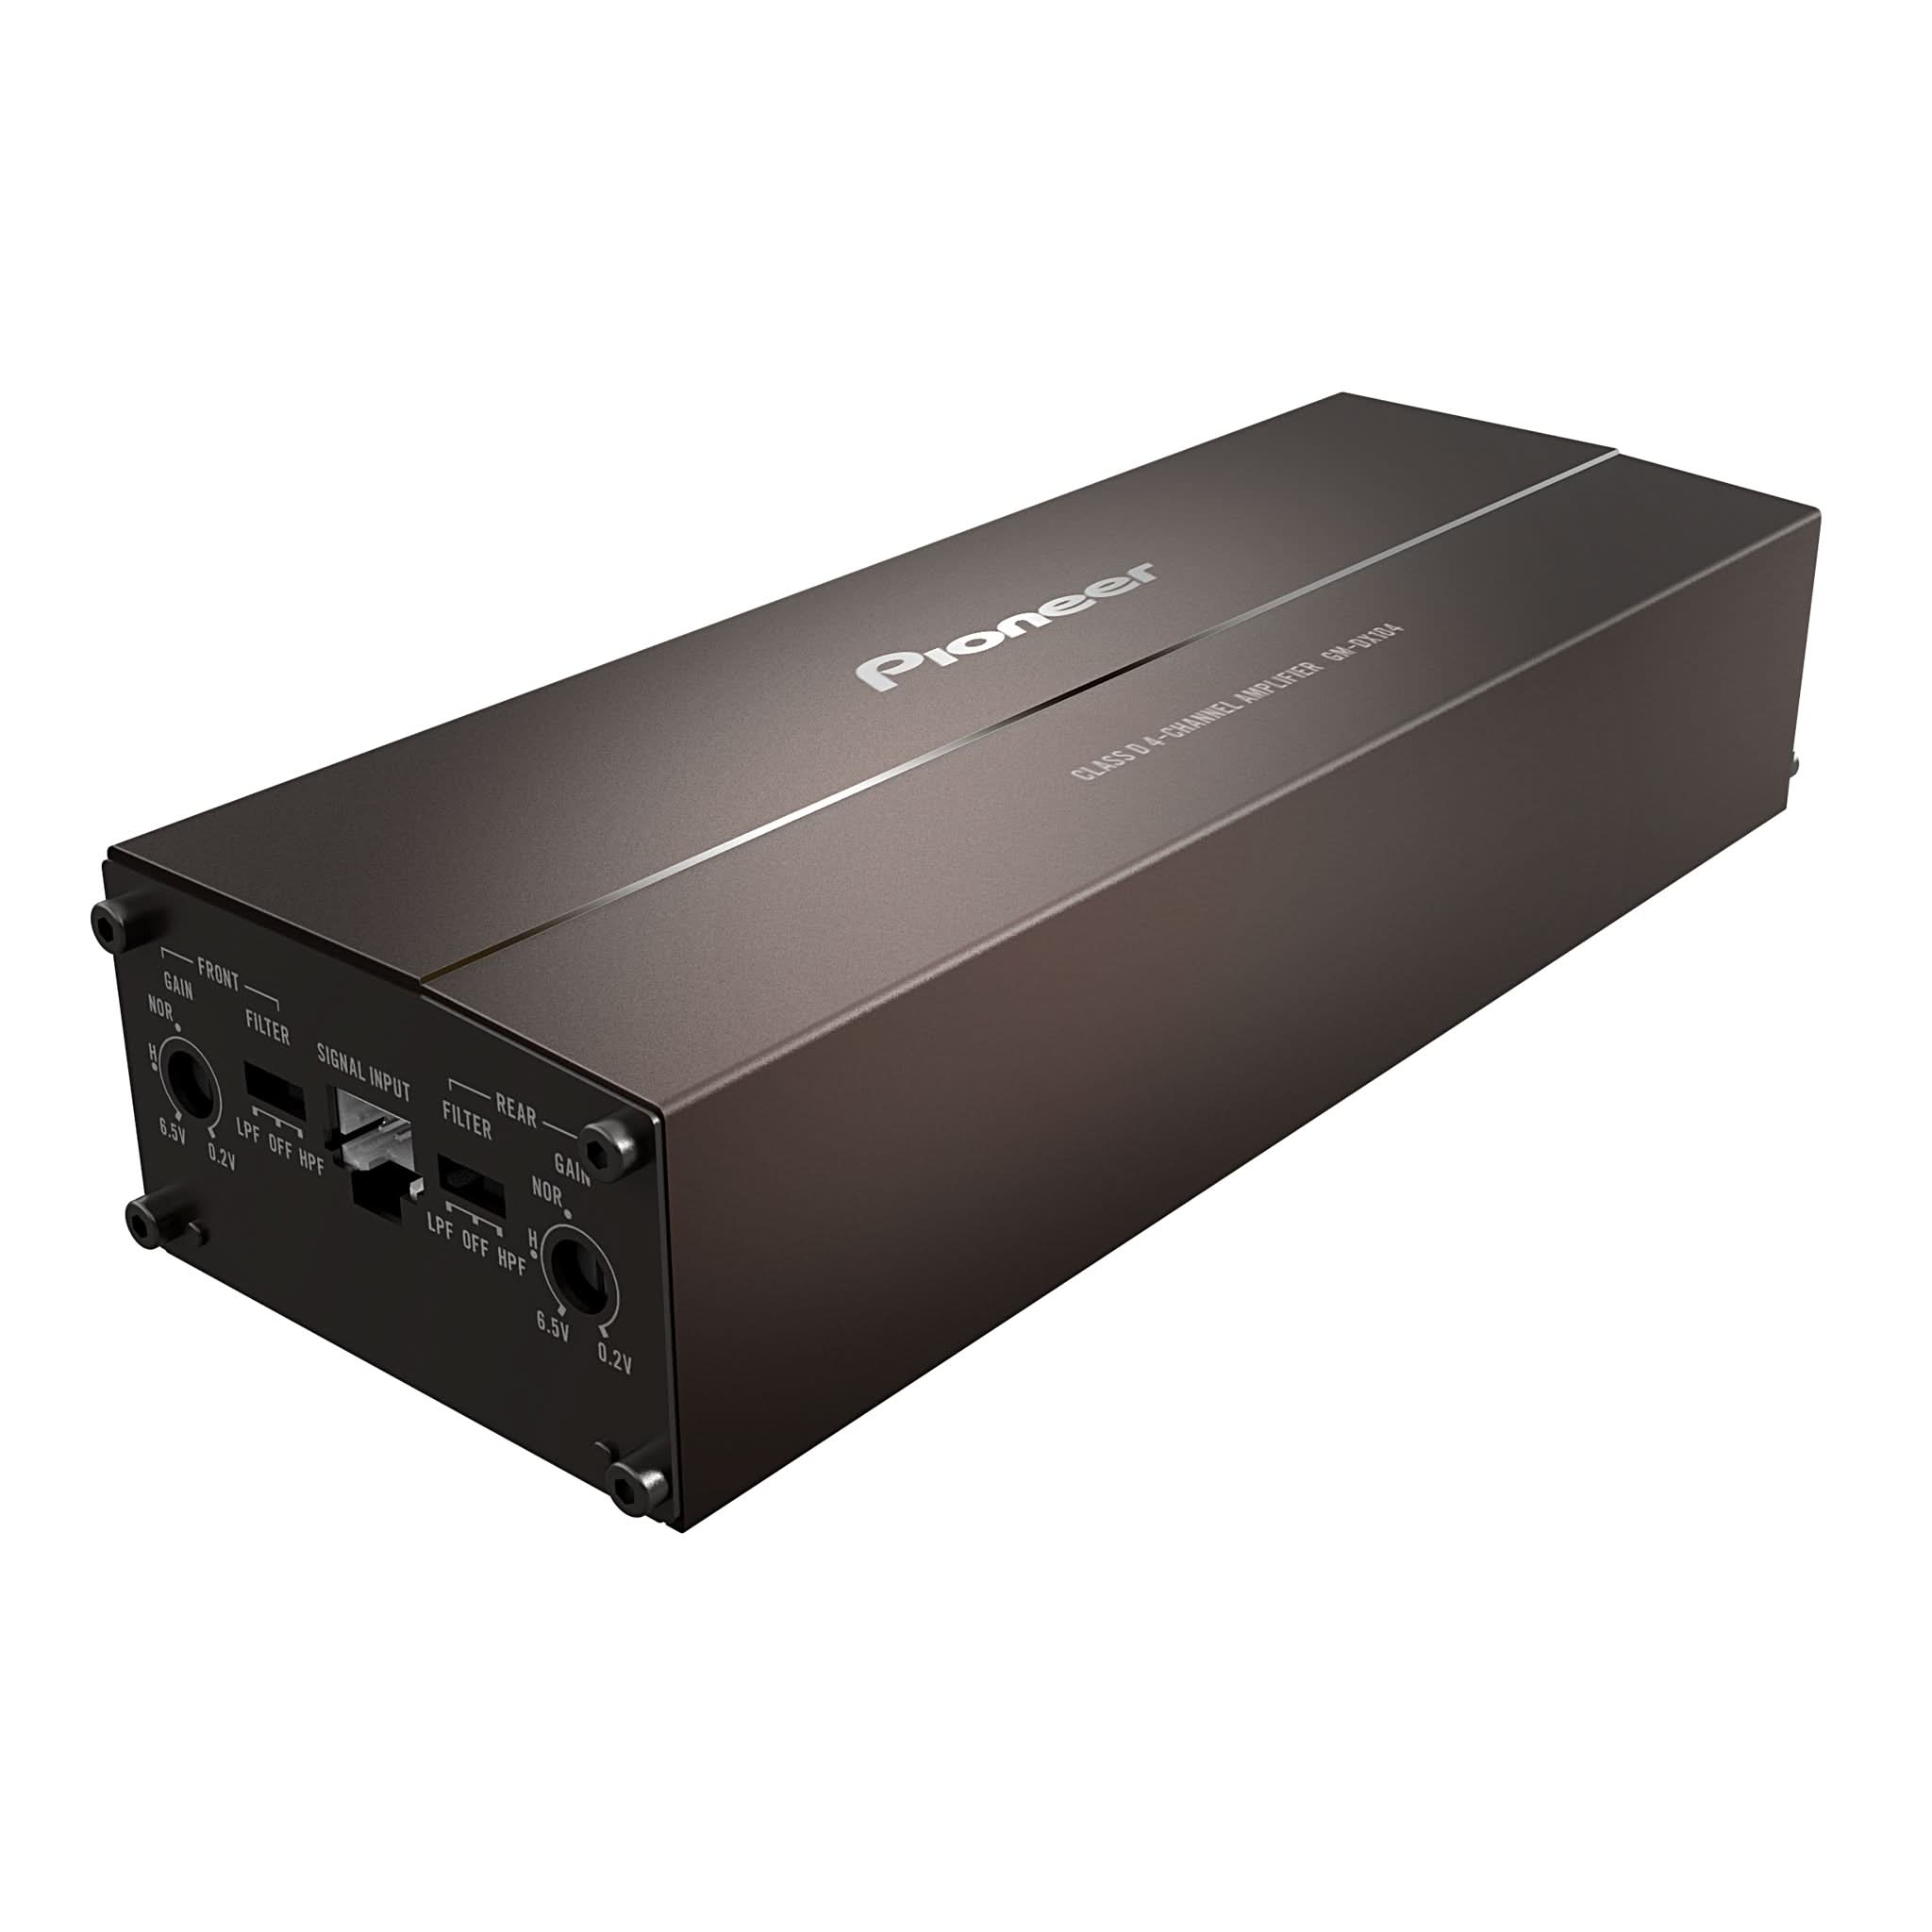
If you are looking for a more refined sound, but at the same time, you want to keep 100% of your interior intact, our ultra-compact GM-DX104 amplifier is definitely the right option.
Its very small size and ultra-efficient design will allow you to obtain a “Hi-Res Certified” result, literally hidden in your dashboard, but extremely efficient.
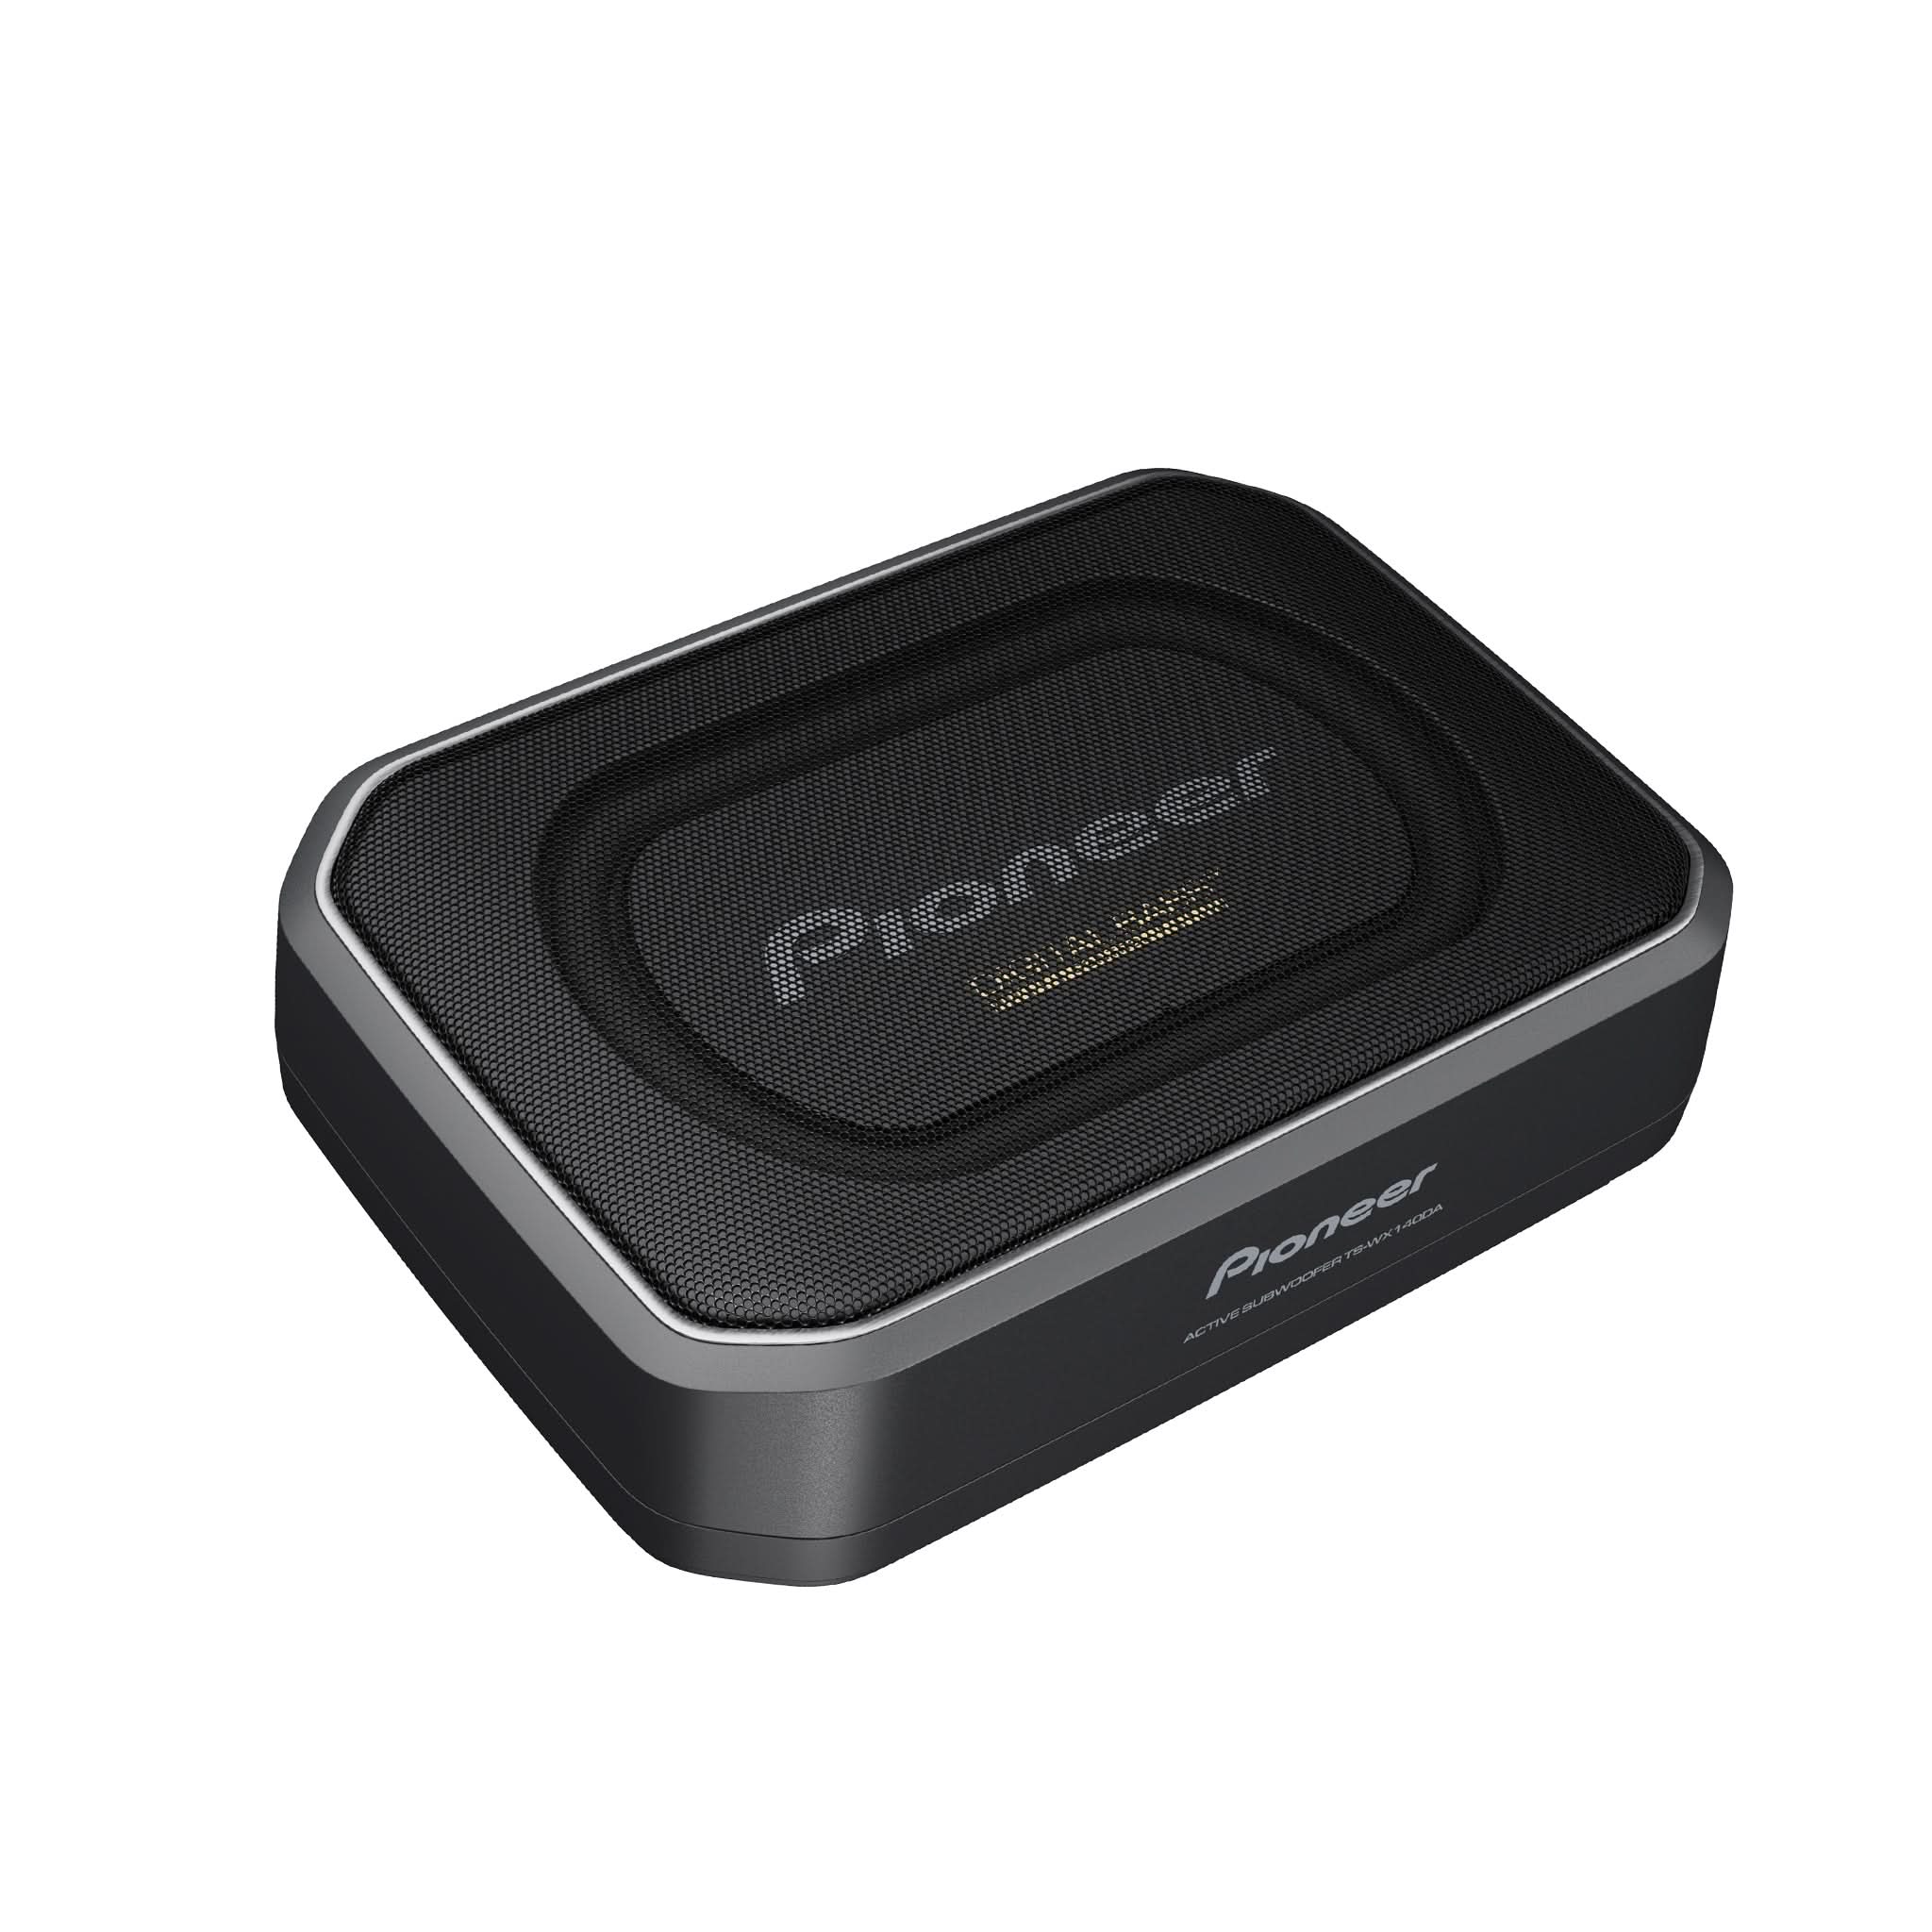
It is, among other things, a perfect solution for a small SUV, where we can use its power of 4x 45 watts RMS to power two pairs of TS-A1671F from our A series of speakers; one in the front and one in the rear. Paired with one or two TS-WX400DA amplified subwoofers installed under the front seats, you will obtain an excellent quality audio system while keeping the interior the same, without any loss of space. If you want to easily enhance your sound image and audio details in your RAV4, I highly recommend our TS-H150-RA tweeters, which were specifically designed for RAV4s from recent years.

Those Little Adjustments That Make a Huge Difference!
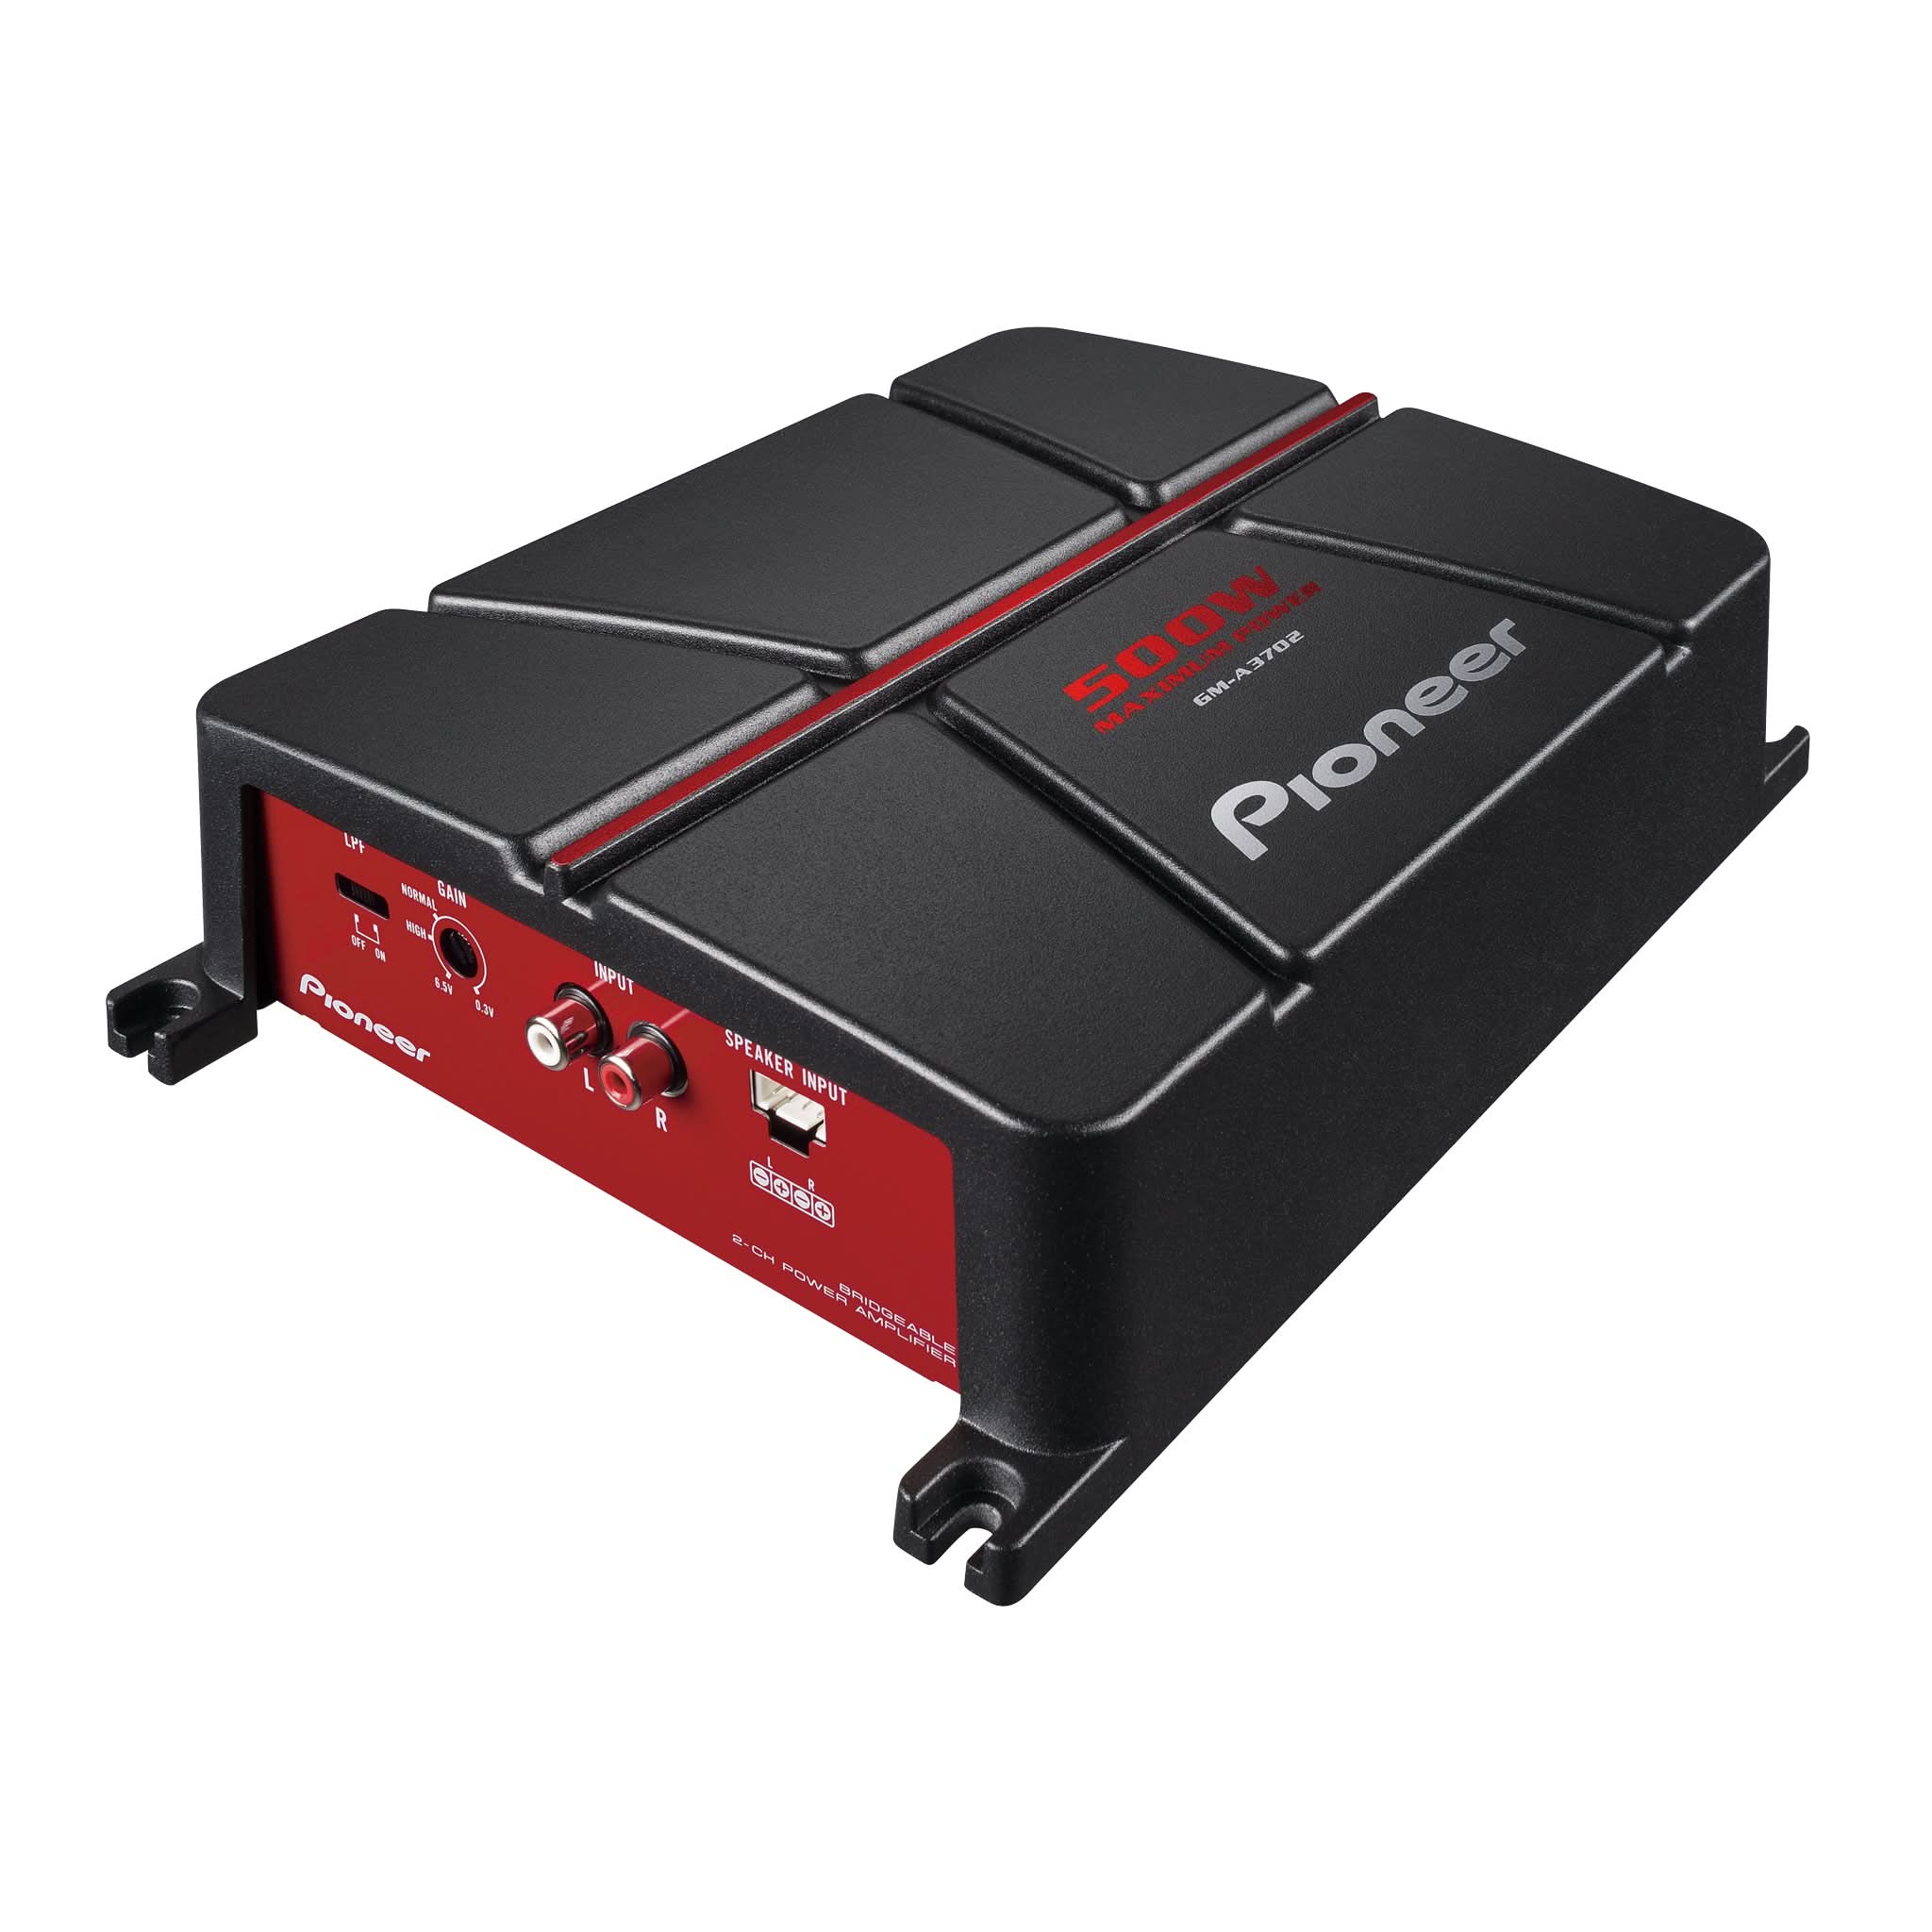
Perfect, now that you've carefully selected the components required for your Pioneer car audio system and have installed it, or better yet, had it professionally installed, following the rules of the art required for this task, you've reached the final stage of the perfect integration of your amplification. By saying "perfect integration," I mean adjusting the amplifier's internal filters and the bass boost, but more importantly, a small adjustment called "Gain" on your amplifier that can either do wonders or cause your downfall if you don't adjust it properly.
An amplifier's "Gain" is unfortunately mistakenly thought of as a volume control, and IT IS NOT! This adjustment, offered on any good aftermarket amplifier, has a simple but important task: optimizing your amplifier with the source signal coming from the unit installed in your car's dashboard. No more, no less.
So, your "Gain" control on the amplifier is NOT:
- A volume control to make your subwoofer play louder.
- A volume control to make your rear speakers quieter than your front speakers.
- A volume control to make a speaker with lower sensitivity play louder than another speaker.

If your amplifier gains are too high;
-
You will hear background noise, or abnormal "squeaking" in your speakers.
- Mainly noticeable in the high frequencies
-
Your audio signal will be saturated at the output and with a significant loss of quality.
- Instead of a signal consistent with the source signal, your amplifier outputs will display a signal altered by the amplifier's voltage (power) limit (clipping)
-
Depending on listening volumes, your acoustic proportions between the different speakers will change.
- e.g.: If the "gain" on the subwoofers is abnormally high, and your other speaker "gains" are correct, the more you increase the main volume of your source, the more you will perceive a deficiency in the bass, because your signal will peak (clipping) while the amplitude of the other speakers continues to increase.
-
You will inevitably apply unnecessary "stress" to your speakers.
- Thermal stress (heat)
- Physical stress (cone excursion)
- Ultimately, you will break your speakers
If your amplifier gains are too low;
- You'll end up with "anemic," lifeless music!
- You'll lose important details and all the subtleties of dynamic music.
-
You risk transmitting a clipped and/or distorted signal to your amplifier, which will only amplify your poor signal.
- Due to the volume of your radio at the source being too high to compensate for the lack of sound.
- Due to audio adjustments at the source, which you'll inevitably also tend to push too high to compensate.
OPTION 1 - The Easy Match
As we already mentioned, your amplifier's "Gain" is there to perfectly match the output voltage of your source unit with your amplifier's input section so that the latter can produce a clean signal, with optimal amplitude, according to its output power.
Amplifier "Gain" exists for one reason only: to allow for greater integration possibilities with different source devices that don't necessarily all have the same output voltages. If all car audio receivers had the same output power, then no amplifier would need that "Gain" control.
Now, I can hear you loud and clear, wondering how to adjust these gains! If you're the proud owner of a Pioneer car audio receiver or AV receiver, you don’t have to be worried about it; the perfect match with our amplifiers will be a very simple exercise;
With a 2-Volt RCA Output Pioneer Source
For the perfect balance between your Pioneer amplifiers and your Pioneer source device with a 2-volt signal, you should set the "Gains" adjustment control to the "Normal" position. (See the image previously shared for details.)
With Hi-Volt RCA Output Pioneer Source
For the perfect balance between your Pioneer amplifiers and your Pioneer source device with "Hi-Volt" RCA outputs, you should set the "Gain" adjustment controls to the "H" position (for Hi-Volt). However, you should take this information with a pinch of salt; if your source is a mid-range Hi-Volt Pioneer receiver, setting the gain precisely at the "H" position will be your best solution if you don't have any measuring tools to perfectly adjust these. If, however, your source is a top-of-the-line Pioneer receiver such as a DMH-WT6000NEX or DMH-WT5000NEX, you will need to turn your ”Gain” controls counterclockwise by 1mm to be slightly higher than the "H" position, as these DMH devices have more powerful and cleaner RCA outputs. (See the image previously shared for details.)
OPTION 2 - The Perfect Match
For the "geek" in you, or for the person who wants to do the best possible settings, you have two options for fine-tuning your gain adjustments:
- The ultimate solution with an oscilloscope
- The alternative solution halfway between the perfect precision of the oscilloscope and tool-free adjustment will be with a “True-RMS Multimeter.”
In both cases, you will also need to have two specific audio tracks on hand, recorded in the format in which you will primarily listen to your music (MP3, AAC, WAC, FLAC). It is normally recommended to use a signal with no attenuation (0dB) for this exercise. However, if you often listen to sources with high dynamic ranges or have amplification that is more powerful than your speakers, then a source with -3dB attenuation would be very useful to give you additional "security." Normally, a 50Hz signal will be used to calibrate your subwoofers, and a 1kHz signal will be used to calibrate your full-range speakers (hence the two audio tracks). In the case of a fully active system, a third audio track will be required and is typically 5kHz.
How to Achieve the Perfect Match With an Oscilloscope
As we've already mentioned, the ultimate goal of adjusting your amplification gains is to perfectly match the source to your amplifier. So, if you do your homework correctly, the source will use its maximum audio volume range, just like your amplification, and both will match together to reach their maximum point at the same time.
Here are the steps to follow to perfectly calibrate your “Gains”:
- We don't need your speakers for this task. If they are already connected to your amplifiers, you must disconnect the wires for this exercise. This will give your ears a break and keep the peace with your closest neighbor during these adjustments!
-
You will need to play one of the test tones mentioned above in a loop:
- For subwoofers, the 50Hz signal,
- For full-range speakers, the 1kHz signal,
- Optionally, for tweeters (active crossover), the 5kHz signal
- Set your source audio adjustments to zero; equalization, bass boost, or loudness should be enabled. Only your crossover filters should be active, whether internal to the amplifier or your source.
- Most car audio source units begin to saturate the output signal at a volume of around 80%. Therefore, we recommend setting your source's volume to 75% of its maximum. Ultimately, you can also measure the source unit's output signal to find this point, but for this exercise, we will stick with the suggested 75%.
- Play the appropriate test tone for your speaker.
- Connect your measuring instrument to the amplifier speaker output for which you wish to adjust the gain.
- Using a small flathead screwdriver, turn the gain control clockwise to the highest possible limit. As soon as you detect clipping, signal distortion, or signal peaking, turn the control slightly counterclockwise to avoid this; this is your optimal gain (Your target is a signal like the one in blue in the picture below).
- Repeat this exercise for each of your amplifier gains to be adjusted.
- Reconnect your speakers to their respective amplifier outputs.
- Your gains are now adjusted, and you should not touch them again.

How to achieve a Good Match with a “True RMS” Multimeter
If you don't have access to an oscilloscope, but you do have a quality multimeter that supports “True RMS” measurements, you can perform a more accurate gain calibration than if you relied on the silkscreen on your amplifier for a basic adjustment.
Important note: A “True RMS” multimeter is a device capable of measuring the voltage of an AC signal accurately and unaffected by the signal's frequency. Therefore, it's not limited to AC readings for a 50Hz/60Hz signal typically found from your home electrical outlets.
Since your multimeter will display voltage readings (Volts) and your amplifier’s reference is in Watts, we will need to convert them.
The required calculations are based on Ohm's Law, a basic principle in electricity and electronics, which is as follows:
"Voltage (Volts)" = "Resistance (ohms)" x "Current (I)"
And this additional equation:
"Power (Watts)" = "Voltage (V)" x "Current (I)"
With these two equations, you can obtain a derived equation, which is:
"Power (Watts)" = "Voltage (Volts)"2 / "Resistance (ohms)."
Be patient, we're getting there! So, for an amplifier, for example, a GM-DX874 with a continuous power of 100 watts @ 4 ohms, you should get this:
"Power (100 Watts)" = "Voltage (Volts)"2 / "Resistance (4 ohms)."
Or
"Voltage (Volts)"2 = "Power (100 Watts)" x "Resistances (4 ohms)"
So, for 100 Watts of power from this GM-DX874, we're looking for an output voltage of 20 Volts.
With this result, you can now perform the same steps mentioned above. The only exception is that your measuring instrument must display the required voltage, no more, nor less.
Since your multimeter may not be able to measure a clipped signal correctly, it is important that you do not exceed the targeted voltage point. As soon as you reach this point, you MUST STOP moving the adjustment and not go any higher, and this, even if the displayed voltage remains the same.
Your « gain » adjustment must be at the lowest position to achieve this measurement!
RATIO & BALANCE
It’s now time for the question that must be burning your lips... "If my amplifier gains are all identical, how do I balance the proportions between each of my speakers? How do I adjust my subwoofer so that it plays louder than my other speakers?"
The answer is quite simple... You'll adjust these ratios the same way you make your audio calibration adjustments, in the source unit (i.e., the in-dash radio) or the DSP portion of your audio system.
Always keep in mind: Amplifier "gain" = the perfect blend of optimal source voltages with your amplifier's preamp section... AND NOTHING MORE!
So, if you want more bass, you must reduce the output level of the other speakers using the audio/DSP adjustments located beforeyour amplifier. Here, I've made sure to emphasize "Reduce other speakers" and "Before" the amplifier.
Why reduce the source signal from the other speakers instead of simply increasing the subwoofer's signal? It's much simpler! The whole point is to avoid transmitting a signal that is too high, which would result in clipping the signal at the amplifier output, or even worse, at the source preamp and in the amplifier. We've just optimized the signal between these two, so they will logically reach their respective limits at the same time.
Here's an example using our GM-DX874 to help you visualize it:
We determined that the optimal output voltage for 100 watts RMS was 20 volts RMS. So, if my source volume is at 75%, and I get a reading of 20 volts RMS, I'm at my optimal level.
However, if I go into the source's audio adjustments and increase the dedicated audio volume for the speaker connected to this amplifier by +3dB, this will greatly impact my signal. Remember that for every 3dB increase, it will double the electrical power output.
Still using this example involving a "simple" +3dB, as many people believe, if the amplification had NOT already reached its limit at 20 volts RMS, for the same given gain adjustment and your source volume at the same 75% as during the adjustment, the amplifier would be expected to deliver twice as much voltage (+3dB), and therefore 200 watts RMS, or 28.28 volts RMS.
As your amplifier is NOT able to deliver more than 20 volts RMS at output (100 Watts RMS rated power), any excess signal will be “clipped” (see the red waveform in the example below).
Transmitting a clipped signal to your speaker, resulting, of course, in poor audio reproduction, you will also have the same symptoms as a gain adjustment that is too high, and this will result in unnecessary overheating of the speakers’ motor, which will ultimately break down by an abusive and inappropriate signal.
In addition, since the amplifier is receiving a signal that is too powerful, it will saturate more quickly than the other amplifiers so you will also perceive an acoustic proportion that will muffle the latter at higher volumes when it is at maximum, while the other amplifications will continue to increase their output signal.
In a few words; an amplifier can’t produce more power than the rated number.
If following proper gain settings, the "perceived" power output from your listening sessions is not enough for you, this means that you need a more powerful setup. Trying to do more than what they are designed for by playing with your gain controls will not result in any positive things here.
FINAL NOTE
I really hope this article has helped you select amplifiers and optimize them for your car audio system. Since we've covered a lot of information here, I encourage you to revisit this page later, as needed, during your purchasing process and, of course, to better prepare for the setup and tuning of your Pioneer car audio system.
Did you enjoy this article? Stay tuned for our next post on Pioneer speakers, which will cover speaker selection, why choose one series or another, and, more importantly, how to install them in your car and fine-tune those to get the most out of them.


